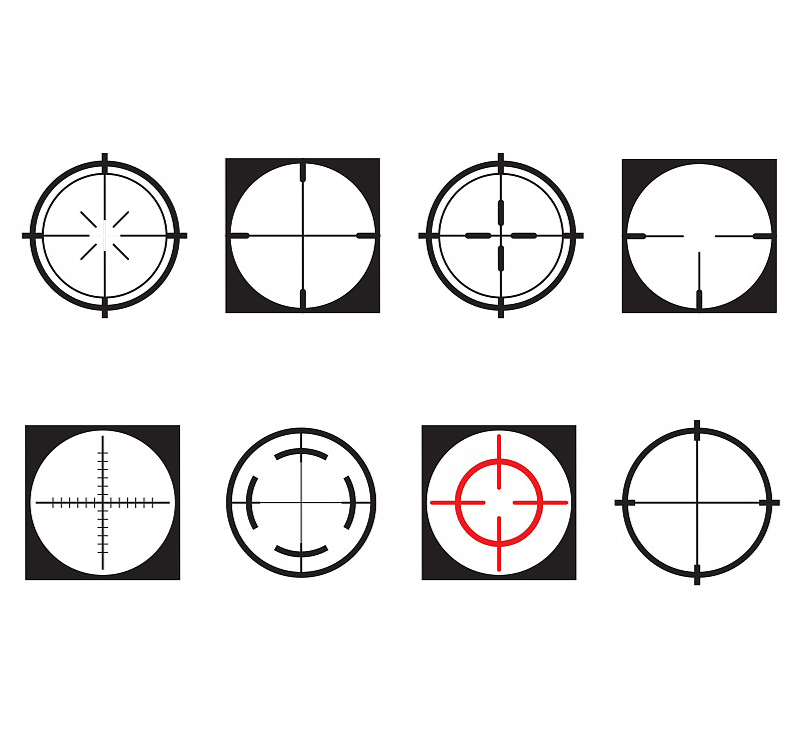
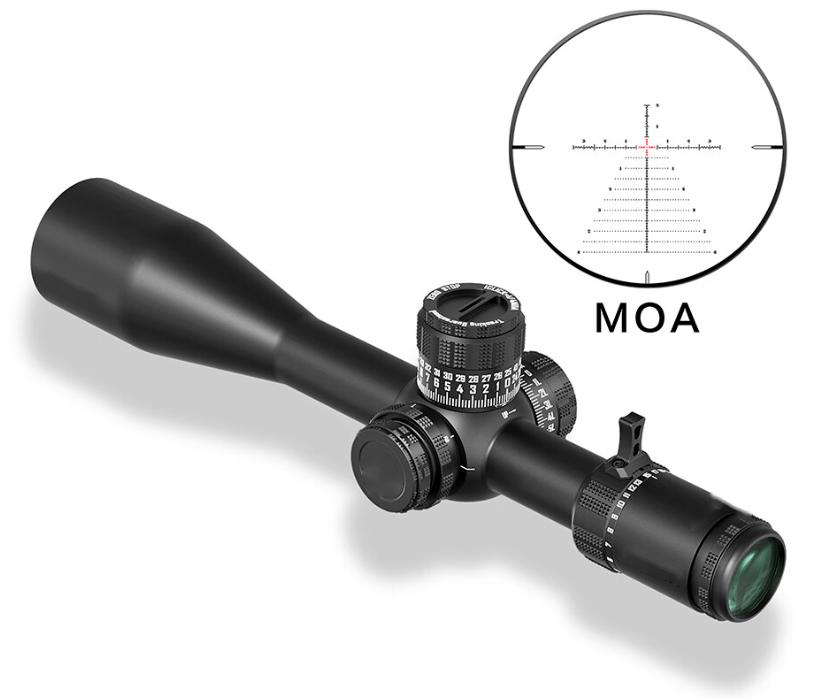
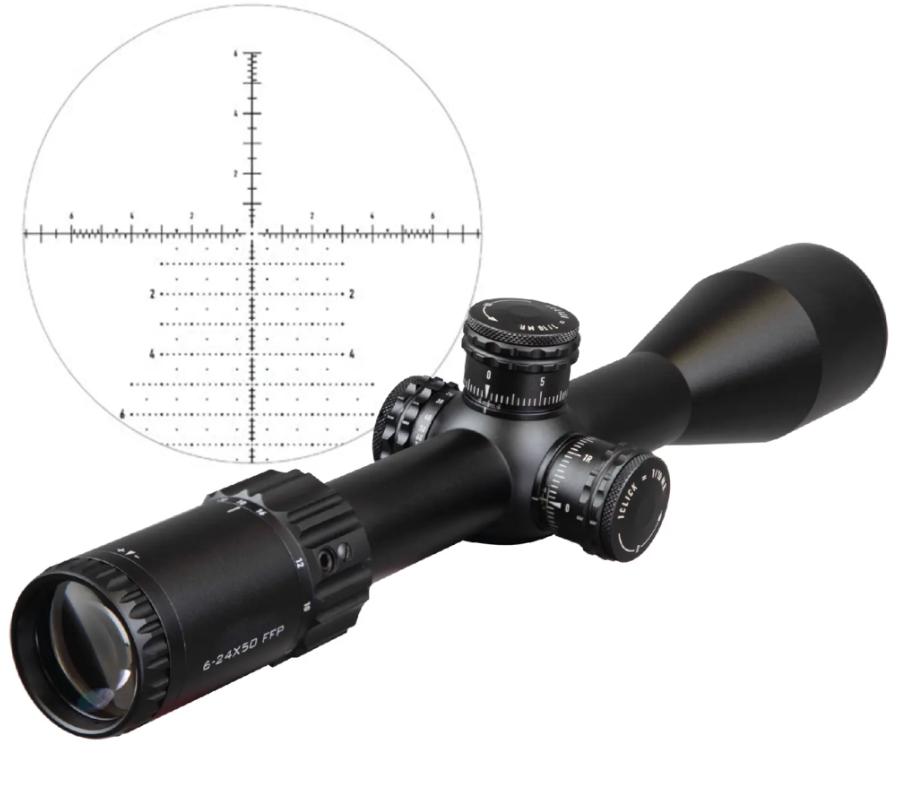
In the pursuit of accuracy, the rifle scope’s reticle system is crucial. It acts as a visual guide within the rifle scope to help aim at the target. Among the most widely used reticle systems are MOA (Minute of Angle) and Mil-Dot (MRAD). These systems cater to varying preferences, shooting applications, and measurement habits.
Here we talk about MOA and Mil-Dot reticles in detail, explaining how they work, their advantages, and how to choose the right system for your needs. Whether you are a hunter, competitive shooter, or tactical professional, understanding these options will help enhance your shooting precision and confidence.
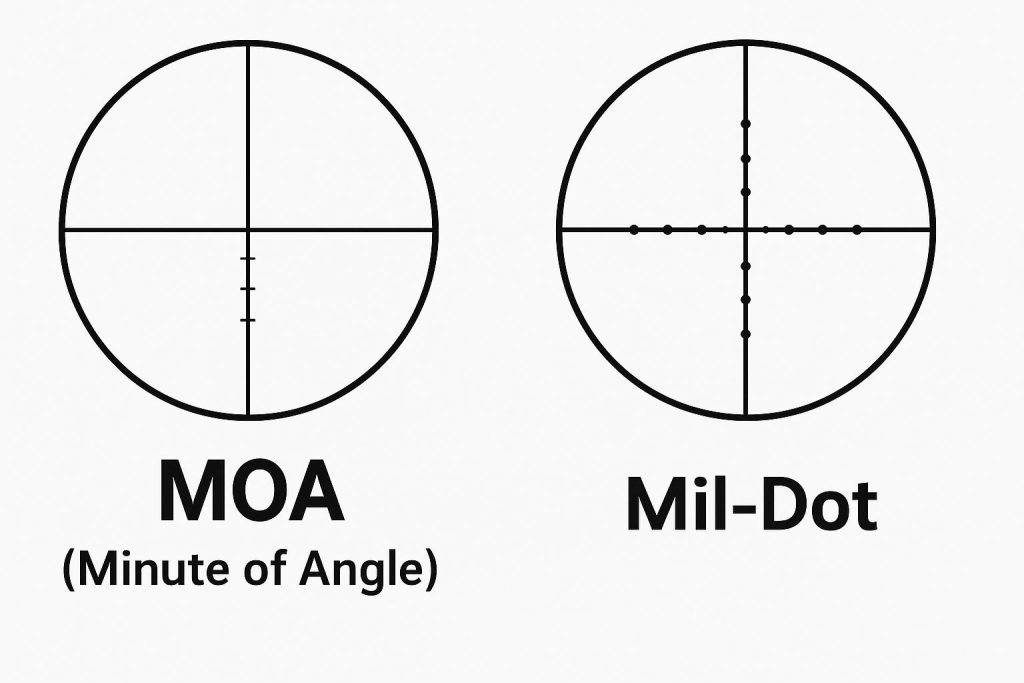
What Do MOA and Mil-Dot Mean on a Rifle Scope?
At their core, both MOA and Mil-Dot are angular measurement systems. They provide a standardized way to quantify distances and adjustments, allowing shooters to compensate for bullet drop, windage, and even estimate range. The key difference lies in the units of measurement they employ.
MOA (Minute of Angle): The Angler’s Choice
MOA, or Minute of Angle, is a system rooted in the imperial measurement system and is widely popular in the United States, particularly among hunters and sport shooters. Its appeal often stems from its direct relationship with inches and yards, making calculations intuitive for those accustomed to these units.
How Does MOA Work on a Scope?
An MOA is an angular unit of measure. Imagine a circle: there are 360 degrees in a circle, and each degree is divided into 60 minutes. Therefore, one MOA is 1/60th of a degree. At a distance of 100 yards, 1 MOA subtends approximately 1.047 inches. For practical purposes in the shooting world, this is often rounded to 1 inch at 100 yards, which simplifies calculations without significantly impacting precision for most applications.
The reticle in an MOA scope will have markings that represent MOA values. These markings allow you to estimate distances, apply holdovers for bullet drop, and account for wind drift.
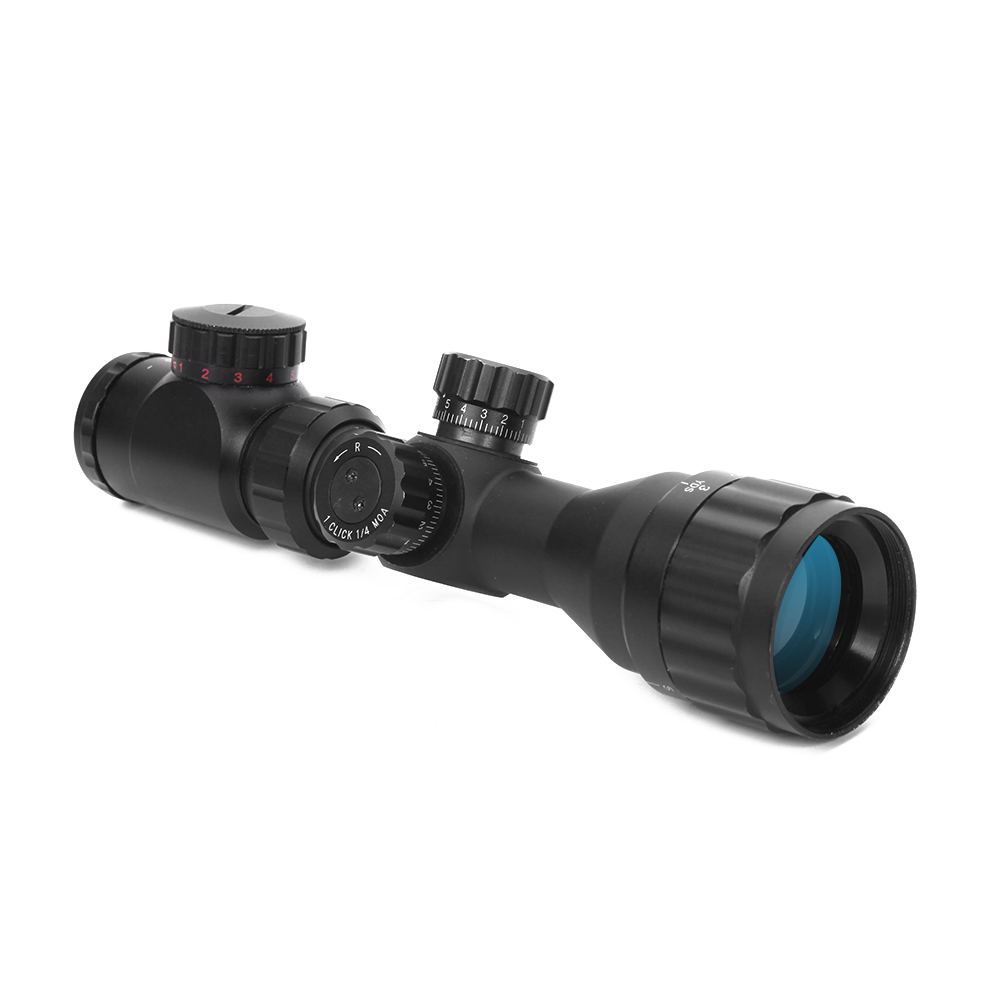
How many clicks are in 1 MOA on a rifle scope?
Rifle scopes equipped with MOA turrets typically have click adjustments that correspond to fractions of an MOA. The most common click values are ¼ MOA per click or ⅛ MOA per click.
Example: ¼ MOA per click If your scope has ¼ MOA adjustments, it means that for every click you make on the elevation or windage turret, the point of impact shifts by ¼ MOA. To move the point of impact by 1 full MOA, you would need to make 4 clicks (4 clicks * ¼ MOA/click = 1 MOA). Similarly, an ⅛ MOA scope would require 8 clicks for 1 MOA.
How to Use MOA on a Rifle Scope
Using an MOA scope involves understanding how to apply these angular measurements for various shooting scenarios.
Adjusting Windage and Elevation: When zeroing your rifle or compensating for environmental factors, you’ll use the MOA click values on your turrets. For example, if your bullet is hitting 2 inches low at 100 yards with a ¼ MOA scope, you would need to move your point of impact up by 2 MOA (since 1 MOA is roughly 1 inch at 100 yards). This would require 8 clicks up (2 MOA * 4 clicks/MOA = 8 clicks).
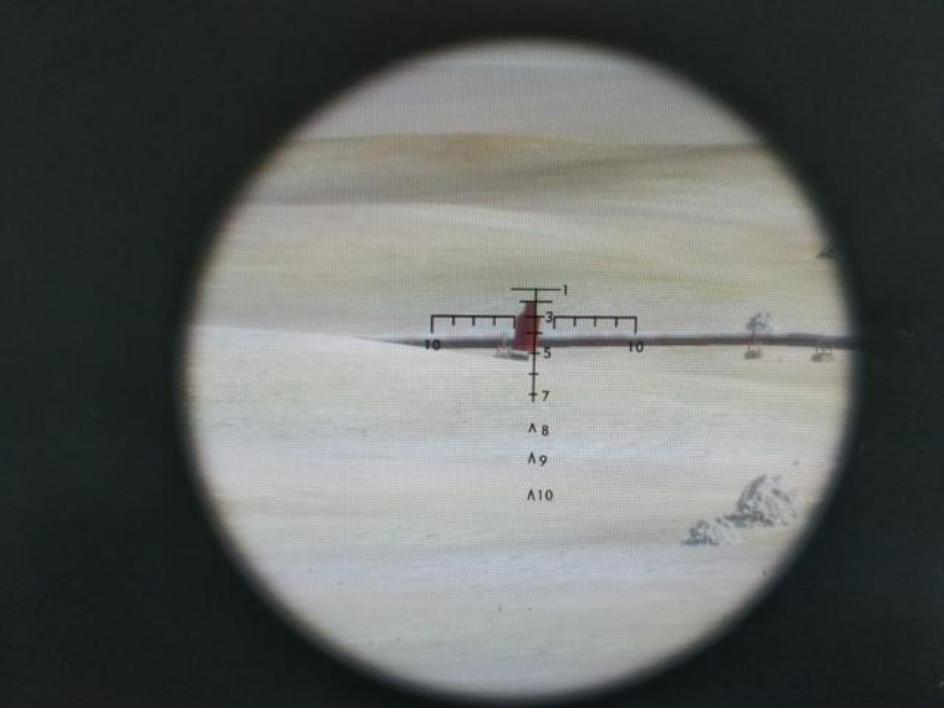
Using MOA reticles for ranging and holdover: Many MOA reticles feature hash marks or dots that are spaced at specific MOA intervals (e.g., 1 MOA, 2 MOA, 5 MOA). You can use these marks to estimate the size of a known object at an unknown distance, or to determine the required holdover for bullet drop. For instance, if you know a deer’s vitals are typically 10 inches tall and they fill 5 MOA on your reticle, you can calculate the approximate distance.
Reading an MOA scope for different distances: The beauty of angular measurements is that they scale with distance. If 1 MOA is 1 inch at 100 yards, it’s 2 inches at 200 yards, 3 inches at 300 yards, and so on. This consistent scaling allows shooters to apply MOA adjustments regardless of the range, as long as they know their ballistic data.
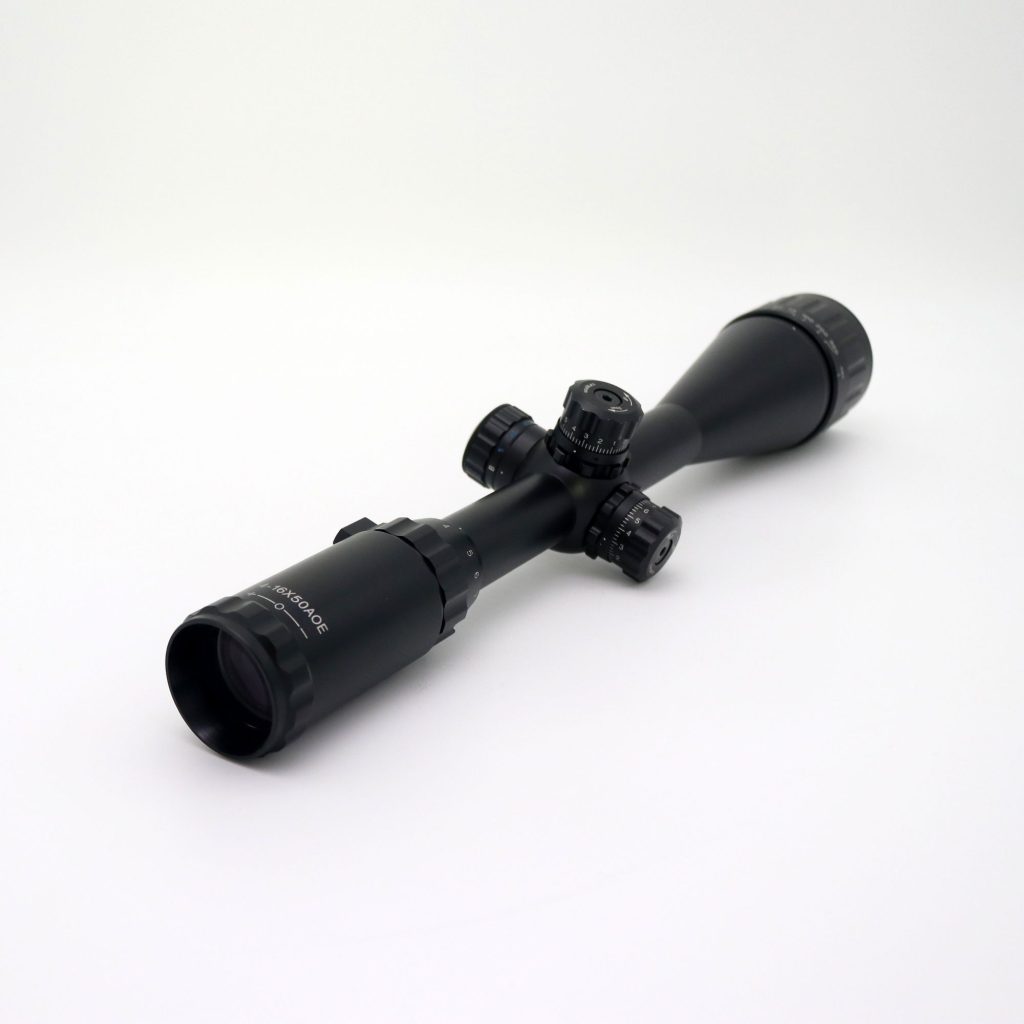
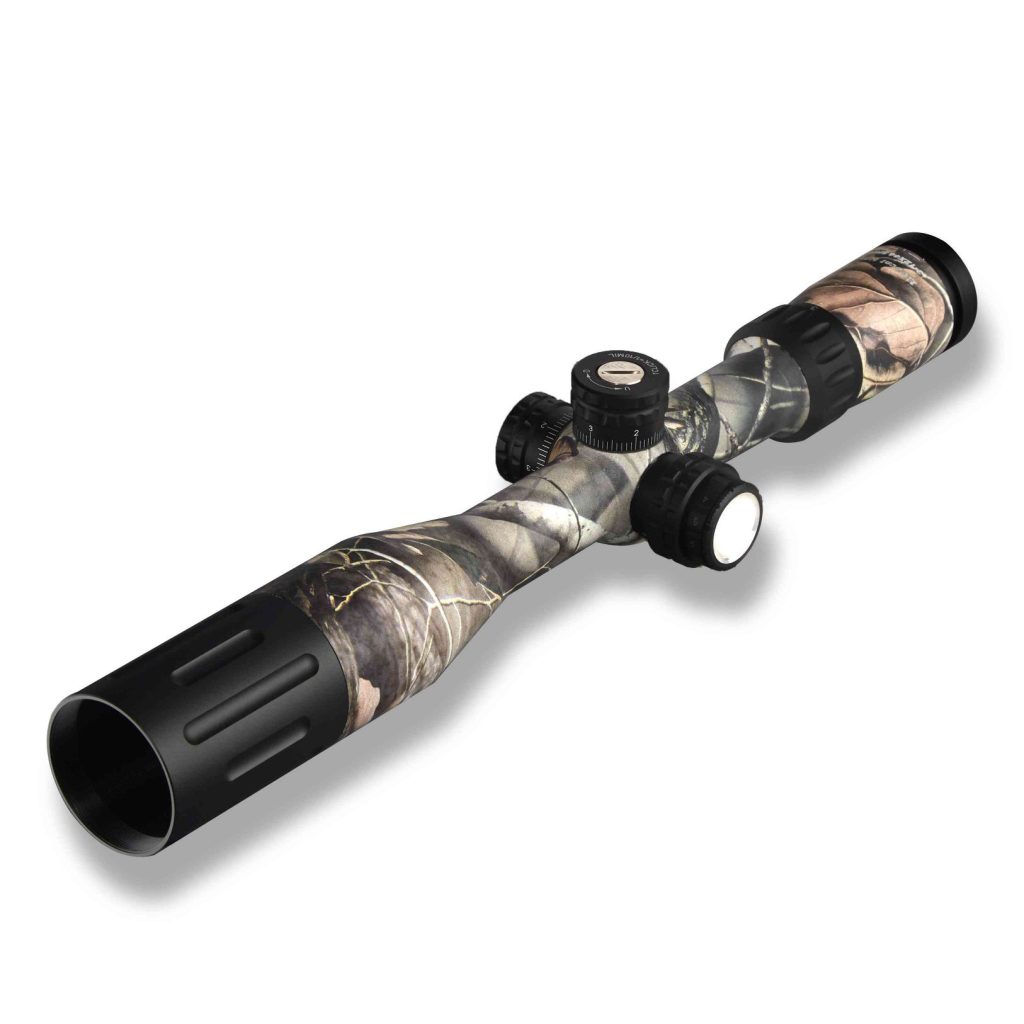
Rifle Scope with MOA Reticle
MOA reticles are a staple in many shooting disciplines due to their ease of understanding and application, particularly for those familiar with imperial measurements.
Common applications:
- Hunting: MOA reticles provide sufficient precision for typical hunting distances, allowing hunters to quickly estimate holdovers for various game.
- Benchrest Shooting: The fine adjustments offered by ¼ or ⅛ MOA clicks are crucial for achieving tight groups in precision benchrest competitions.
- General Sport Shooting: Many recreational shooters find MOA systems to be straightforward and effective for their needs.
Pros and cons of MOA reticles
| Pros | Cons |
| Intuitive for users familiar with inches | Can be less precise for extreme long-range calculations |
| Common in hunting and sport shooting | Requires conversion if working with metric distances or data |
| Fine adjustment capabilities (¼, ⅛ MOA) | Rounding 1 MOA to 1 inch at 100 yards can introduce minor errors |
The MOA system provides a robust and user-friendly framework for making precise adjustments and estimations. Its widespread adoption, especially among North American shooters, is a testament to its practical utility in a variety of shooting scenarios.
Mil-Dot (MRAD): The Metric Precision Tool
Mil-Dot, short for Milliradian (often abbreviated as MRAD or Mil), is a metric-based angular measurement system that has gained significant traction, particularly in tactical, military, and long-range shooting communities. Its strength lies in its mathematical precision and its seamless integration with metric units of distance.
How Does Mil-Dot Work on a Scope?
A Milliradian is another angular unit. Similar to MOA, it relates to the circumference of a circle. One radian is the angle subtended at the center of a circle by an arc equal in length to the radius. A milliradian is simply one-thousandth of a radian. At 100 yards, 1 Mil subtends 3.6 inches. When working with metric units, 1 Mil subtends 10 centimeters at 100 meters, or 1 meter at 1000 meters. This direct relationship to meters makes it highly efficient for those who think and operate in metric terms.
Mil-Dot reticles are characterized by a series of dots or hash marks, typically spaced at 1-Mil intervals. These dots serve as precise reference points for ranging, holdovers, and windage corrections.

How to Use Mil-Dot on a Rifle Scope
The utility of a Mil-Dot reticle becomes apparent when applied to real-world shooting scenarios, offering streamlined calculations, especially for metric distances.
Bullet Drop Compensation: When you know the ballistic trajectory of your bullet, you can use the Mil-Dot reticle to hold over for bullet drop. If your bullet drops 2 Mils at a certain distance, you simply aim with the 2-Mil mark on your reticle. This eliminates the need to adjust turrets for every shot, particularly useful in dynamic situations.
Windage Estimation: Similar to bullet drop, wind drift can be compensated for using the horizontal Mil-Dot markings. By observing the wind’s effect on your bullet and knowing the approximate wind speed, you can hold into the wind by a certain number of Mils.
Reading Holdover Marks: The Mil-Dot reticle provides a visual “ruler” for holdover. For instance, if you are engaging a target at 600 meters and your ballistic data indicates a 4.5 Mil drop, you would simply hold the 4.5 Mil mark on your reticle directly on the target.
Dot spacing for accurate range estimation: This is one of the most powerful features of the Mil-Dot system. By knowing the actual size of an object (height or width) and observing how many Mils it subtends in your reticle, you can accurately estimate the distance to that object using the following formula:
Distance (yards) = (Object Size in Inches × 27.78) / Mils Subtended
Distance (meters) = (Object Size in Centimeters) / (Mils Subtended × 0.1)
For example, if you know a standard human torso is approximately 18 inches wide and it appears to be 2 Mils wide in your reticle, the distance would be (18 * 27.78) / 2 = 250 yards. Or if a 1-meter tall target spans 1 Mil, it’s 1000 meters away.
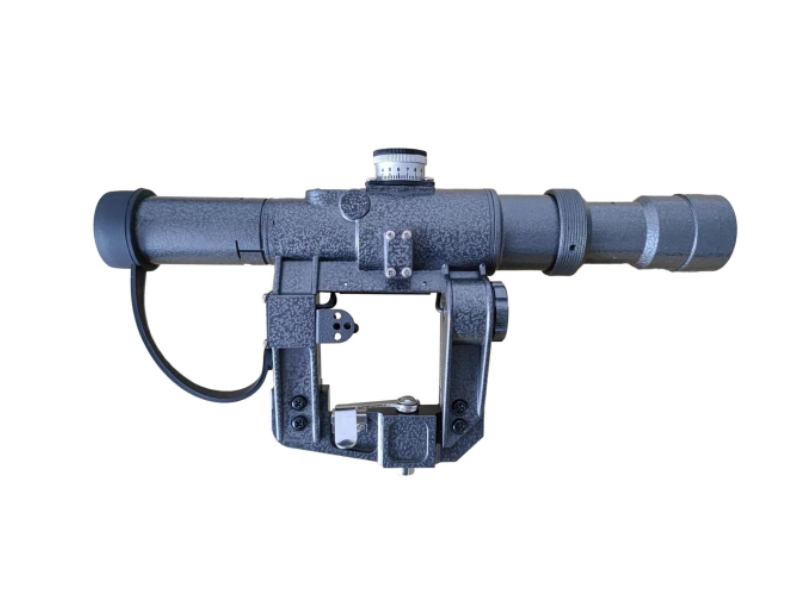
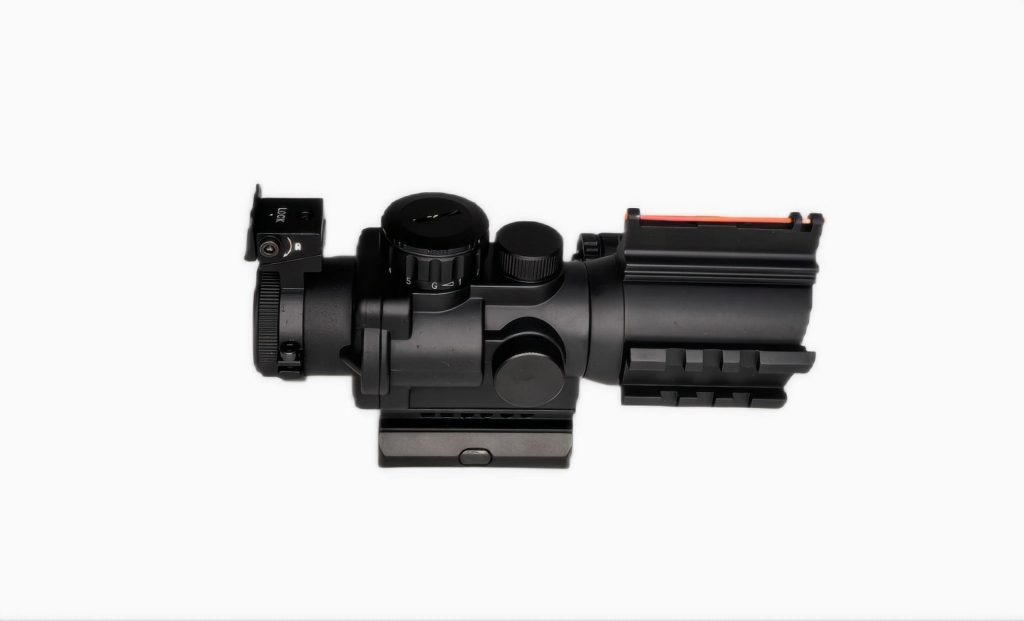
Rifle Scopes with Mil-Dot Reticle
Mil-Dot reticles are highly valued for their efficiency and precision in specific shooting environments.
- Common in tactical and military applications: The ability to rapidly range targets and make quick holdover adjustments without dialling turrets is critical in fast-paced tactical scenarios. Military snipers and law enforcement often prefer Mil-Dot for its quick calculations and compatibility with standardized operating procedures.
- Preferred for metric distance shooters: For shooters who consistently work with metric distances (meters, kilometers), the Mil-Dot system offers unparalleled convenience. Ballistic data, target distances, and environmental factors are often expressed in metric units, making the Mil-Dot reticle a natural fit.
The Mil-Dot system offers a highly efficient and precise method for long-range engagements, particularly for those operating within a metric framework. Its widespread adoption in professional circles underscores its effectiveness in demanding shooting situations.
MOA vs. Mil-Dot: Key Differences and How to Choose
The choice between MOA and Mil-Dot often comes down to individual preference, primary application, and familiarity with measurement systems. While both are highly effective angular measurement systems, their core differences dictate their suitability for various users.
Core Differences Between MOA and Mil-Dot
The table below summarizes the fundamental distinctions between MOA and Mil-Dot, providing a quick reference for comparison.
| Factor | MOA | Mil-Dot (MRAD) |
| Measurement | Imperial (Inches/Yards) | Metric (cm/m or mRad) |
| Click Value | Commonly ¼ or ⅛ MOA | Commonly 0.1 Mil |
| Ease of Use | More intuitive for US shooters | Easier with metric distances |
| Applications | Hunting, sport shooting, benchrest | Tactical, long-range, military |
| Visual Reticle | Smaller divisions, finer hash marks | Wider spacing (dots), more pronounced |
| Subtension | 1.047 inches at 100 yards | 3.6 inches at 100 yards (10 cm at 100m) |
When to Choose Each Reticle System
The decision hinges on your specific shooting context and personal preferences. There’s no inherently “superior” system; rather, it’s about finding the best fit for your needs.
Choose MOA if:
- You’re accustomed to imperial measurements: If you think in inches and yards, and your ballistic data is presented in these units, MOA will feel more natural and require fewer conversions.
- You primarily do hunting or competition in yards/inches: For most hunting scenarios and many domestic shooting competitions, MOA offers sufficient precision and an intuitive experience.
- You prefer finer adjustments: The smaller click values (¼ or ⅛ MOA) can be advantageous for extremely precise adjustments, often found in benchrest shooting.
Choose Mil-Dot if:
- You prefer metric measurements: If you work with meters and centimeters, Mil-Dot will streamline your calculations and reduce the potential for errors.
- You are involved in tactical/long-range shooting: The Mil-Dot system’s rapid ranging and holdover capabilities are highly valued in dynamic, long-range engagements where speed and efficiency are critical.
- You participate in military or professional applications: Mil-Dot is the standard in many military and law enforcement organizations worldwide, ensuring compatibility and standardized communication.
- You appreciate direct scaling for quick ranging: The clean 1 Mil = 1 meter at 1000 meters relationship simplifies long-range calculations.
Ultimately, the best reticle system is the one that allows you to make rapid, accurate, and consistent adjustments based on your shooting environment and measurement preferences.
Common Questions: MOA vs Mil Explained (FAQs)
As you delve deeper into the world of rifle scopes, several common questions often arise when comparing MOA and Mil-Dot systems. Addressing these FAQs can further clarify which reticle is right for you.
Q1: Which system is easier for beginners: MOA or Mil?
For beginners, the “easier” system often depends on their background. If a beginner is in the United States and is more familiar with imperial measurements (inches, yards), MOA tends to be more intuitive initially because 1 MOA is often approximated as 1 inch at 100 yards. This simple relationship can make initial calculations seem less daunting.
However, for a beginner comfortable with the metric system, Mil-Dot can be equally intuitive due to its direct relationship with meters and centimeters (e.g., 1 Mil = 10 cm at 100 meters). Ultimately, both systems require dedicated practice to master.
Q2: Can I mix MOA turrets with a Mil-Dot reticle?
While technically possible, mixing MOA turrets with a Mil-Dot reticle (or vice versa) is generally not recommended for most shooters, especially beginners. This creates a conversion headache in the field. If your reticle is Mil-Dot and your turrets are MOA, you’ll need to convert your Mil readings to MOA for turret adjustments, or vice-versa. This slows down the shooting process, increases the likelihood of error, and can be extremely frustrating under pressure.
For optimal performance and ease of use, it is highly recommended to have a scope where the reticle and turrets are in the same unit (e.g., MOA/MOA or Mil/Mil).
Q3: How do weather or elevation changes affect MOA adjustments?
Weather and elevation changes significantly affect a bullet’s trajectory, and consequently, your MOA (or Mil) adjustments.
- Air Density: Higher elevation generally means thinner air, which reduces air resistance on the bullet, causing it to fly flatter and require less elevation holdover.
- Temperature: Higher temperatures also decrease air density, leading to similar effects as higher elevation. Colder temperatures increase air density, causing more drag and requiring more elevation.
- Humidity: While less impactful than temperature and elevation, high humidity slightly decreases air density.
- Barometric Pressure: This is the most direct measure of air density. A drop in barometric pressure (often associated with storms or higher elevation) means less dense air, requiring less elevation adjustment.
To account for these changes, serious shooters use ballistic calculators (apps or devices) that incorporate current atmospheric conditions (temperature, humidity, elevation, barometric pressure) to provide precise MOA or Mil adjustments for various distances. Without these calculations, your MOA adjustments will only be accurate for the conditions under which you zeroed your rifle.
Q4: How do I convert MOA to Mil (and vice versa)?
Conversions are straightforward but require a consistent multiplier.
MOA to Mil: 1 MOA ≈ 0.291 Mil
So, to convert MOA to Mil, multiply your MOA value by 0.291.
Example: 10 MOA = 10 * 0.291 = 2.91 Mil
Mil to MOA: 1 Mil ≈ 3.437 MOA
So, to convert Mil to MOA, multiply your Mil value by 3.437.
Example: 2 Mil = 2 * 3.437 = 6.874 MOA
These conversion factors are crucial if you find yourself with mismatched turrets and reticles, or if you’re communicating with shooters using a different system.
Q5: What does it mean if a scope has 100 MOA adjustment?
When a scope is advertised with “100 MOA adjustment,” it refers to the total internal elevation travel available in the scope. This means the erector system inside the scope can move the point of impact up or down by a combined total of 100 MOA from its mechanical center.
For example, a scope with 100 MOA of total adjustment might offer 50 MOA of “up” adjustment from its optical center and 50 MOA of “down” adjustment. A higher total MOA adjustment range is crucial for extreme long-range shooting. As distances increase, the bullet drop becomes significant, requiring substantial elevation compensation. Scopes with less total adjustment might “run out of clicks” before you can reach very distant targets, forcing you to use substantial holdover on the reticle, which can be less precise. Therefore, 100 MOA or more adjustment capacity is highly beneficial for shooters pushing the limits of long-range precision.
Final Thoughts and Selection Tips
Choosing between MOA and Mil-Dot boils down to personal preference and shooting needs. MOA suits hunters and beginners who prefer precision in imperial measurements. Mil-Dot excels in tactical and metric environments, especially for long-range engagements.
Avoid mixing systems unless you are highly experienced or reliant on conversion tools. Above all, match your reticle system to your preferred measurement system and shooting applications for the best results.