
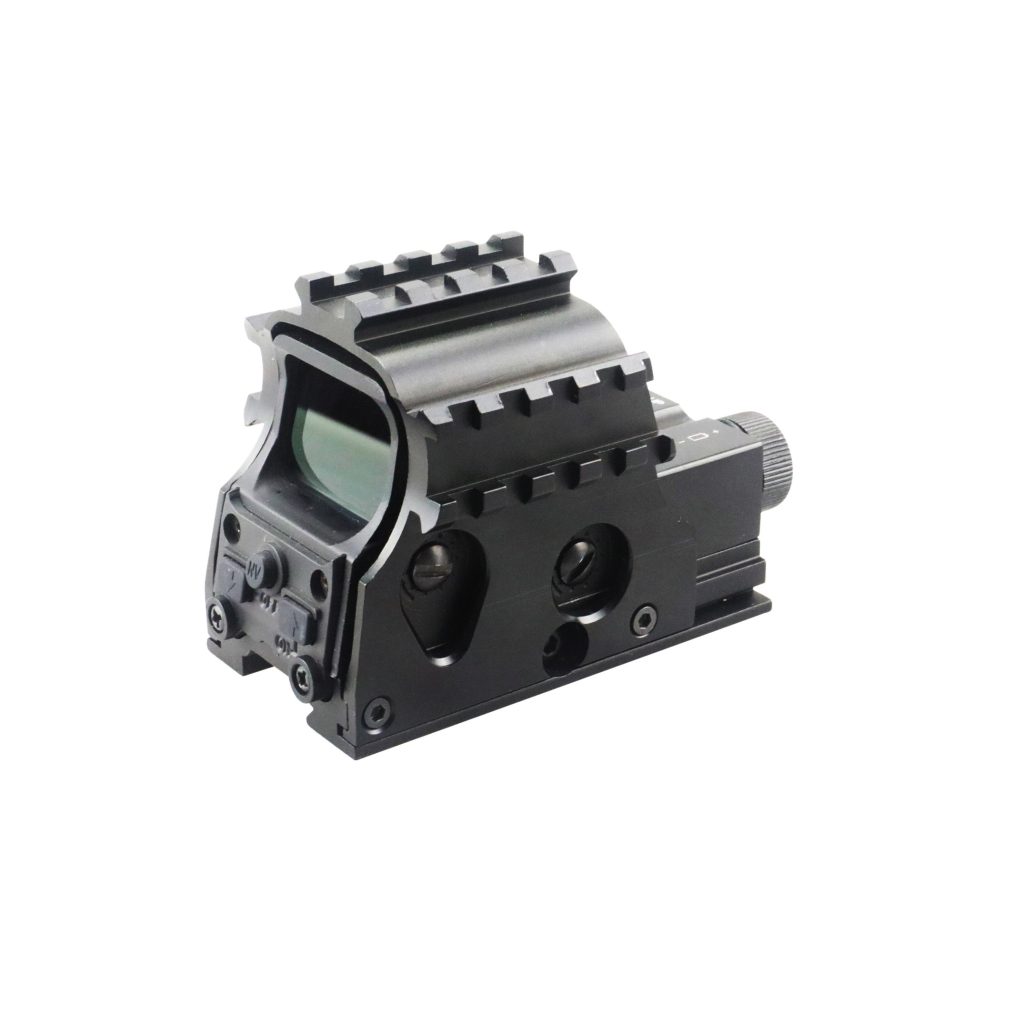
Red Dot Magnifiers
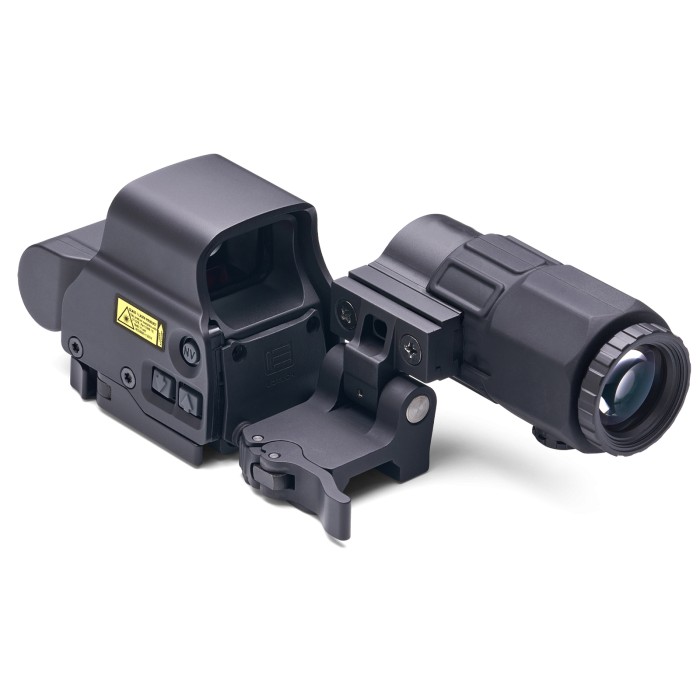
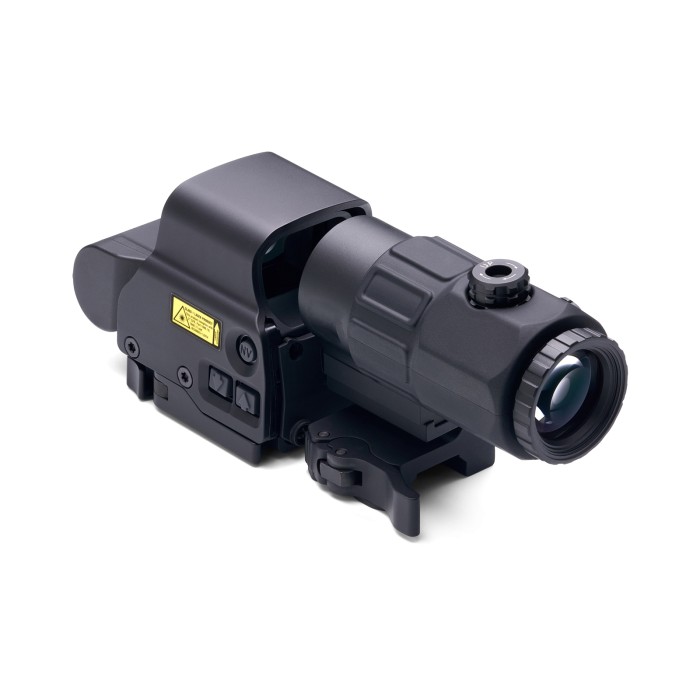
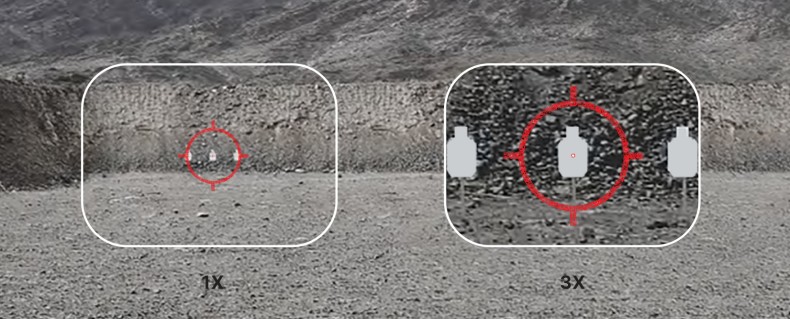
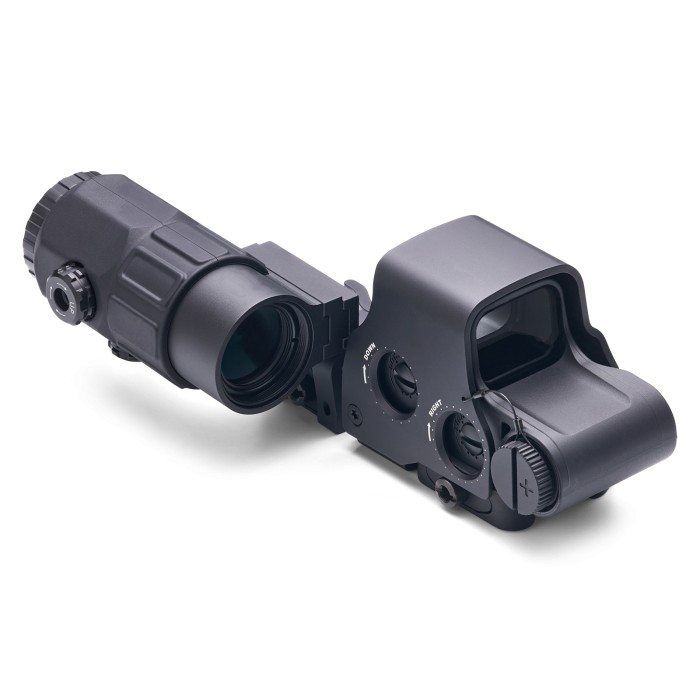
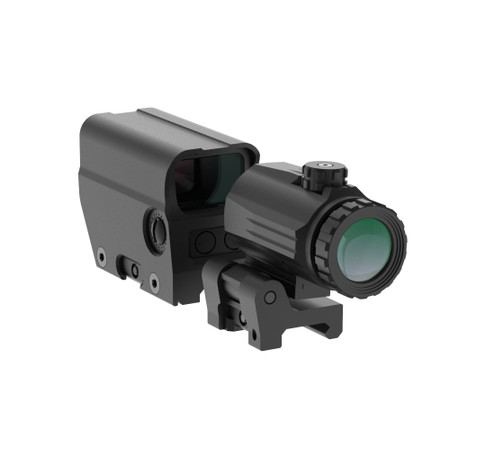
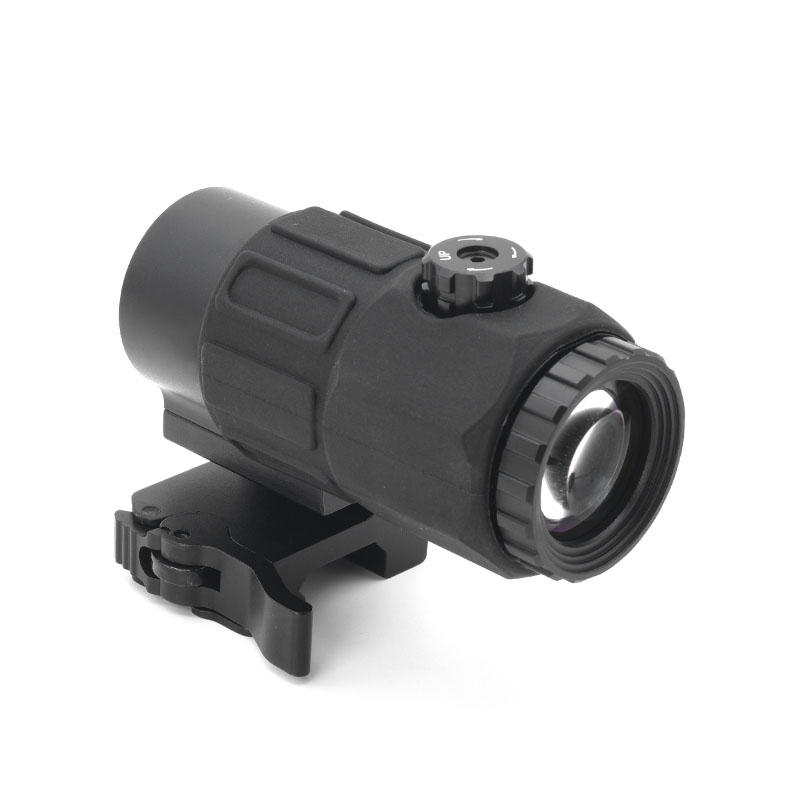
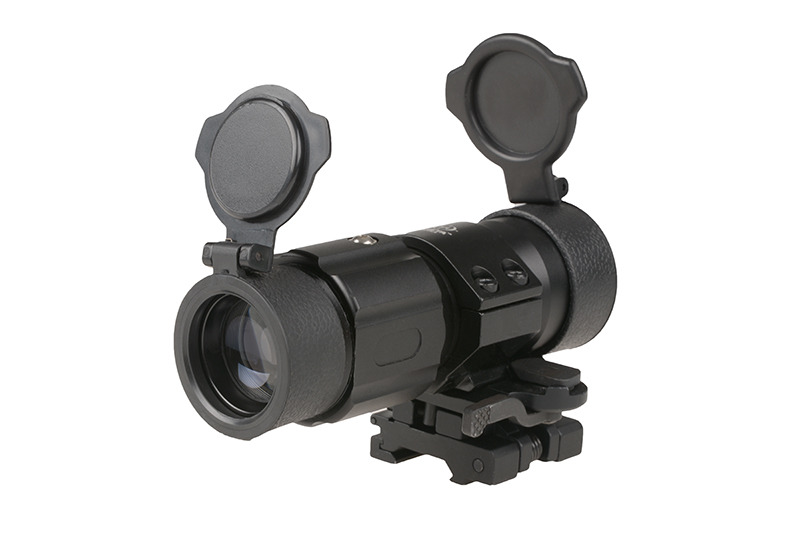
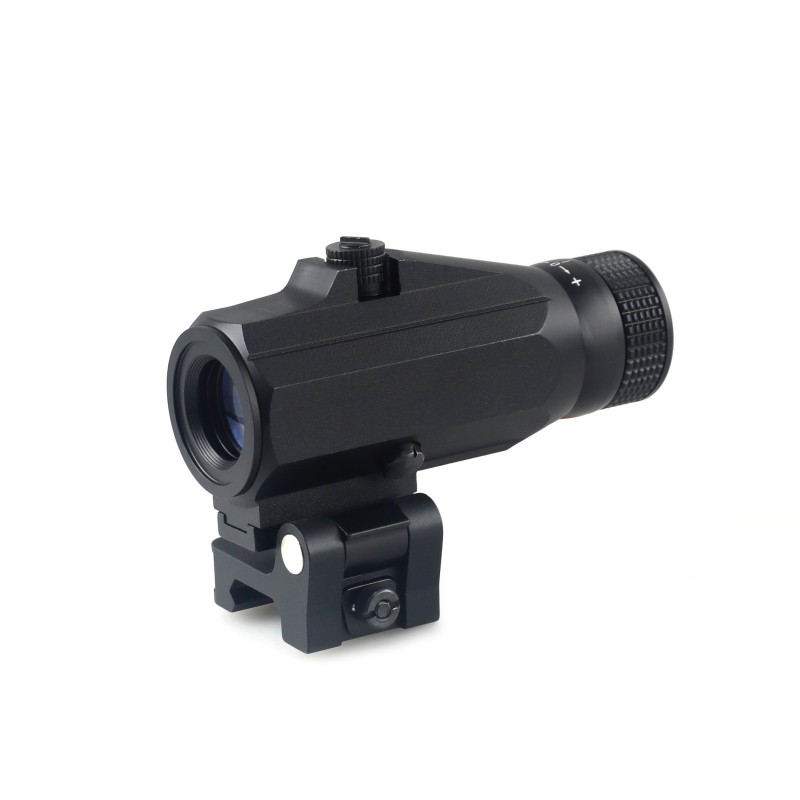
A red dot magnifier is a standalone optical accessory designed to be used in conjunction with a red dot sight. In essence, it is a compact monocular, typically with a magnification of 3× (also available in 4×, 5×, or even 6×), mounted behind the red dot sight. When medium- to long-range engagement is required, the magnifier can be rotated into position behind the red dot, allowing the shooter to observe the target through a magnified field of view while seeing the red dot enlarged at the same time, thereby improving aiming precision. When magnification is not needed, the magnifier can be flipped to the side, leaving the shooter an unobstructed, unmagnified field of view for close-range shooting. This configuration gives red dot sights a form of “instant magnification,” without the need to change optics, making it extremely popular in military, law-enforcement, and competitive shooting applications. For users who must handle varying engagement distances within the same mission, a red dot magnifier is often the optimal solution. Compared with fixed low-power optics such as ACOGs or LPVOs, it offers greater flexibility and lighter overall weight, while preserving the red dot’s advantage of rapid target acquisition.
Design considerations for red dot magnifiers involve both optical and mechanical requirements.
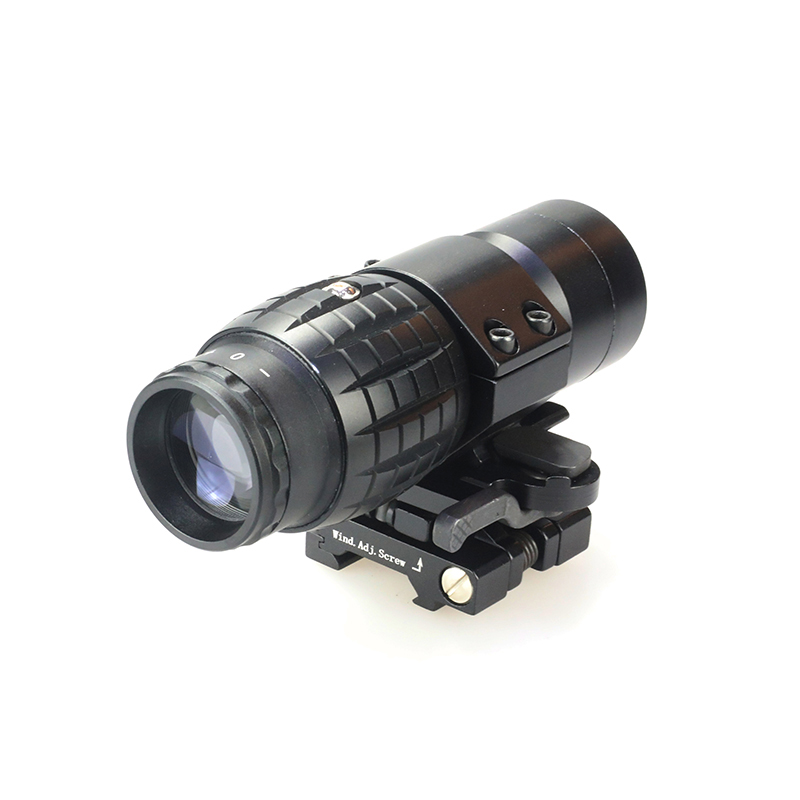
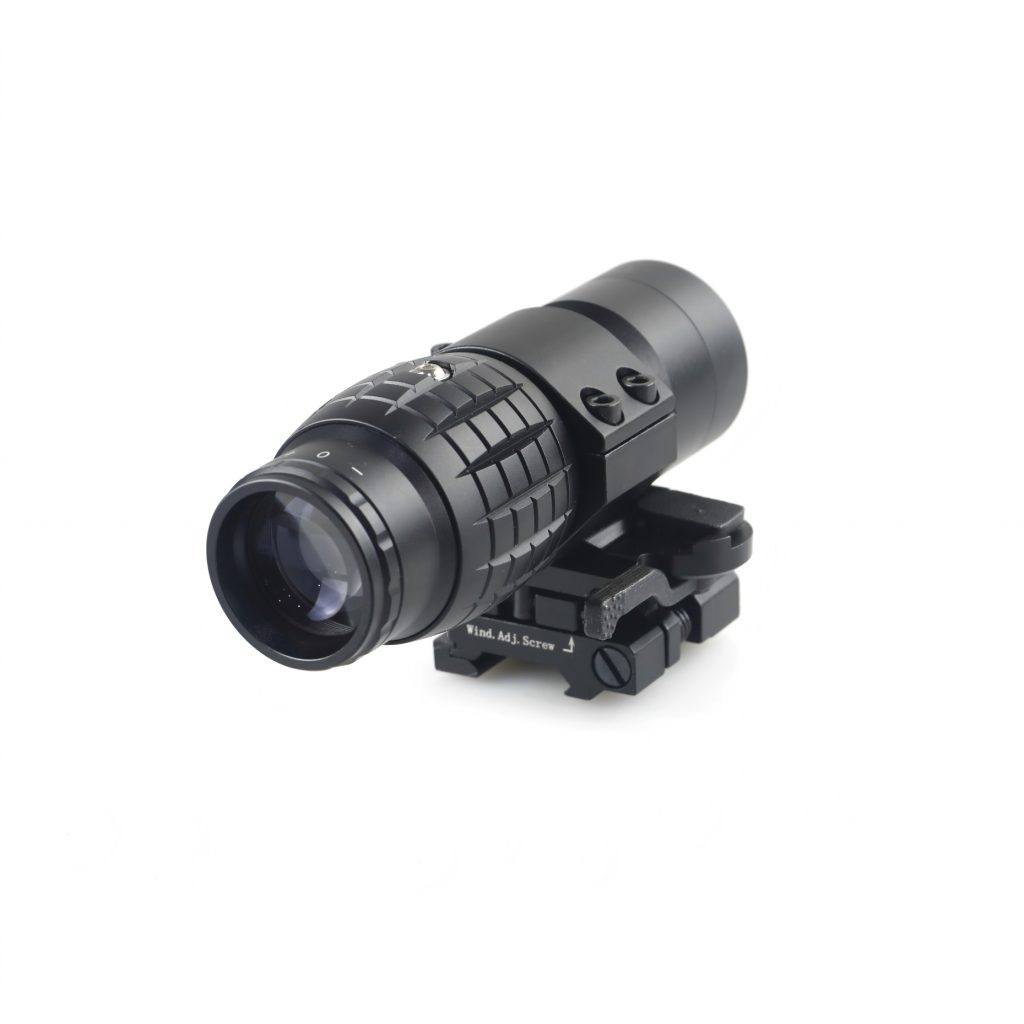
- In terms of optical performance, a high-quality magnifier must provide high light transmission, a sufficiently wide field of view, and an appropriate exit pupil distance to deliver a bright, clear image without demanding excessively precise eye positioning. A typical 3× magnifier offers a field of view of around 7 degrees (covering approximately 12 meters in width at 100 meters). Eye relief usually falls in the range of 50–70 mm, which both ensures eye safety and allows for quick sight acquisition. To achieve a bright and sharp image, all lens surfaces require multi-layer anti-reflection coatings to minimize light loss and glare.
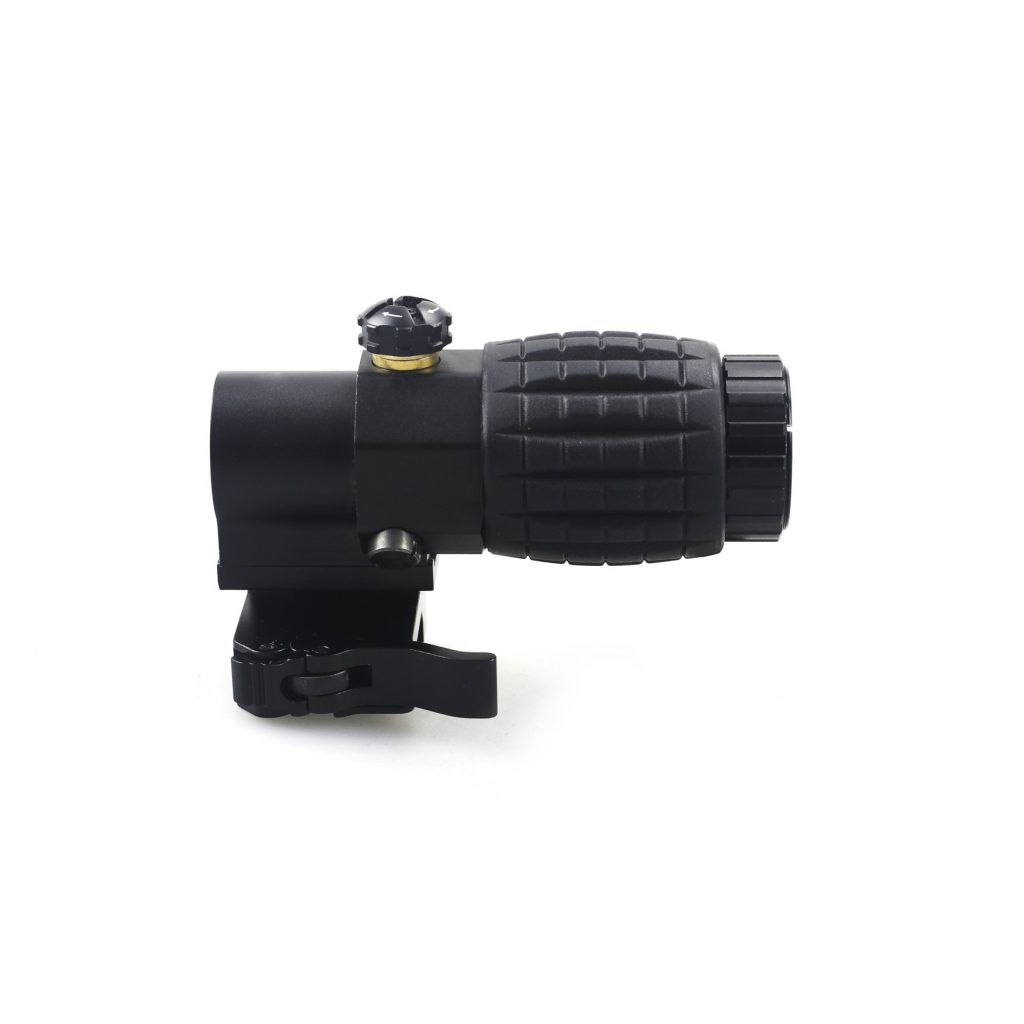
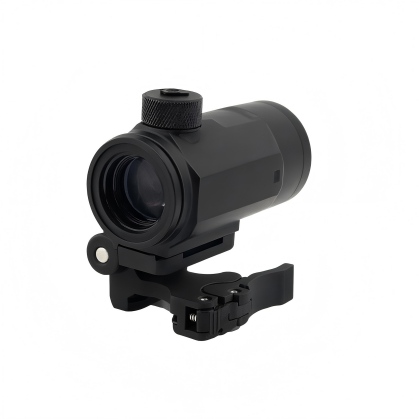
- The flip–to–side mechanism is another critical element. A magnifier must be equipped with a robust and smooth side-folding mount that allows the shooter to flip the magnifier into alignment behind the red dot quickly, often with one hand, and to secure it firmly to the side when not in use without wobble. Common designs include spring-loaded hinges and push-button release flip mounts. Some mounts allow left- or right-side flipping to accommodate different dominant-hand users. The mechanism must also incorporate clear detent positions (“hard stops”), ensuring that the magnifier locks positively when centered on the optical axis or when rotated 90 degrees to the side, without intruding into the shooter’s line of sight.
- Diopter and optical axis adjustment are equally important. Most red dot magnifiers feature a diopter adjustment ring at the eyepiece, allowing shooters with different eyesight to fine-tune focus for a sharp image. Higher-end magnifiers also provide optical axis centering capability through internal micro-adjustment screws, allowing the red dot to be centered within the magnified field of view. Even very small misalignment between the magnifier and the red dot can cause the dot to appear off-center, so these adjustments compensate for slight non-parallelism. FORESEEN places particular emphasis on this aspect: during production, we inspect each magnifier individually using precision collimation equipment, ensuring that optical axis deviation relative to a standard red dot is kept within extremely tight tolerances. As a result, end users typically need only minimal fine adjustment after installation to achieve perfect centering.
- Durability and protection are also critical, as magnifiers are tactical optics used alongside red dot sights. Waterproofing, dust resistance, and impact resistance must match the level of the primary optic. High-quality magnifiers often meet IP67 or even IP68 standards and use nitrogen purging to prevent internal fogging. An IP67-rated, nitrogen-sealed magnifier can operate reliably in wet and humid environments without water ingress or fogging. Our products undergo rigorous airtightness testing as well as shock and vibration testing prior to shipment to ensure reliability across a wide range of conditions.
- Lightweight construction is another key consideration. Although a magnifier adds an additional optical group, modern designs aim to remain compact and lightweight to minimize effects on weapon balance and portability. Most of our current mainstream 3× magnifiers weigh under 300 grams (approximately 10 oz). To achieve this, we typically use high-strength aluminum alloys such as 6061-T6 or 7075-T6 for the housing and reduce excess mass through optimized optical path length and skeletonized mounting structures.
Why FORESEEN?
FORESEEN’s advantages lie in our deep expertise in both optical design and mechanical engineering, enabling us to deliver high–quality red dot magnifier solutions for our customers.
Our optical engineering team can design lens systems at specific magnifications (2×, 3×, 4×, 5×, 6×, etc.), carefully optimizing field of view and eye relief while employing advanced multi-layer coating processes to ensure industry-leading brightness and clarity in the magnified image. On the mechanical side, we have extensive experience developing flip-to-side mechanisms and can offer multiple configurations, from push-button spring-loaded designs to rotary locking systems. All mechanisms undergo thousands of flip-cycle endurance tests to ensure smooth and reliable operation under real-world conditions, without loosening or positional shift.
FORESEEN places particular emphasis on optical axis consistency. During magnifier assembly and alignment, we use laser collimation and parallel light tube inspection, individually fine-adjusting each unit so that it leaves the factory already aligned with a reference red dot. This ensures that end users achieve proper co-axial aiming immediately after installation.
Where further refinement is desired, our magnifiers also provide intuitive external zeroing adjustments. Through precision CNC machining and strict assembly control, our magnifier housings achieve an excellent balance of strength and low weight, with material options such as 7075 aluminum or specialty alloys, and surface treatments including anodizing or electrophoretic coatings to visually match the primary optic.
Our quality control system ensures that every magnifier undergoes comprehensive testing for airtightness, optical resolution, and shock/vibration resistance, meeting the same military-grade standards as our red dot sights.
For OEM customers seeking a complete “red dot + magnifier” solution, FORESEEN can deliver perfectly matched product pairs, providing end users with a seamless experience—effective from close-quarters engagements to extended distances, all within a single integrated system.
800G Recoil Resistance
Selectable 2–7× Optical Magnification
Distortion‑free Magnified Imaging
90% Optical Light Transmission
FORESEEN Red Dot Magnifier Series

Choose from our base models and add custom features—we’ll redesign it to meet your needs.
Click the inquiry button and tell us what you’re looking for.
POPULAR SCOPES & SIGHTS FOR YOU


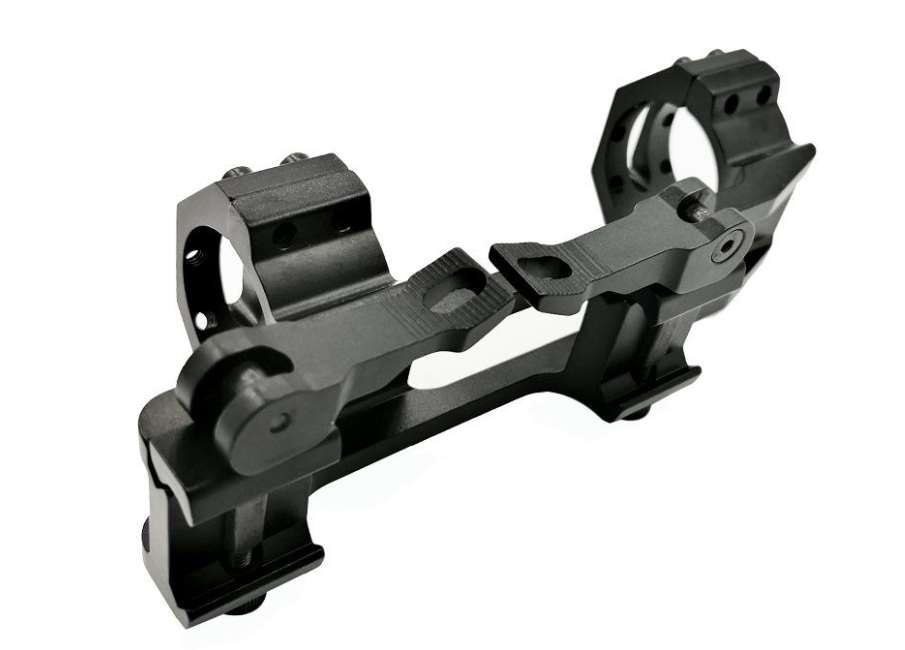
How to Mount a Magnifier and Red Dot Sight on Your Rifle?
Below is the FORESEEN OPTICS universal mounting and alignment procedure for red dot sights and magnifiers, applicable to most brands and models:
Step 1: Install the Red Dot Sight and Zero
- Select Rail Position
Mount the red dot sight on the upper rail at a comfortable eye-to-eyepiece distance (typically 2–3 finger widths).
- Secure the Base
Evenly tighten the mounting clamp screws with a wrench or screwdriver to the manufacturer’s recommended torque (usually 15–20 in-lb).
- Zero the Sight
- Rest the rifle on a stable bench or sandbag and align with the center of your target.
- Adjust the sight’s windage (left/right) and elevation (up/down) turrets until the reticle is centered on the bullseye.
- Fire multiple groups to confirm impact points cluster on the bullseye, completing a one-time zero.
Step 2: Mount the Magnifier and Lock
- Position the Magnifier
Slide the magnifier onto the same rail behind the red dot sight, keeping their optical axes as close as possible to avoid gaps.
- Secure the Quick-Detach Base
Close and lock the quick-detach lever or tighten the rail clamps, ensuring no front-to-back or side-to-side movement.
- Verify Installation
Gently tug the magnifier to confirm it’s firmly locked; operate the quick-detach mechanism to verify smooth, reliable action.
Step 3: Flip Out the Magnifier and Fine-Tune Alignment
- Engage Magnification Mode
Flip the magnifier from its stowed position into the shooting position until it clicks into place.
- Focus the Eyepiece
Adjust the diopter ring on the magnifier until both reticle and target are sharp.
- Horizontal/Vertical Micro-Adjust
- If the reticle isn’t centered in the magnified field, use the magnifier’s horizontal and vertical adjustment knobs (or set screws) to nudge it back to center.
- Make very small adjustments, checking after each until the reticle is perfectly centered.
Step 4: Self-Check and Stability Test
- Mode-Switch Test
Toggle between stowed and deployed positions several times to ensure the reticle returns to center without re-adjustment.
- Shooting Stability
Fire a few rounds and observe the magnified reticle for any shift caused by recoil or vibration.
- Final Verification
- Stow the magnifier and confirm the red dot sight’s zero remains unchanged.
- Deploy the magnifier and again verify the reticle aligns with the original zero.
After completing this universal procedure, you can freely switch between 1× (red dot) and magnified modes while maintaining consistent zero and precise aiming.
FORESEEN One-stop Service,
Save Worry, Save Trouble, Save Cost

Stock Combination Delivery

Solution Matching

Development from Scratch

Quick Customization

Deep Customization


Choosing Foreseenoptics.com as our scope supplier was a critical step in our success. Their products are of top quality and are always delivered on time and within budget. Foreseenoptics.com’s reliability and quality service have given us confidence in their products and they have become a trusted partner.

Foreseenoptics.com scopes have greatly improved our shooting accuracy. Their optical clarity and rugged construction make it easy to lock on to our targets in a variety of environments. This combination of performance and quality gives us confidence in these products. Whether for daily training or competition, Foreseenoptics.com scopes deliver outstanding performance.
Foreseen’s scopes not only perform well, but are also durable enough to withstand heavy use. These scopes are also designed to be aesthetically pleasing, combining practicality with visual appeal. We have used Foreseenoptics.com products on multiple projects and they have consistently delivered quality performance and appearance, giving us confidence in our future collaborations.


