Night hunting is an exhilarating activity that requires specialized equipment to ensure safety and success. Scopes for night hunting have revolutionized the way hunters pursue game after the sun sets. The ability to clearly see in low-light or no-light conditions offers a significant advantage, opening up new opportunities for successful hunts. However, selecting the right night hunting scope can be a complex process, requiring careful consideration of various factors. This article will guide you through the essential aspects, from understanding the different types of scopes available to navigating legal restrictions and ensuring safe usage.
Types of Scopes for Night Use
Night hunting scopes primarily fall into two main categories: thermal imaging scopes and night vision scopes (image intensifiers). Each technology operates on a fundamentally different principle and offers distinct advantages and disadvantages.
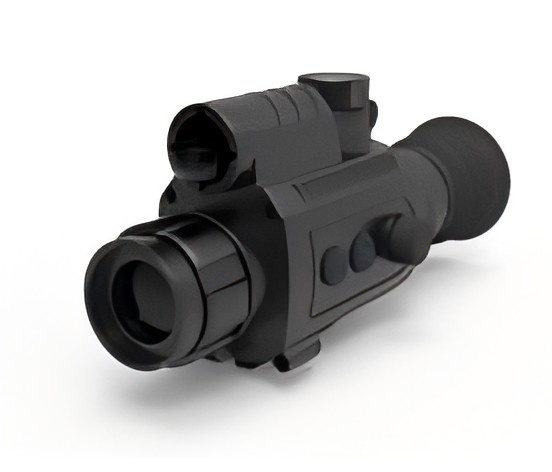
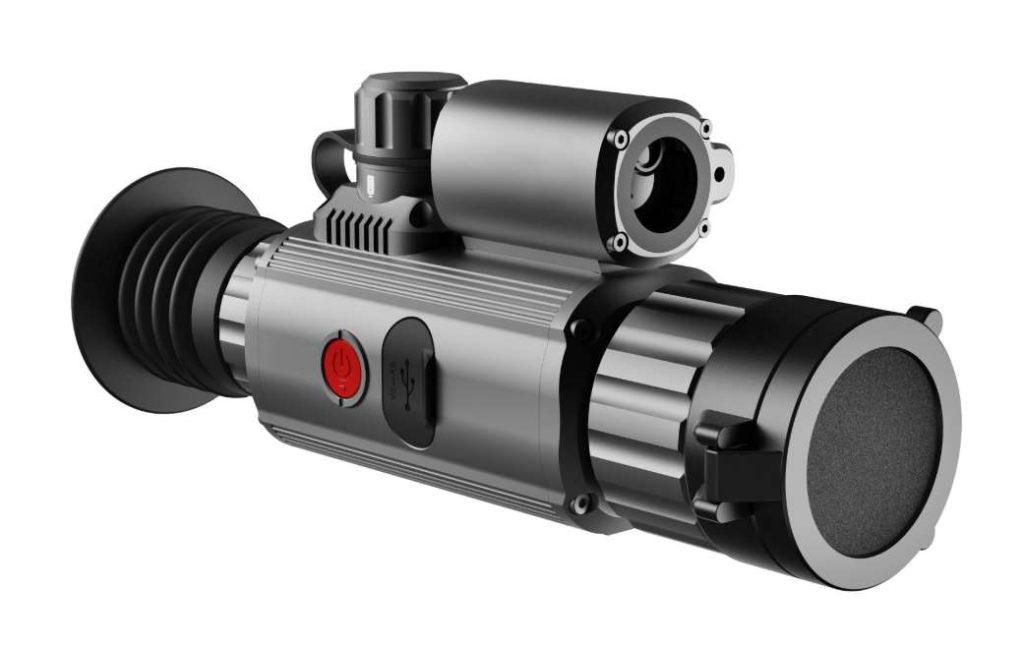
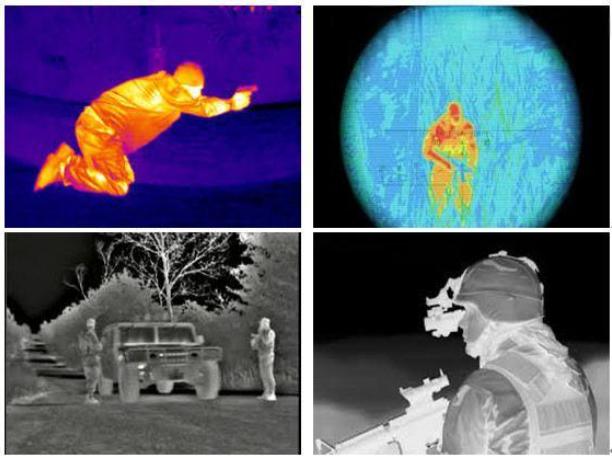
Thermal Imaging Scopes: These scopes detect heat signatures emitted by objects, creating an image based on temperature differences. Warmer objects appear brighter, allowing hunters to easily spot game against a cooler background, regardless of ambient light.
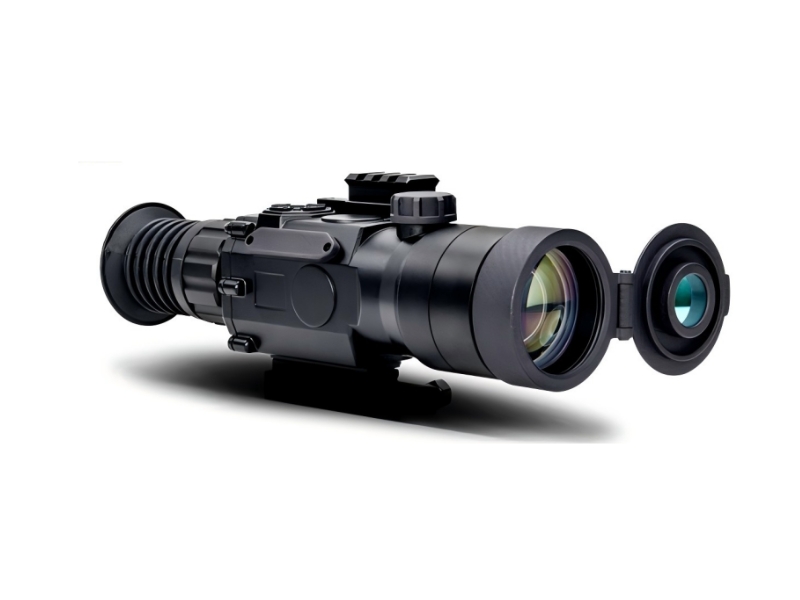
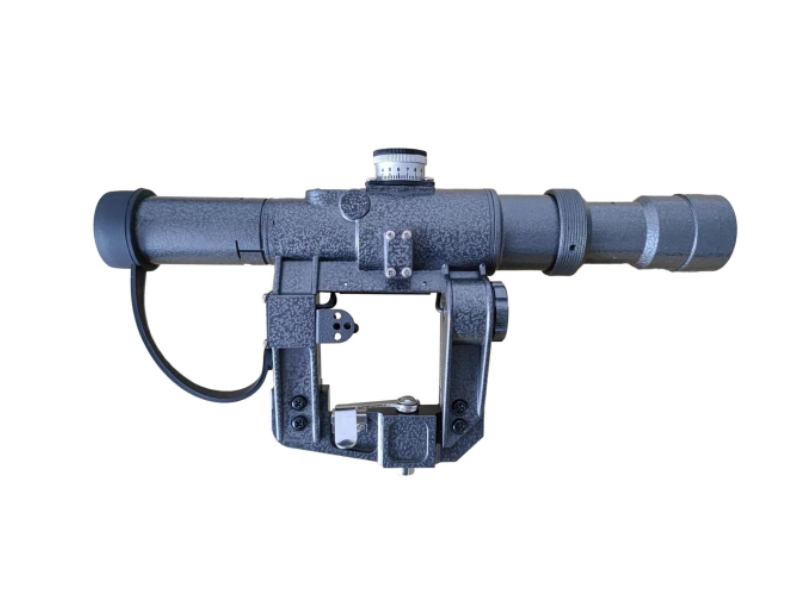
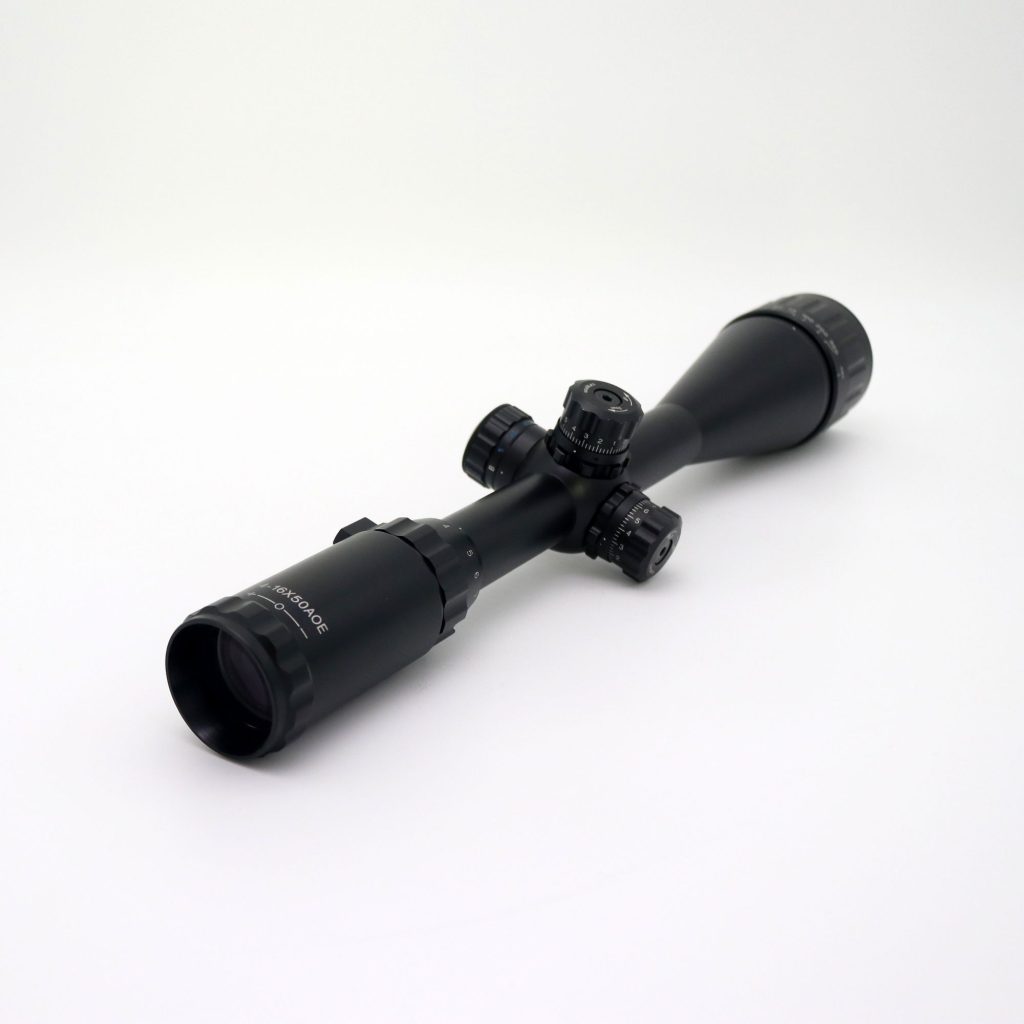
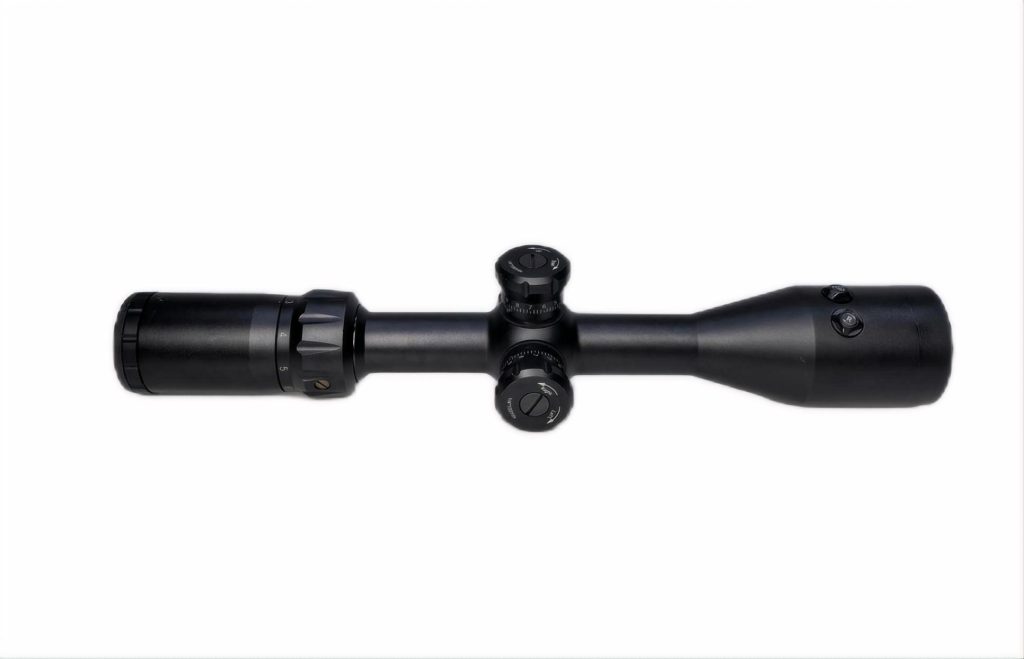
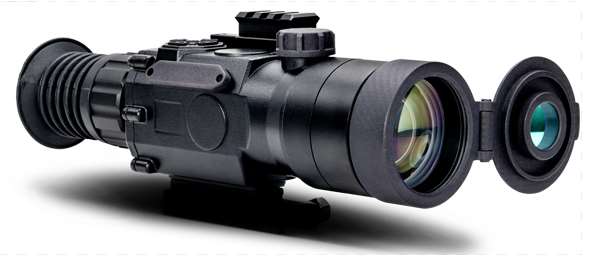
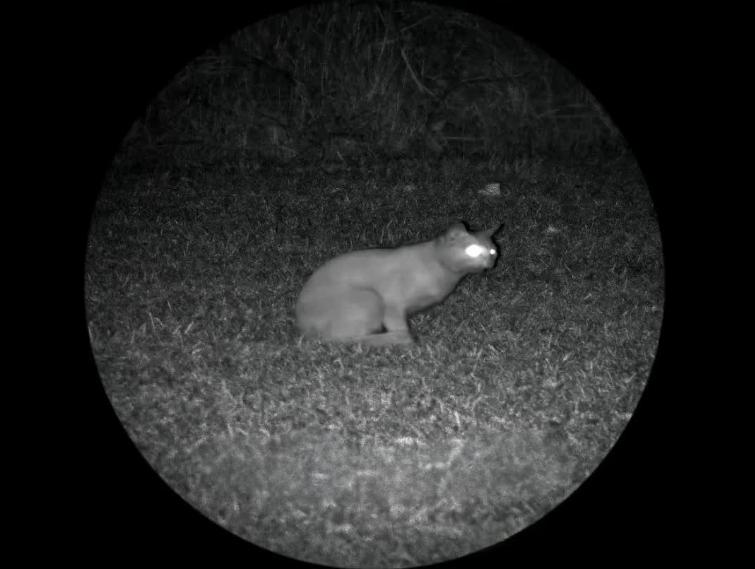
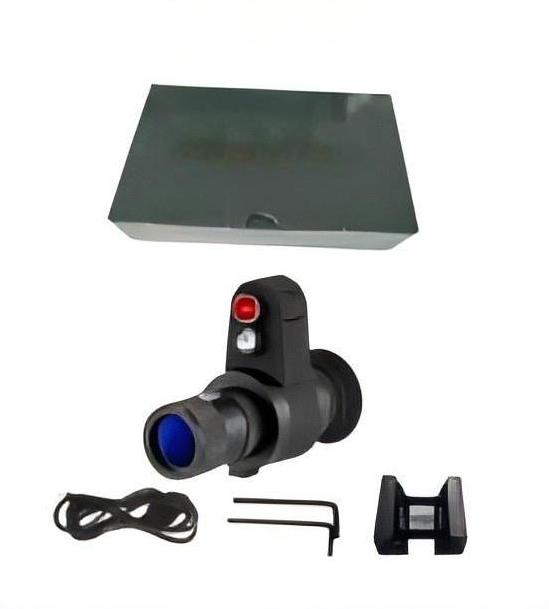
Night Vision Scopes (Image Intensifiers): These scopes amplify existing ambient light (starlight, moonlight, or artificial light) to create a visible image. They work by collecting photons through an objective lens, passing them through an image intensifier tube, which multiplies the number of photons, and then projecting the intensified image onto a phosphor screen that the user views.
Here is a detailed comparison of two types of night hunting scopes:
| Feature | Night Vision Scopes | Thermal Scopes |
| Detection Principle | Amplifies ambient light or uses infrared light | Detects heat signatures emitted by objects |
| Effective Range | 100-300 yards (depending on generation) | 500-1,000+ yards (depending on model) |
| Sensor Resolution | 640×480 to 1280×720 (varies by generation) | 160×120 to 640×480 (thermal imaging resolution) |
| Refresh Rate | Typically 30-60 Hz | Typically 30-60 Hz |
| Magnification | 1x to 10x (optical or digital zoom) | 1x to 16x (digital zoom; higher-end models) |
| Suitable Environment | Best with some ambient light; moonlit areas | Works in total darkness, fog, or dense foliage |
| Typical Price Range | $200-$4,000 | $1,000-$10,000 |
| Representative Brands | ATN, Pulsar, Sightmark | FLIR, Trijicon, Foreseen Optics |
Highlights:
Night Vision Scopes are more affordable and effective in environments with some ambient light but struggle in complete darkness or poor weather conditions.
Thermal Scopes excel in total darkness and can detect heat sources through obstacles like vegetation but come with a higher price tag.
Usage Methods and Practical Skills
Effectively utilizing a night hunting scope in the field demands more than just understanding its basic operation. It requires a refined set of skills and an understanding of how to adapt your techniques to various hunting environments and situations.
Key Operational Skills:
- Proper Mounting and Bore Sighting
Ensure your scope is securely and correctly mounted to your firearm according to the manufacturer’s instructions. Before heading into the field, perform a bore sight during daylight hours. This involves aligning the scope’s reticle with the firearm’s bore. While not a precise zero, it will get you on paper and significantly reduce the amount of adjustment needed at the range. For thermal and night vision scopes, pay close attention to eye relief and ensure a comfortable and consistent cheek weld for stable viewing.
- Zeroing Your Night Hunting Scope
Zeroing should be done at the range under conditions as similar as possible to your intended hunting environment (e.g., shooting distance).
- Thermal Scopes: Follow the manufacturer’s instructions for digital zeroing. Often, this involves taking a shot, then using on-screen menus to move the reticle to the point of impact. Repeat this process until you achieve your desired zero. Consider zeroing at a distance that aligns with your typical engagement range. For variable terrain, knowing your bullet drop at different distances is crucial.
- Night Vision Scopes: The zeroing process is similar to traditional daytime scopes, using the windage and elevation turrets. Ensure you have a clear target visible through the scope, potentially using a light source or an IR illuminator if necessary.
- Focus and Diopter Adjustment
Achieving a crisp and clear image is paramount.
- Objective Lens Focus: Adjust this to bring the target into sharp focus. This will likely need adjustment at different distances.
- Diopter Adjustment: This adjusts the reticle focus to your eye. Look at a plain background and adjust the diopter until the reticle appears sharp and clear. Once set for your eye, it generally doesn’t need frequent adjustment.
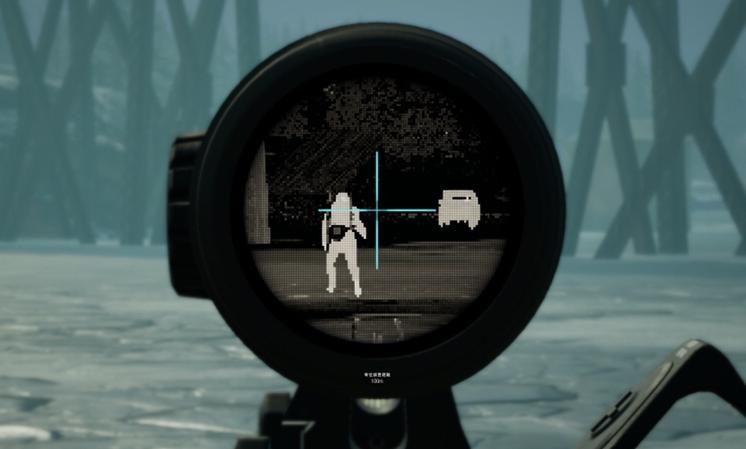
- Understanding and Utilizing Reticles
Night hunting scopes often feature various reticle designs. Familiarize yourself with your reticle and how to use any holdover points for different distances. Some advanced thermal scopes even allow you to customize reticle colors and styles.
Practical Hunting Techniques in Different Environments:
Open Fields and Long Ranges: In open areas, thermal scopes excel at initial detection due to their ability to spot heat signatures across distances. Employ slow, deliberate scanning, paying attention to any heat anomalies. Use a tripod or shooting sticks for maximum stability when taking longer shots. Understand the limitations of your scope’s identification range to ensure ethical shots. For night vision, utilize available ambient light and consider higher magnification for target identification.
Wooded Areas and Dense Cover: Thermal scopes can still be effective in detecting game through some vegetation, as heat signatures will often be visible. Scan slowly and methodically, focusing on openings and trails. Night vision can be challenging in dense cover without adequate ambient light or a powerful IR illuminator, which could potentially spook game. Moving slowly and quietly is crucial in these environments, regardless of the scope type.
Navigating Terrain: Be extra cautious when moving in the dark. Use a separate handheld thermal imager or night vision monocular for navigation if possible, as constantly looking through a magnified scope can limit your field of view and awareness of your surroundings. Familiarize yourself with the terrain during daylight hours.
Utilizing Ambient Light with Night Vision: Maximize the available natural light. On moonlit nights, night vision performance will be significantly better. Position yourself to take advantage of the moonlight illuminating potential game trails or feeding areas.
Employing IR Illuminators (Night Vision): When using an IR illuminator, understand its effective range and potential visibility to game. Some animals may be able to detect certain IR wavelengths. Use it sparingly and strategically, especially when trying to identify a target before taking a shot. Experiment with different intensity levels.
Scanning Techniques: Develop a consistent scanning pattern. Scan slowly and deliberately in overlapping sectors to avoid missing anything. Pause frequently to allow your eyes (or the scope’s display) to adjust and to look for subtle movements or heat signatures.
Target Identification: Ethical hunting demands positive target identification. Utilize the magnification and clarity of your scope to confirm the species and ensure it’s a legal target before taking a shot. With thermal, pay attention to the shape and movement patterns in addition to the heat signature. With night vision, ensure sufficient detail is visible for confident identification.
Communication (If Hunting with a Partner): Establish clear communication protocols with your hunting partner(s) regarding target identification, movement, and shooting. This is crucial for safety and coordination.

Advanced Tips and Considerations:
- Understanding Environmental Factors: Be aware that weather conditions like rain, fog, and snow can affect the performance of both thermal and night vision scopes. Thermal images can be less distinct in heavy rain, and fog can scatter IR light, reducing the effectiveness of night vision.
- Practice Makes Perfect: Spend time practicing with your scope in various simulated hunting scenarios to become proficient in its use and understand its limitations.
- Know Your Ballistics: Especially for longer shots, understand your firearm’s ballistics and how bullet drop will affect your point of impact at different distances. Some advanced scopes have ballistic calculators or allow you to input bullet data.
Mastering these usage methods and practical skills will significantly enhance your success and safety during night hunts. Remember that patience, observation, and ethical decision-making remain paramount, regardless of the technology you employ.
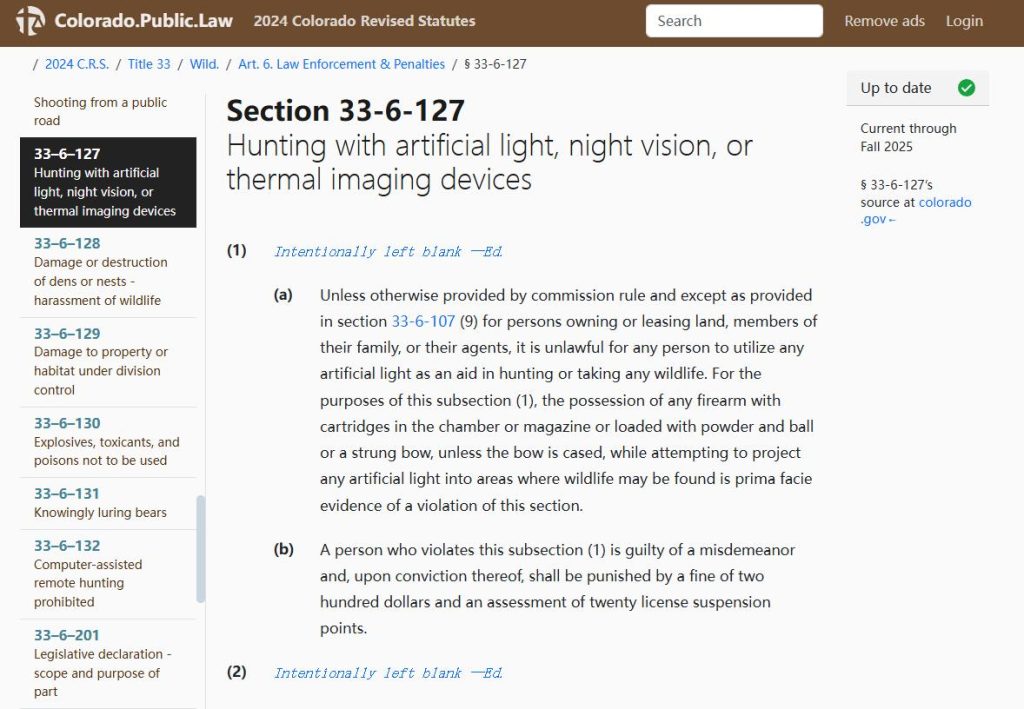
Legal Compliance Risks
Navigating the legal landscape surrounding the use of scopes for night hunting is crucial for every hunter. Regulations can vary significantly depending on location, species being hunted, and even the type of night vision or thermal technology employed.
The use of night hunting scopes is subject to various legal restrictions in the United States, which differ by state. Key factors include allowed species, restricted times, and equipment limitations. Here’s an overview of some state-specific regulations:
U.S. State Restrictions:
| State | Allowed Species | Restricted Times | Equipment Restrictions |
| California | Coyotes, rabbits (varies by area) | Night hunting generally banned | No use of infrared or thermal scopes |
| Texas | Feral hogs, coyotes | Permitted at night | Landowner permission often required |
| New York | Raccoons, foxes | Limited night hours allowed | Specific restrictions on lighted scopes |
| Florida | Wild hogs, invasive species | Permitted year-round | No restrictions on thermal/night vision |
| Michigan | Coyotes, raccoons | Prohibited during closed season | Night vision allowed; thermal restricted |
Hunters must verify local laws and regulations through official state wildlife agencies before engaging in night hunting activities to avoid potential legal issues.
Ignoring or being unaware of the legal restrictions surrounding night hunting scopes can lead to severe penalties. Always verify the specific regulations in your intended hunting area before using any night vision or thermal optics.
How to Choose Between Night Vision Scope and Thermal Scope?
The decision between a thermal and a night vision scope for night hunting depends significantly on the specific circumstances of your hunt. Here’s a table outlining scenarios and suggesting the more suitable technology:
| Scenario | Night Vision Scope | Thermal Scope |
| Budget-Friendly Option | Ideal for hunters with limited budgets or beginners. | Recommended for those with premium budgets. |
| Presence of Ambient Light | Effective in environments with moonlight or artificial light. | Not dependent on light; works in total darkness. |
| Detection Range | Suitable for shorter ranges (100-300 yards). | Excels in long-range detection (500-1,000+ yards). |
| Target Species | Best for small game like raccoons or rabbits. | Effective for larger animals like hogs or deer. |
| Recording and Digital Features | Opt for digital night vision scopes for video/photo recording. | Limited recording features; focus on thermal imaging. |
| Environmental Conditions | Suitable for mild conditions with some visibility. | Performs well in diverse and extreme conditions (fog, foliage). |
| Legal Restrictions | Often faces fewer restrictions. | May have more regulations depending on the state. |
By matching the technology to your hunting requirements, you can make a confident and effective choice.
Maintenance and Safety Guidelines for Night Hunting Scopes
Proper maintenance and adherence to safety guidelines are crucial for prolonging the lifespan of your night hunting scope and ensuring safe operation in the field.
Maintenance Tips
Cleaning:
- Use a microfiber or soft lens cloth to clean the optics.
- Avoid using abrasive materials or cleaning agents that might damage the lens coating.
Battery Management:
- Always remove batteries when storing the scope to prevent leakage and corrosion.
- Use high-quality batteries to ensure reliable performance during hunts.
Weather Protection:
- If your scope isn’t waterproof, use a protective cover in wet conditions.
- Dry the scope immediately if exposed to moisture to prevent internal damage.
Storage:
- Keep the scope in a dry, cool place when not in use.
- Store the scope in a padded case to protect it from impacts.
Regular Inspection:
- Check for loose screws or mounts before each use.
- Ensure the lenses are free from scratches or cracks.
Safety Guidelines
Secure Mounting:
- Ensure the scope is properly mounted and stable on the firearm.
- Periodically check the alignment to maintain accuracy.
Avoid Bright Light:
- Do not expose night vision scopes to direct sunlight or bright artificial light, as this can damage the internal sensors.
Field Awareness:
- Always ensure that the area behind your target is clear to avoid accidents.
- Familiarize yourself with the scope’s field of view to avoid tunnel vision.
User Training:
- Practice using the scope in controlled environments before heading into the field.
- Learn to adjust settings like brightness, focus, and magnification quickly.
Emergency Preparedness:
- Carry backup batteries and cleaning tools during hunts.
- Know how to switch to manual aiming if the scope malfunctions.
Following these maintenance and safety practices will not only prolong the life of your night hunting scope but also ensure a safer and more successful hunting experience.
Final Thoughts
Choosing the right scope for night hunting involves understanding the different technologies, mastering their usage, complying with legal requirements, and ensuring proper maintenance. By considering your specific needs and following the guidelines in this article, you can enhance your night hunting experience and achieve greater success in the field.