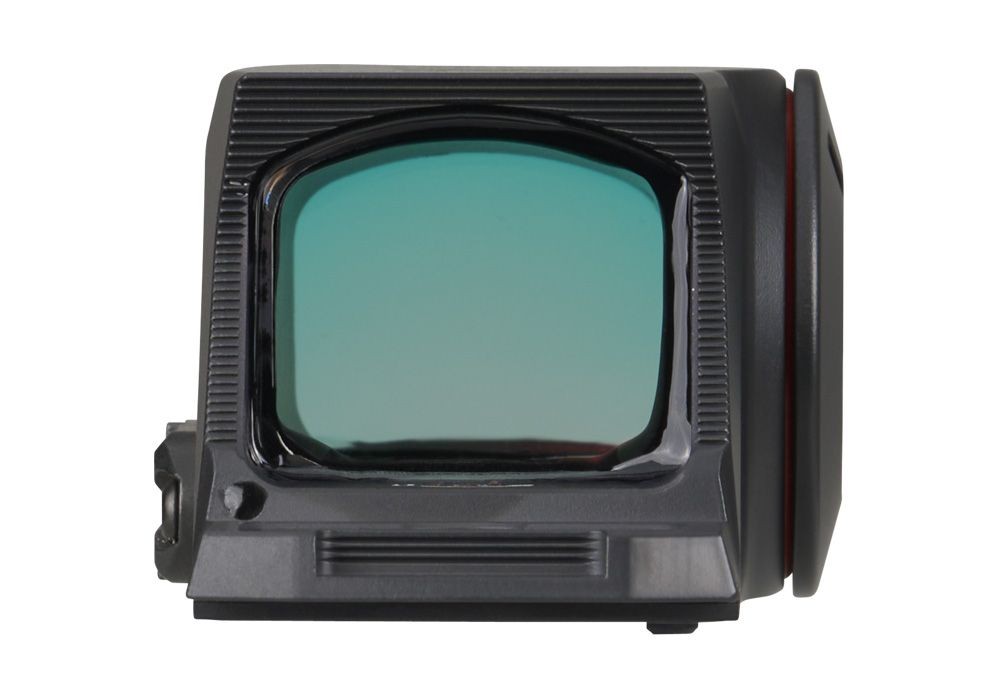
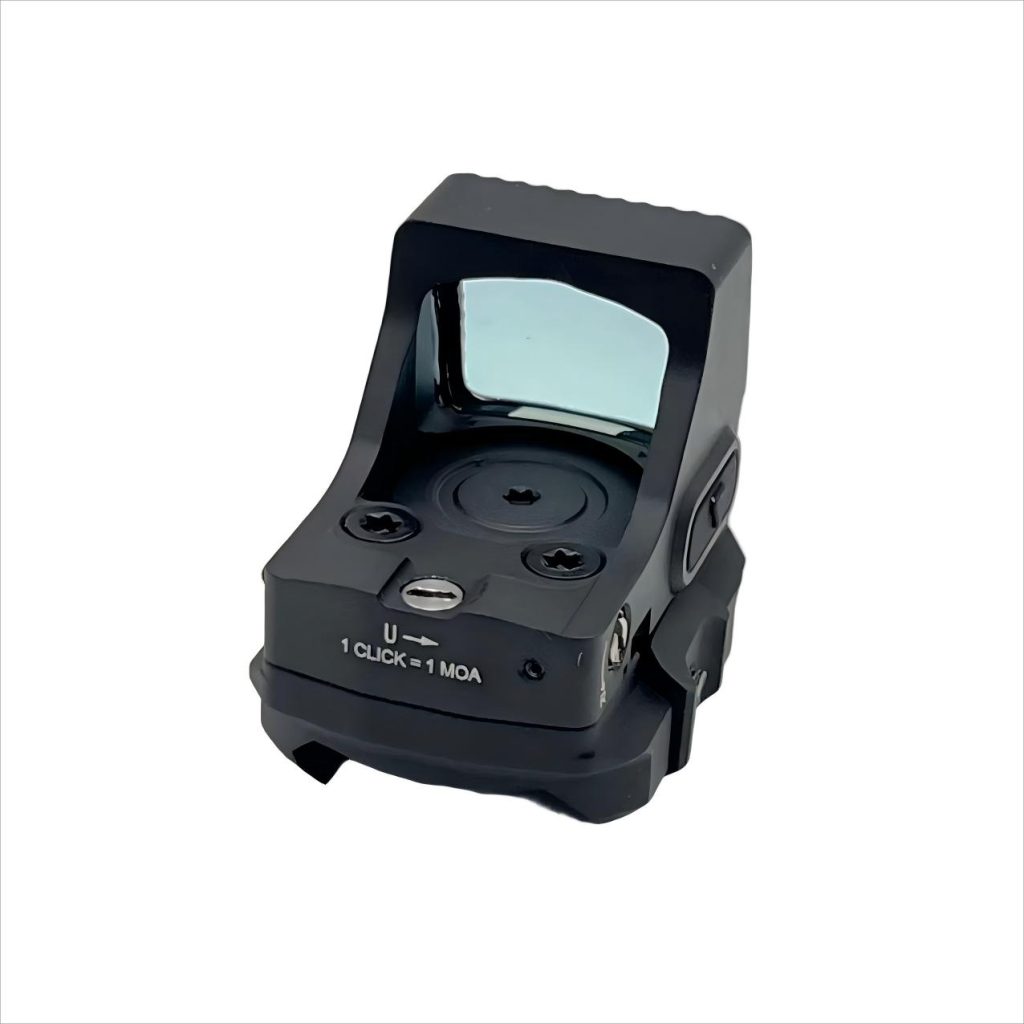
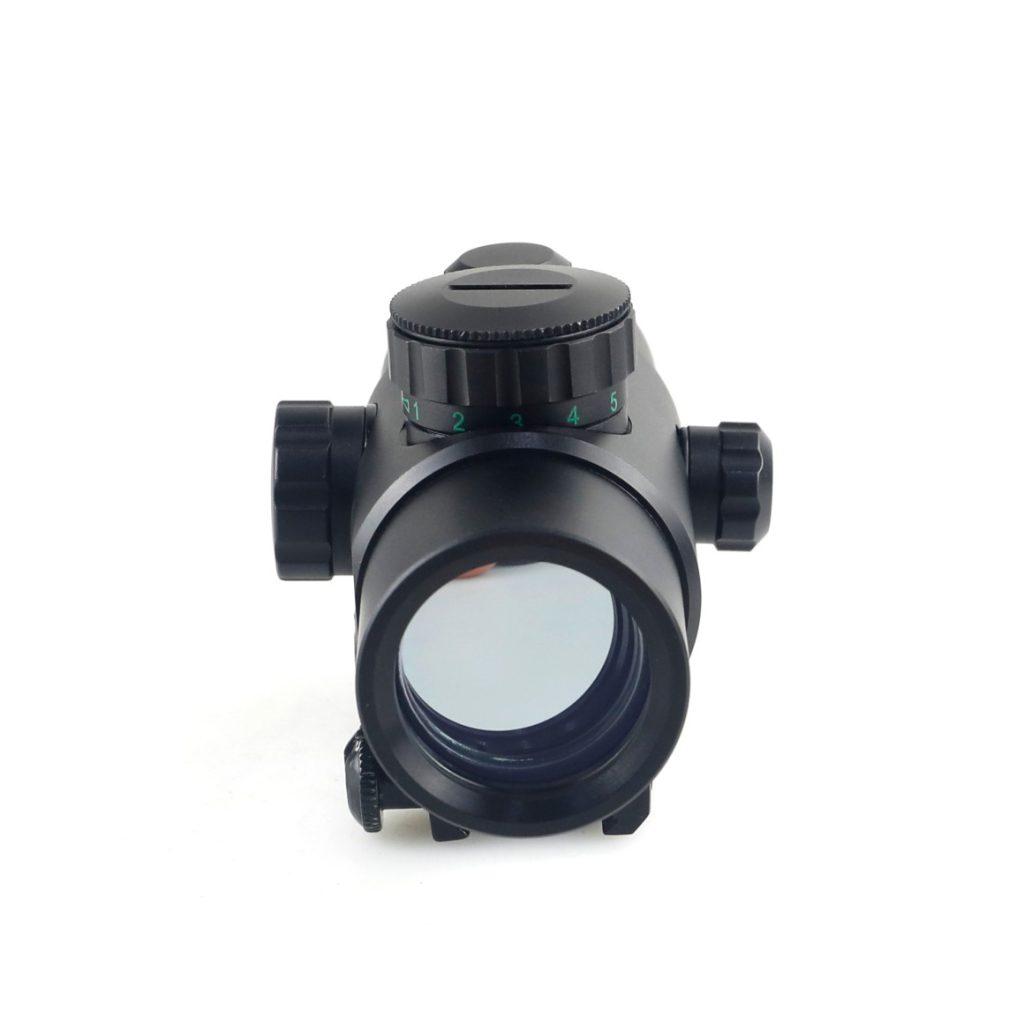
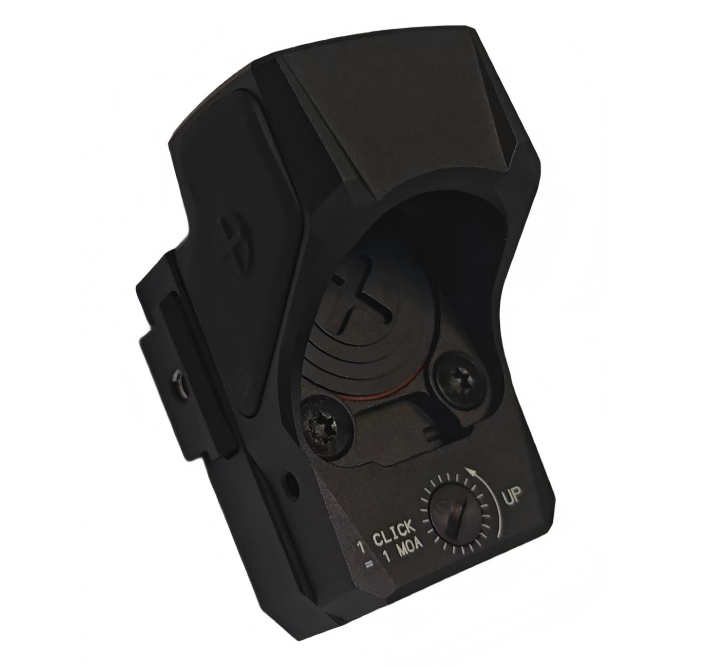
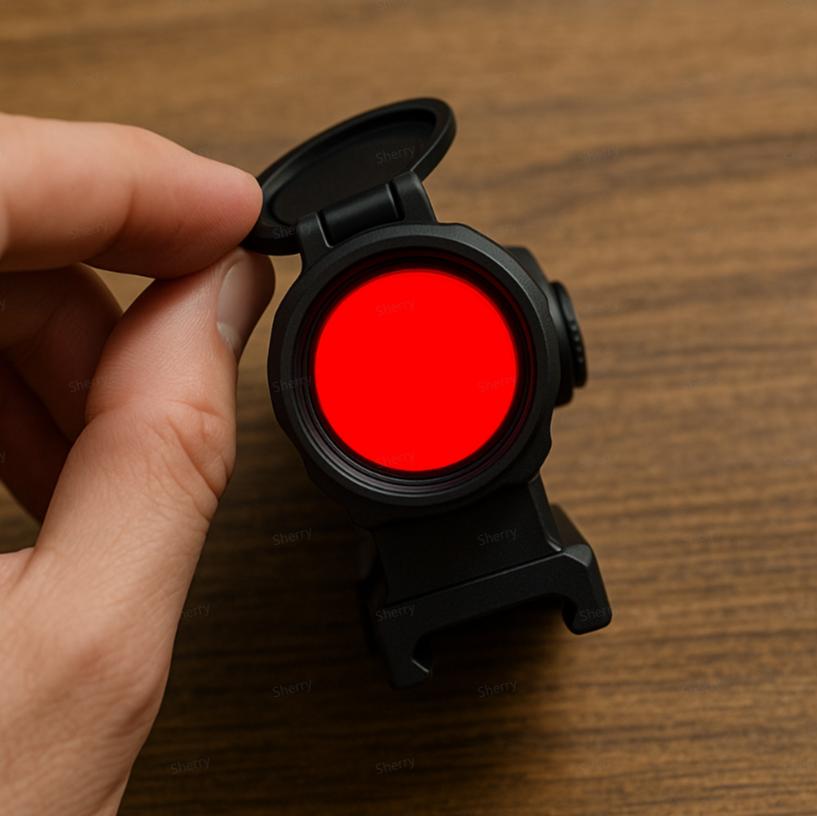
Red dot sights have become increasingly popular in fast-paced shooting sports, close-range hunting, and tactical applications due to their excellent situational awareness, rapid target acquisition, compatibility with various firearms, and intuitive operation. However, many users lack systematic knowledge during purchase, installation, and maintenance, turning minor oversights into major headaches:
- Accuracy degradation → loss of confidence
- Frequent returns and repairs → wasted time and money
- Improper upkeep → shortened product lifespan
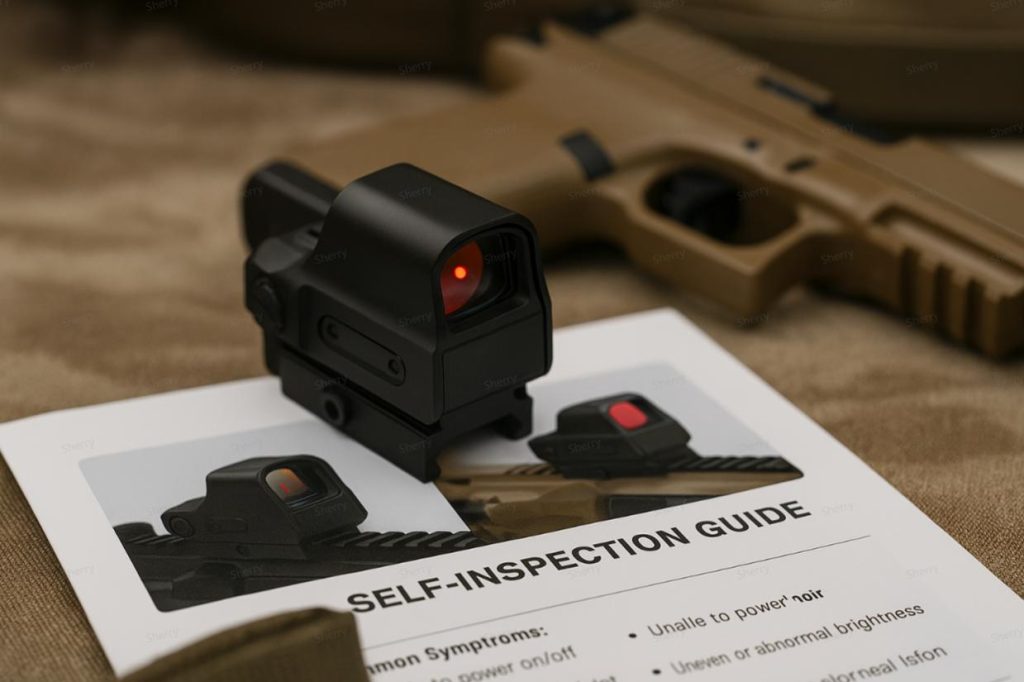
Based on aggregated consumer feedback from FORESEEN OPTICS’ custom brand clients, this guide highlights 22 of the most common issues encountered. Organized by pre-installation, installation, and in-use scenarios, each entry provides actionable self-inspection steps to help you “self–rescue before seeking help” – 80% of problems can be solved at home or on the range; the remaining 20% can be quickly diagnosed for after-sales support.
How to Use This Guide
- Identify the category of your issue:
- Display Issues
- Optical Window Issues
- Mounting Issues
- Component Quality & Electrical Issues
- Find the matching entry:
Read Symptom → compare Possible Causes → follow the Self–Check Steps
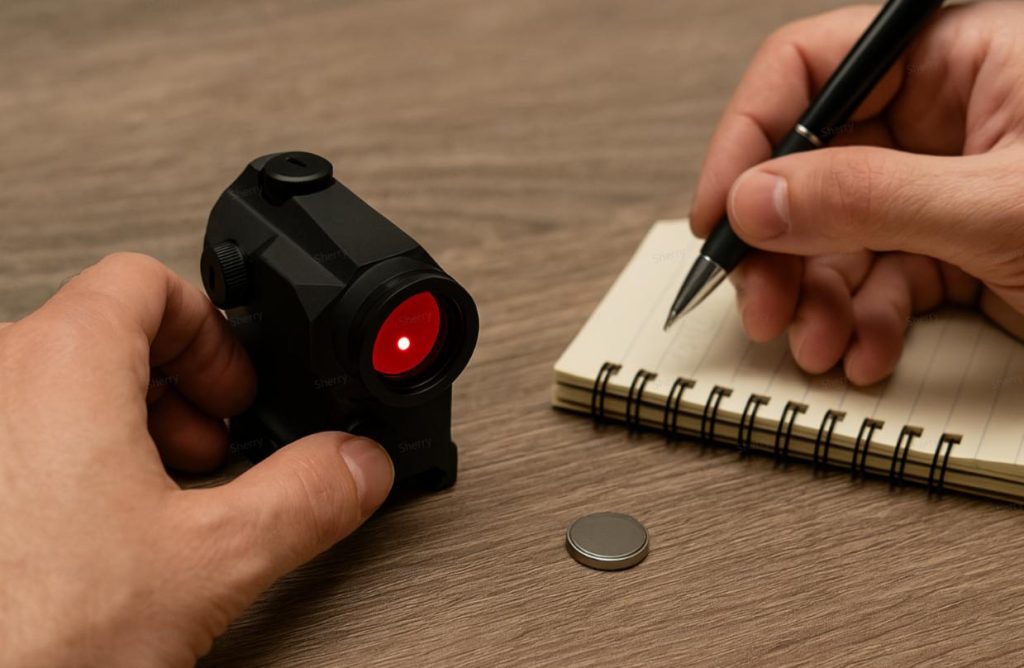
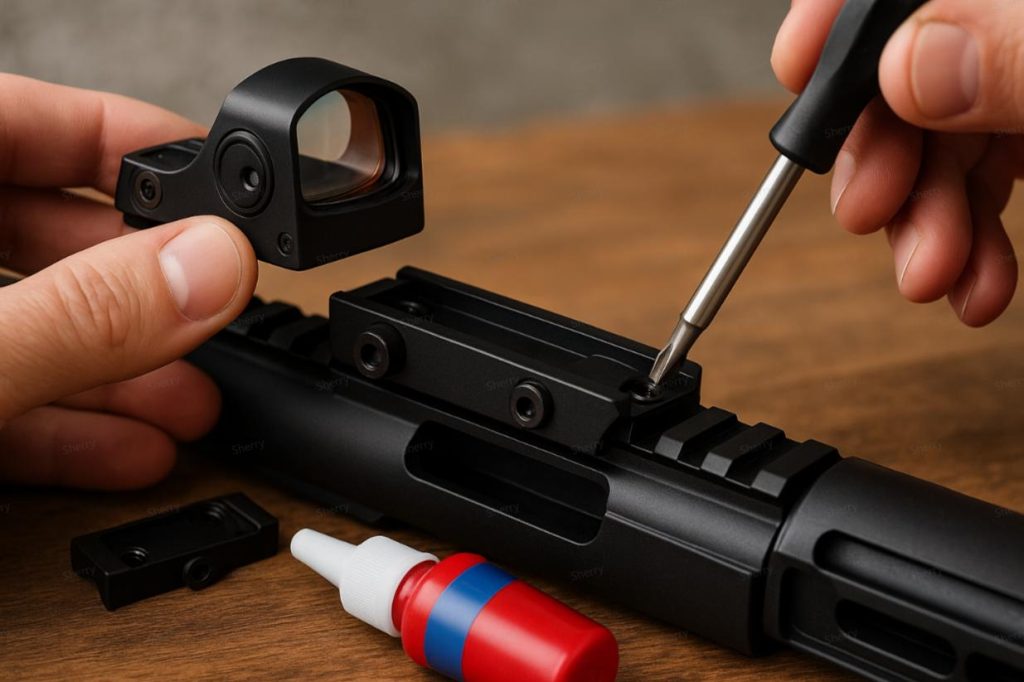
- Prepare your basic tools:
- CR2032 or AAA spare batteries
- Phillips and flathead screwdrivers, torque wrench
- Blue Loctite threadlocker
- Microfiber lens cloth + lens cleaning solution
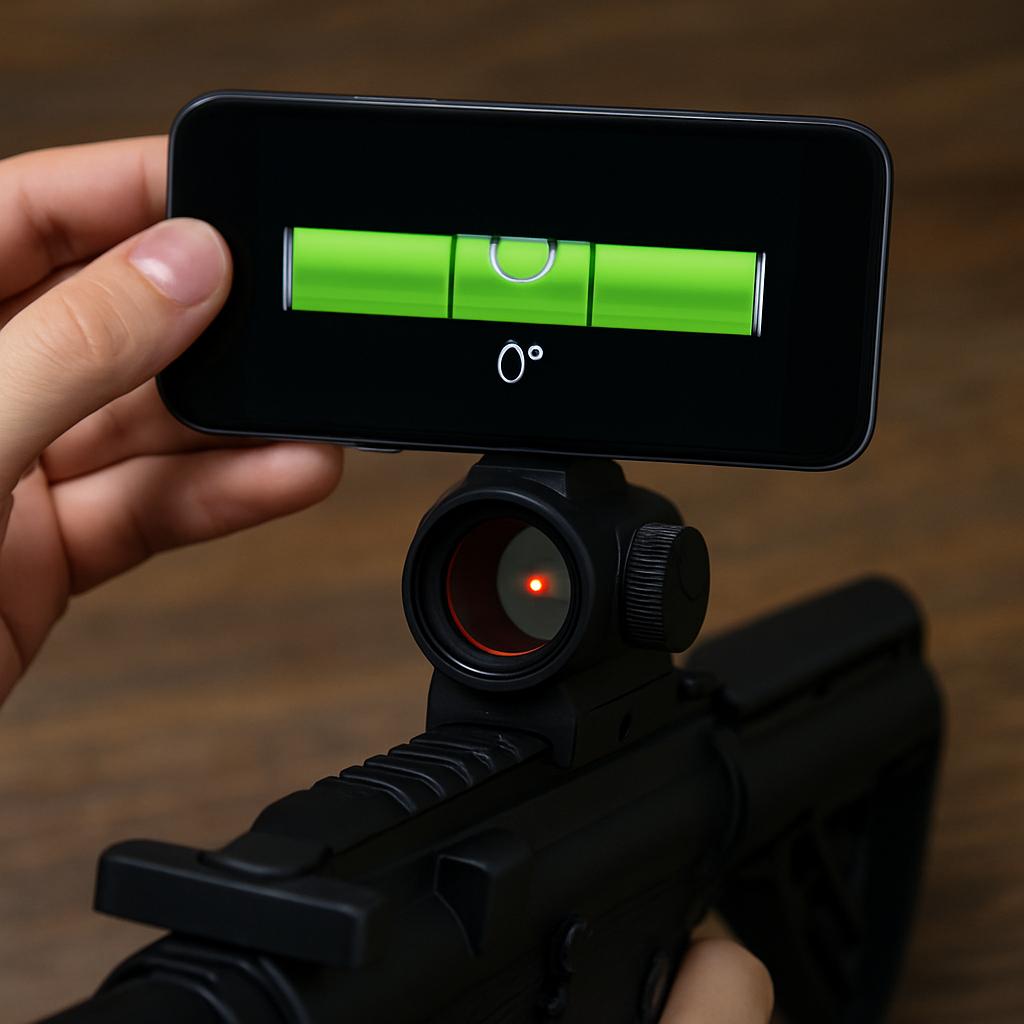
- Small bubble level or smartphone level app
- Smartphone for photos/videos
- Record results:
- After each step, mark Pass / Fail
- If all steps fail, → gather evidence (photos, videos, notes) → contact your dealer or manufacturer
22 Common Issues & Troubleshooting Steps
Each entry includes: Symptom → Possible Causes → Self–Check Steps → Recommended Tools/Parts → When to Contact Support. Follow steps in order of ease and cost (external → internal, free → paid).
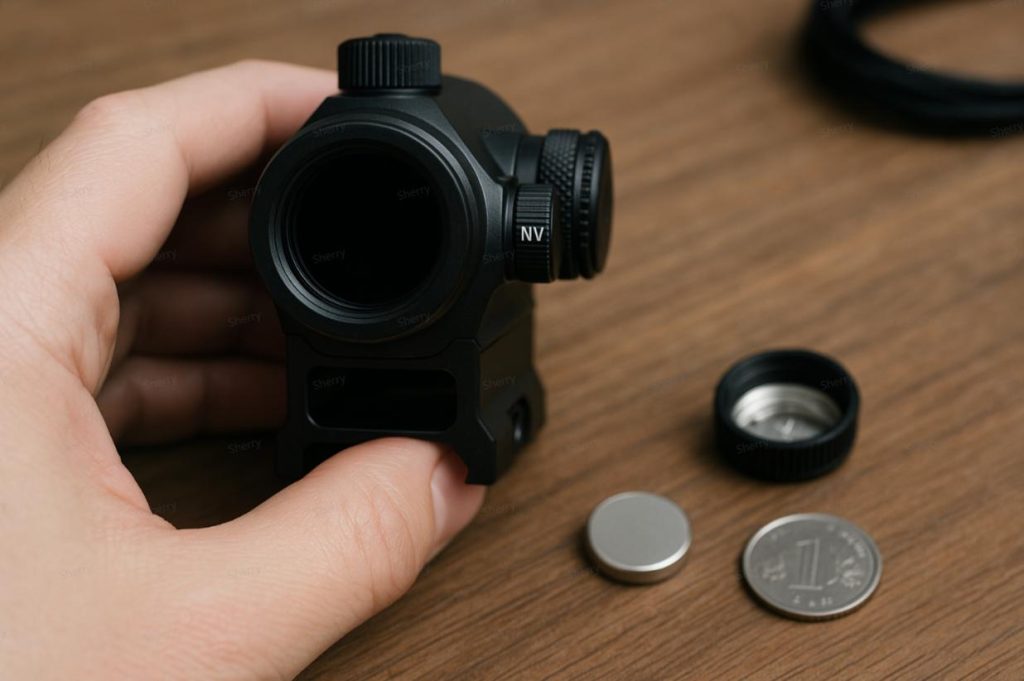
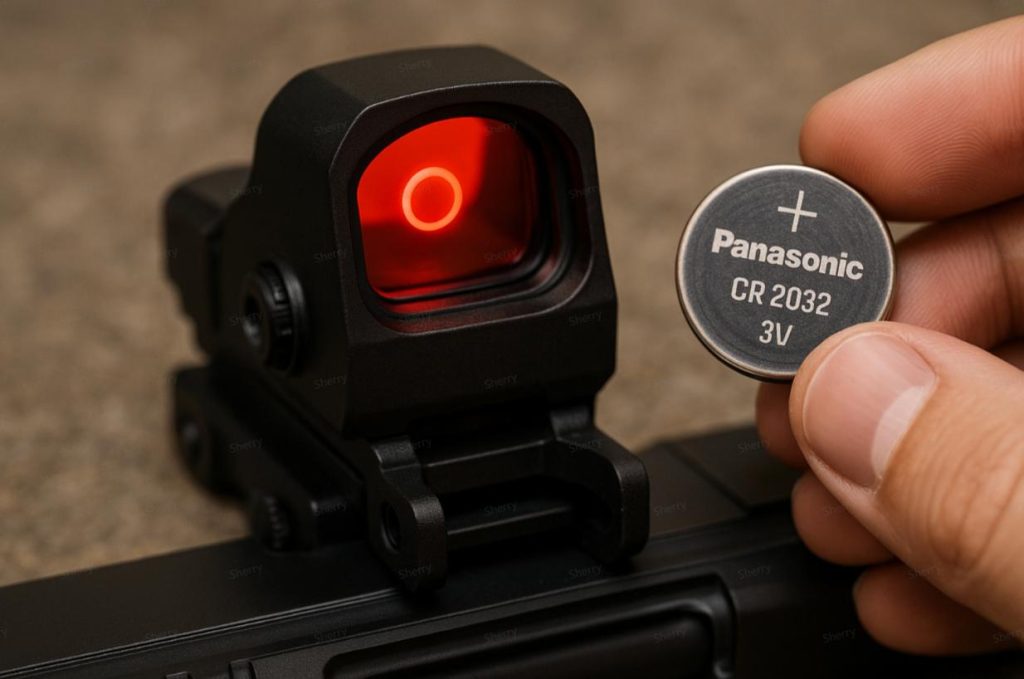
1. Won‘t Power On
Symptom: No response when pressing the power button; display remains dark
Possible Causes:
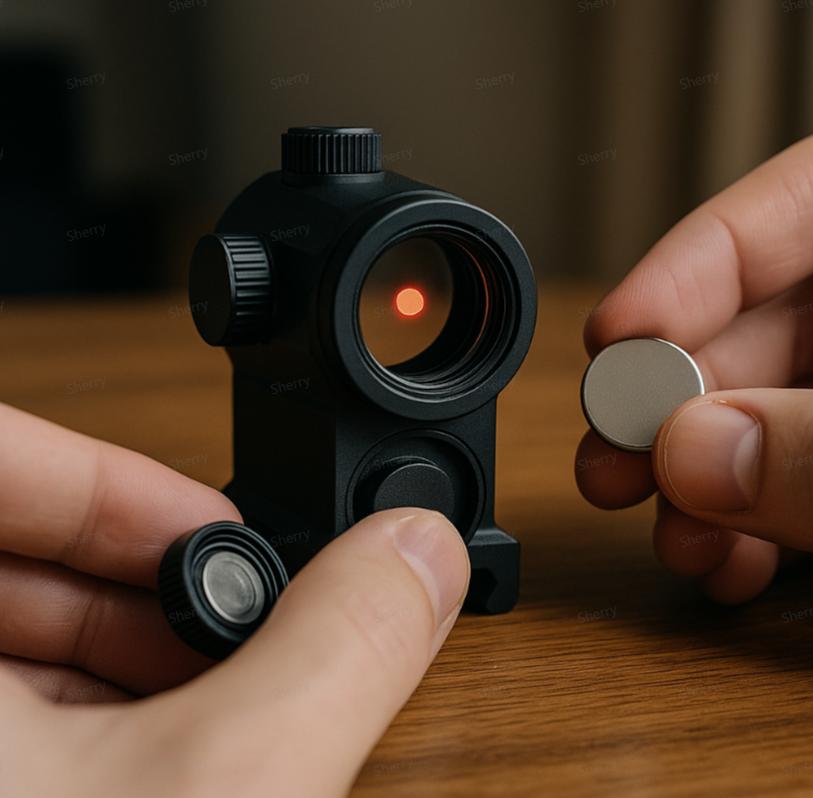
- Battery inserted incorrectly or depleted
- Battery cap not fully tightened, causing a break in circuit
- Unit in NV (night-vision) mode, invisible to naked eye
- Faulty power button or PCB failure
Self–Check Steps:
- Verify battery polarity and install fresh battery
- Retighten battery cap and inspect O-ring for debris or moisture
- Switch brightness to max or exit NV mode
- Hold power button for 5 seconds to reboot
Recommended Tools / Parts: Spare battery, coin or cap wrench
Contact Support If: Still no response or power button feels unresponsive
2. Won‘t Turn Off
Symptom: Remains on despite holding the power button
Possible Causes:
- Power button not held long enough
- Mechanical binding of the button
- MCU firmware glitch
Self–Check Steps:
- Hold power button 5-6 seconds
- Press button repeatedly to free any binding
- Remove battery for 30 seconds and reinsert
- Check user manual for alternative shut-off methods
Recommended Tools/Parts: Spare battery
Contact Support If: Unit still can’t power down or button is physically stuck
3. Flickering / Intermittent Dot
Symptom: Dot flickers during recoil or slight movement
Possible Causes:
- Loose battery contact
- Solder joint on LED module compromised
Self–Check Steps:
- Remove battery and clean contact pads
- Retighten battery cap firmly
- Test dot stability by shaking gently
Recommended Tools/Parts: Lens cloth, battery-contact cleaning brush
Contact Support If: Dot flickers even after cleaning and securing battery

4. Brightness Out of Range (Too Dim / Too Bright)
Symptom: Cannot adjust brightness to appropriate level
Possible Causes:
- Low battery voltage
- Auto-brightness sensor misfiring
- Internal brightness circuitry fault
Self–Check Steps:
- Install fresh, high-quality battery
- Disable auto-brightness feature
- Test brightness in different light conditions
Recommended Tools/Parts: Spare battery
Contact Support If: Brightness knob or electronics remain unresponsive
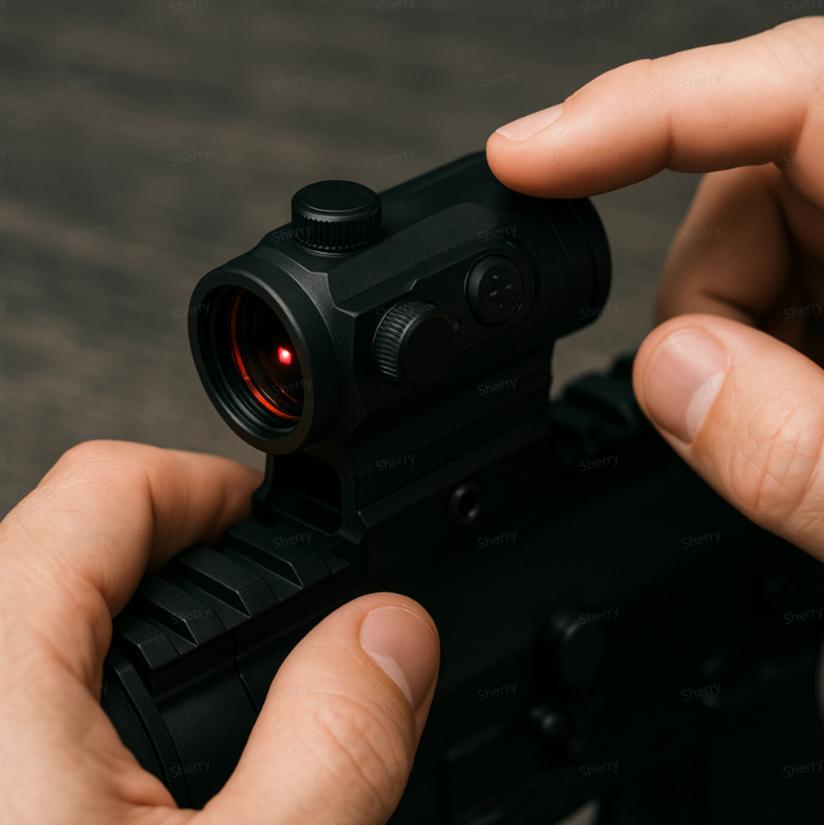
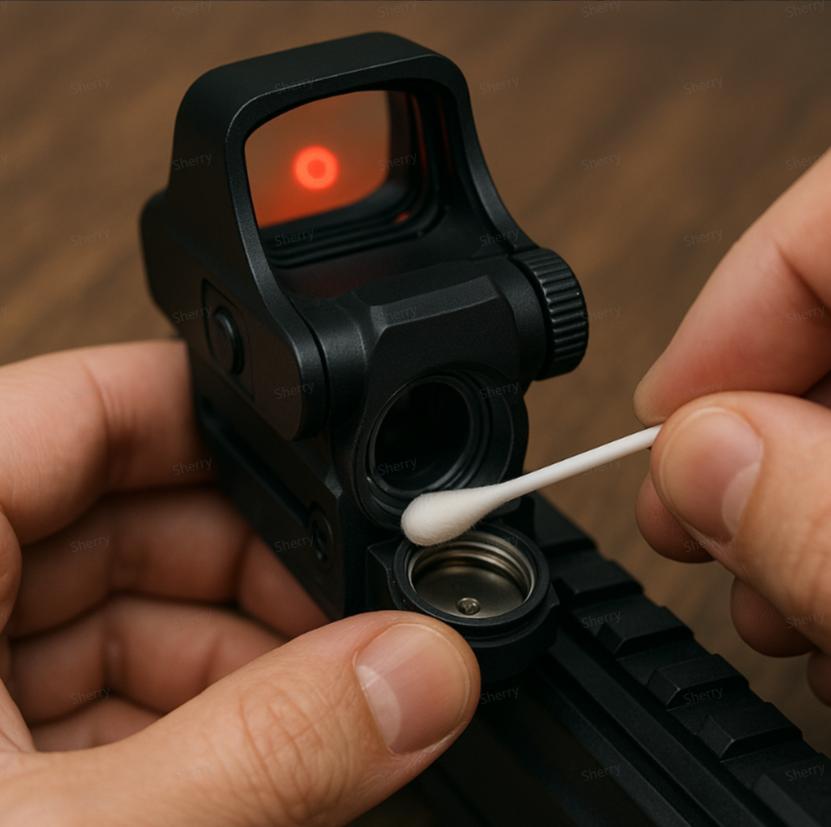
5. Brightness Knob Not Working
Symptom: Rotating the knob has no effect
Possible Causes:
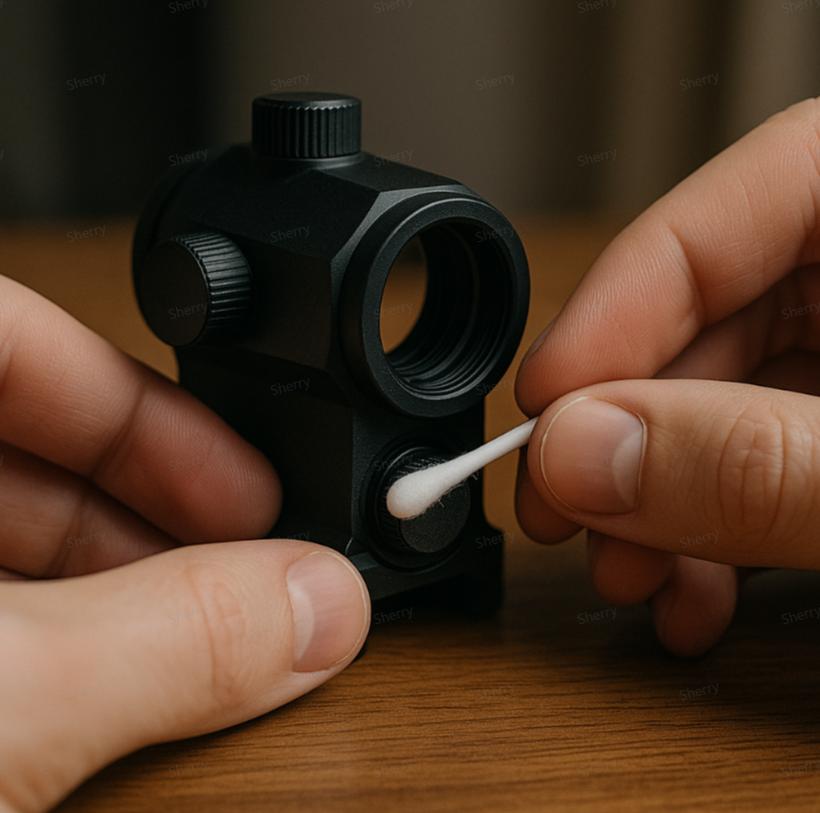
- Oxidation on knob contacts
- Internal knob mechanism binding
Self–Check Steps:
- Rotate knob back and forth multiple times
- Clean around knob shaft with cotton swab and isopropyl alcohol
- If still non-functional, arrange for knob replacement
Recommended Tools/Parts: Cotton swabs, cleaning solution
Contact Support If: Knob remains loose or unresponsive
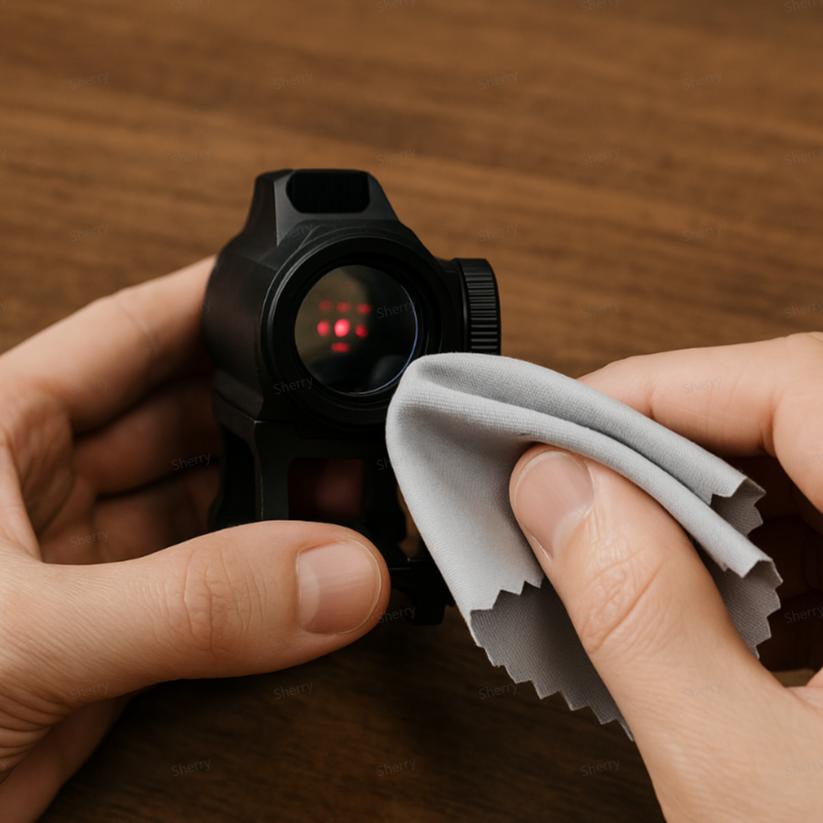
6. Blurry / Streaked / Starburst Dot
Symptom: Dot appears streaked, star-like, or distorted
Possible Causes:
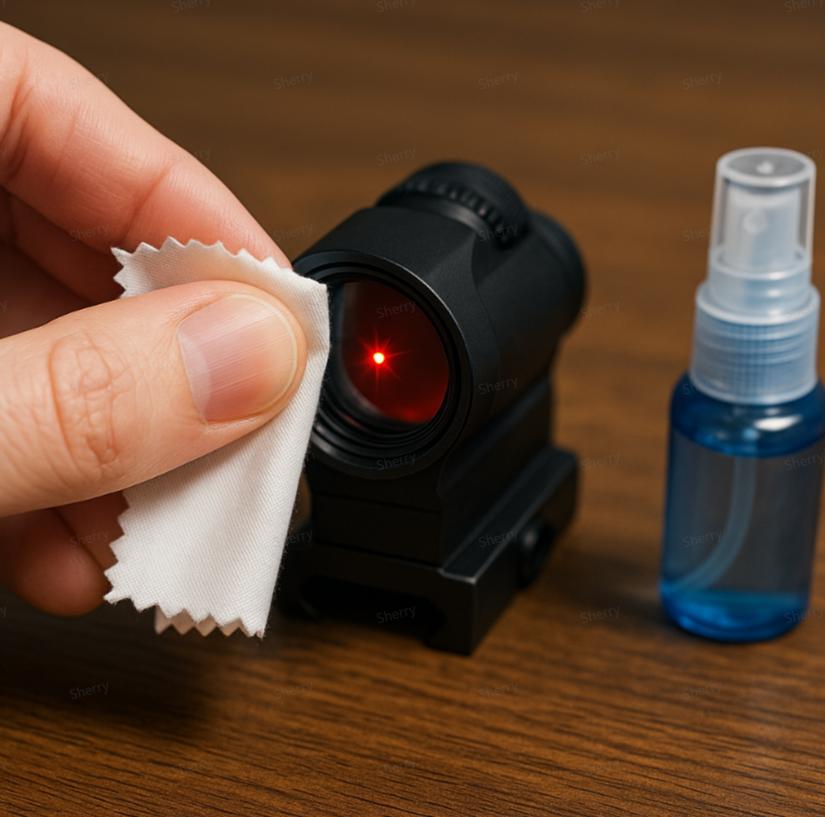
- Lens smudges or scratches
- Excessive brightness
- User astigmatism
Self–Check Steps:
- Reduce brightness and observe clarity
- Photograph dot through lens; sharp in photo = user vision issue
- Clean or replace lens if scratched
Recommended Tools/Parts: Microfiber cloth, lens cleaner
Contact Support If: Lens damage is severe
7. Dot Too Large
Symptom: Reticle covers too much of target
Possible Causes:
- Brightness set too high
- Viewing through lens cap or cover
Self–Check Steps:
- Lower brightness
- Remove any caps or covers
Recommended Tools/Parts: None
Contact Support If: Issue persists after adjustment
8. Multiple Dots / Pixelation
Symptom: Multiple reticle dots or grid-like appearance
Possible Causes:
- Eye fatigue
- Compromised reticle coating
Self–Check Steps:
- Rest eyes and blink frequently
- Clean lens surfaces
- Reassess at lower brightness
Recommended Tools/Parts: Microfiber cloth
Contact Support If: Coating appears damaged
9. Halo Effect Around Dot
Symptom: Halo or ring around the reticle
Possible Causes:
- Overly bright setting
- Lens oil residue
Self–Check Steps:
- Decrease brightness
- Thoroughly clean lens
Recommended Tools/Parts: Lens cleaning kit
Contact Support If: Halo remains after cleaning
10. Significant Parallax Error
Symptom: Dot shifts off-center when eye position changes
Possible Causes:
- Lack of parallax compensation
- Exceeding recommended eye relief distance
Self–Check Steps:
- Center your eye on optical axis
- Maintain consistent eye relief
Recommended Tools/Parts: Parallax-corrected model
Contact Support If: Parallax cannot be resolved
11. Restricted Field of View
Symptom: Tunnel-vision effect limits target area
Possible Causes:
- Small window design
- Protective cap obstructing view
Self–Check Steps:
- Remove any caps
- Use both eyes if possible
Recommended Tools/Parts: None
Contact Support If: Design itself is too restrictive

12. Zero Shift
Symptom: Point of impact drifts over consecutive shots
Possible Causes:
- Loose mounting screws
- Insufficient torque application
Self–Check Steps:
- Retighten screws to manufacturer-specified torque
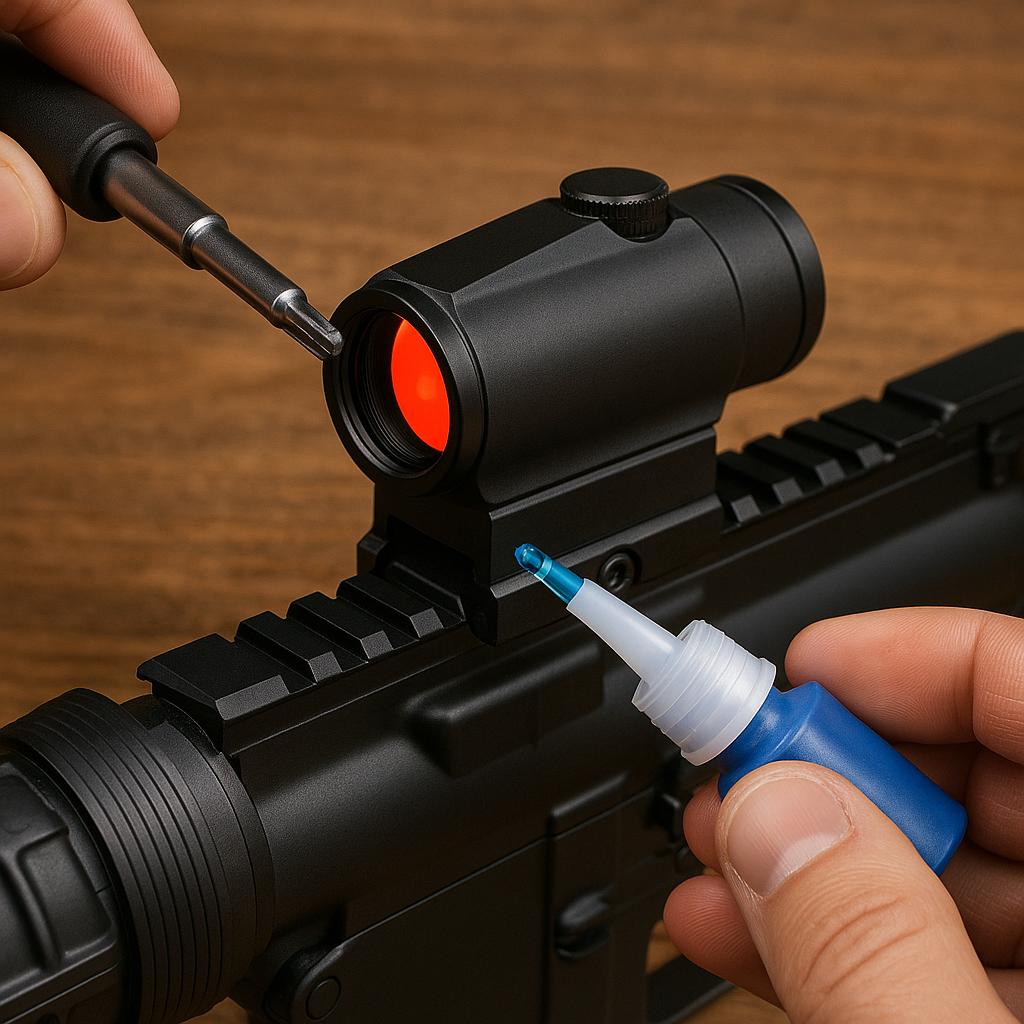
- Apply blue Loctite to threads
Recommended Tools/Parts: Torque wrench, threadlocker
Contact Support If: Impact continues to shift
13. Loose Mounting
Symptom: Sight moves when gently shaken
Possible Causes:
- Screws not torqued properly
- Mount rails and base not clean
Self–Check Steps:
- Disassemble, clean all mating surfaces
- Reapply threadlocker and torque screws correctly
Recommended Tools/Parts: Torque wrench, Loctite
Contact Support If: Base is worn or damaged
14. Misaligned Mount
Symptom: Reticle appears off-center relative to barrel
Possible Causes:
- Improper leveling during installation
- Uneven mounting surfaces
Self–Check Steps:
- Use a bubble level or level app to check alignment
- Reposition and tighten evenly
Recommended Tools/Parts: Small level
Contact Support If: Rail or base is warped
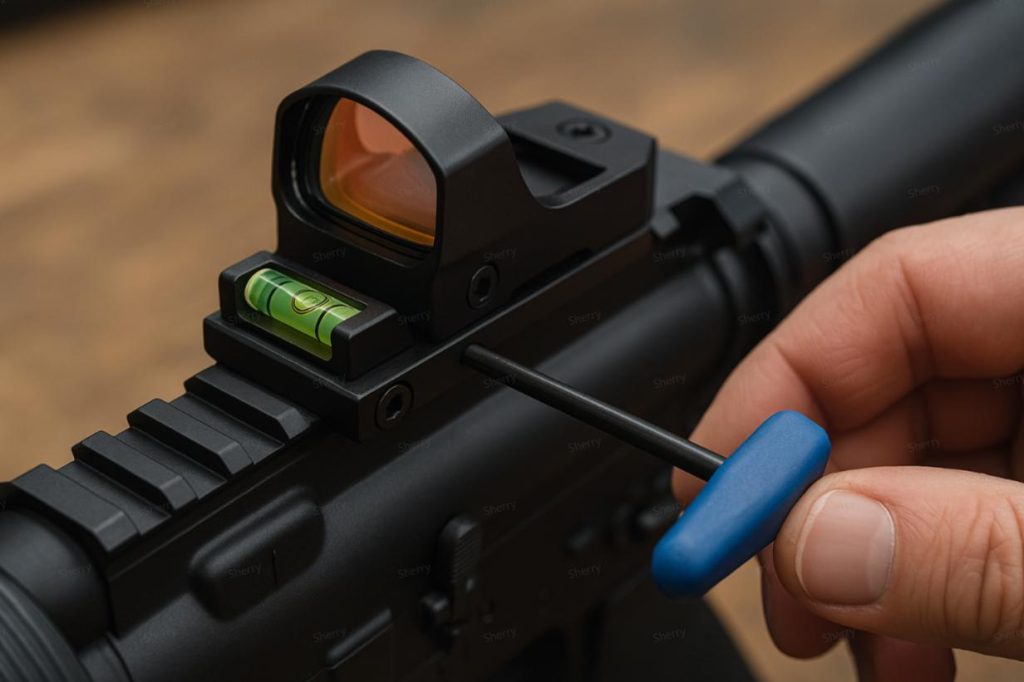
15. Canted Installation
Symptom: Sight body tilts sideways
Possible Causes:
- Uneven mounting torque
- Missing shims or spacers
Self–Check Steps:
- Loosen and retighten screws evenly
- Inspect and adjust spacer thickness
Recommended Tools/Parts: Level, spacer kit
Contact Support If: Base structure is compromised
16. Won‘t Fit on Rail
Symptom: Sight base won’t slide into rail slots
Possible Causes:
- Incompatible rail standard
- Debris or burrs obstructing slots
Self–Check Steps:
- Verify rail width (Picatinny 20 mm vs. Weaver 11 mm)
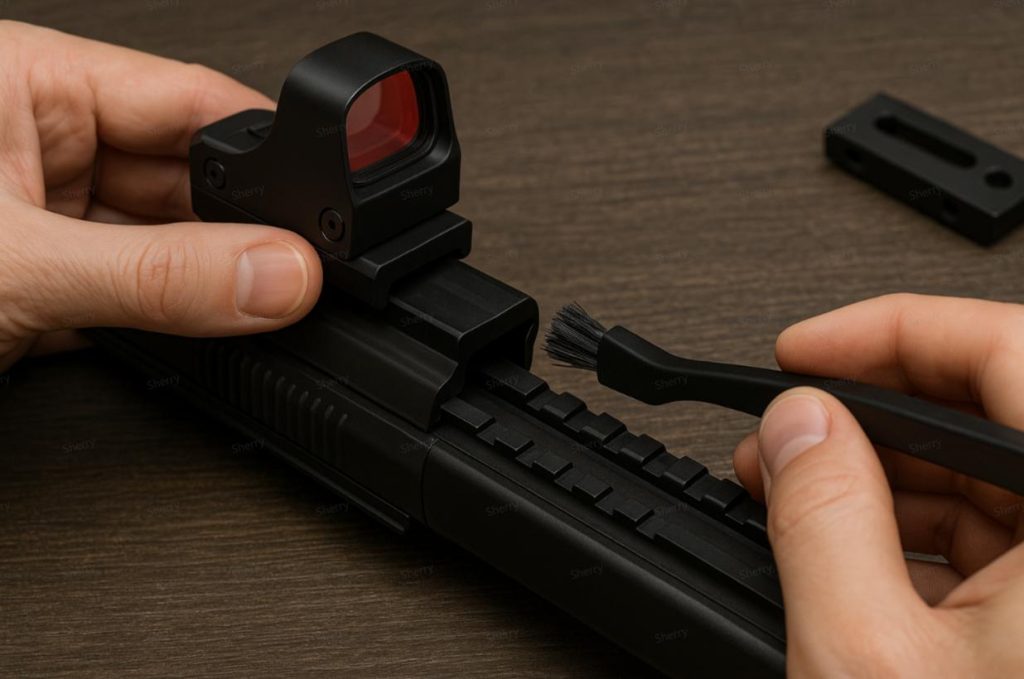
- Clean rail with brush and cloth
Recommended Tools/Parts: Rail cleaning brush, adapter plate
Contact Support If: Base dimensions are incorrect
17. Sight Shifts on Rail
Symptom: Sight moves under recoil
Possible Causes:
- Screws too short
- High-recoil platform
Self–Check Steps:
- Replace with longer mounting screws
- Upgrade to heavy-duty mount base
Recommended Tools/Parts: Longer screws, reinforced base
Contact Support If: Base or rail is damaged

18. Dot Too High or Low
Symptom: Reticle sits above or below your field of view
Possible Causes:
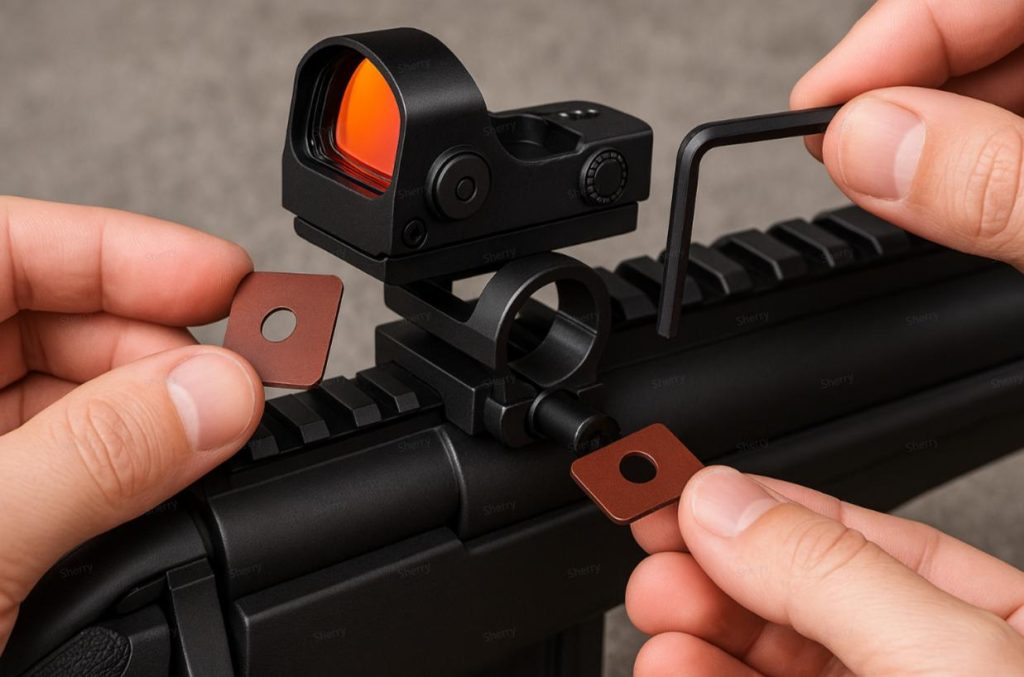
- No height shim installed
- Misaligned optical axis
Self–Check Steps:
- Install correct spacer shims
- Adjust mount height rings as needed
Recommended Tools/Parts: Shim kit, high/low mount rings
Contact Support If: Adjustments exceed available range
19. Rapid Battery Drain
Symptom: Battery runs out very quickly
Possible Causes:
- Constant high brightness
- Inferior battery quality
Self–Check Steps:
- Switch to branded, high-capacity battery
- Enable auto-shutoff feature if available
Recommended Tools/Parts: Premium batteries
Contact Support If: Drain remains excessive
20. LED Flicker or Outage
Symptom: LED flickers or extinguishes suddenly
Possible Causes:
- Loose solder joint
- LED driver IC fault
Self–Check Steps:
- Tap the sight body gently and observe behavior
- Test with fresh batteries
Recommended Tools/Parts: Power supply tester
Contact Support If: Circuit fault suspected
21. Electrical Contact Issues
Symptom: Sight works intermittently when shaken
Possible Causes:
- Loose battery hatch
- Poor solder connections
Self–Check Steps:
- Clean battery compartment and O-ring
- Tighten battery cap and retest
Recommended Tools/Parts: Cleaning brush, O-rings
Contact Support If: Contacts continue to fail
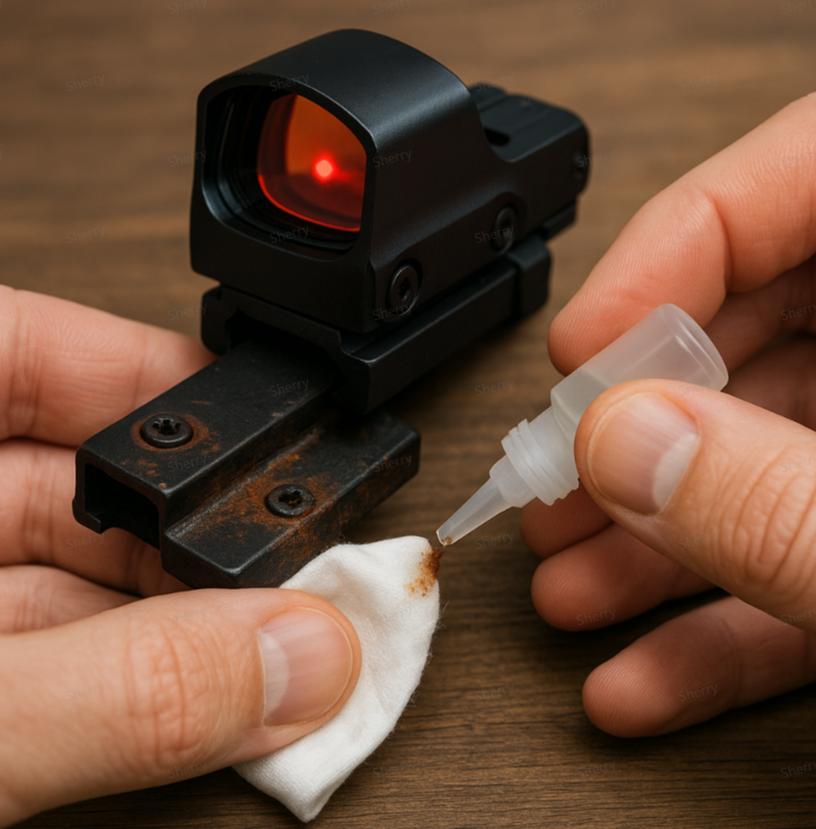
22. Corrosion or Component Damage
Symptom: Base or housing shows rust, cracks, or breaks
Possible Causes:
- Prolonged exposure to moisture
- Impact or abrasion damage
Self–Check Steps:
- Disassemble and inspect for rust/corrosion
- Apply rust inhibitor and clean
- Replace severely damaged parts
Recommended Tools/Parts: Rust inhibitor, spare mounting hardware
Contact Support If: Damage compromises safety or function
Routine Maintenance Tips
- Battery Care: Replace regularly, carry spares, use auto-shutdown
- Lens Cleaning: Use microfiber cloth and lens solution; handle reflective coatings gently
- Mount Torque: Always use torque wrench and Loctite; avoid overtightening
- Storage: Keep in a dry, padded case; use desiccant packs
- Pre–use Check: Verify zero, mounting screws, and cleanness before each session
Appendix
Self-Check Log Template: Red_Dot_Sight_Issue_Table_English_Final.xlsx
Conclusion
Self-inspection is not the end of repair—it’s the start of efficient communication. Keep this guide handy for routine checks and troubleshooting. If issues persist, gather your self-check records and contact your dealer or official support for prompt assistance.
Provided by FORESEEN OPTICS. Your feedback helps us improve future red dot sight designs.