Accurate shooting demands more than skill—it hinges on a well-adjusted rifle scope. Proper scope adjustments ensure that your point of aim aligns perfectly with your point of impact, reducing the guesswork and boosting confidence in the field.
This guide walks you through the fundamentals of scope components, adjustment techniques, and practical advice for various shooting scenarios. By the end, you’ll be equipped to fine-tune your scope like a pro.
Understanding Your Scope Before Making Adjustments
Before making any adjustments, it’s essential to understand the basic functions and components of your rifle scope. Each part plays a vital role in achieving precise aiming and impact.
Magnification: How Scope Magnification Works
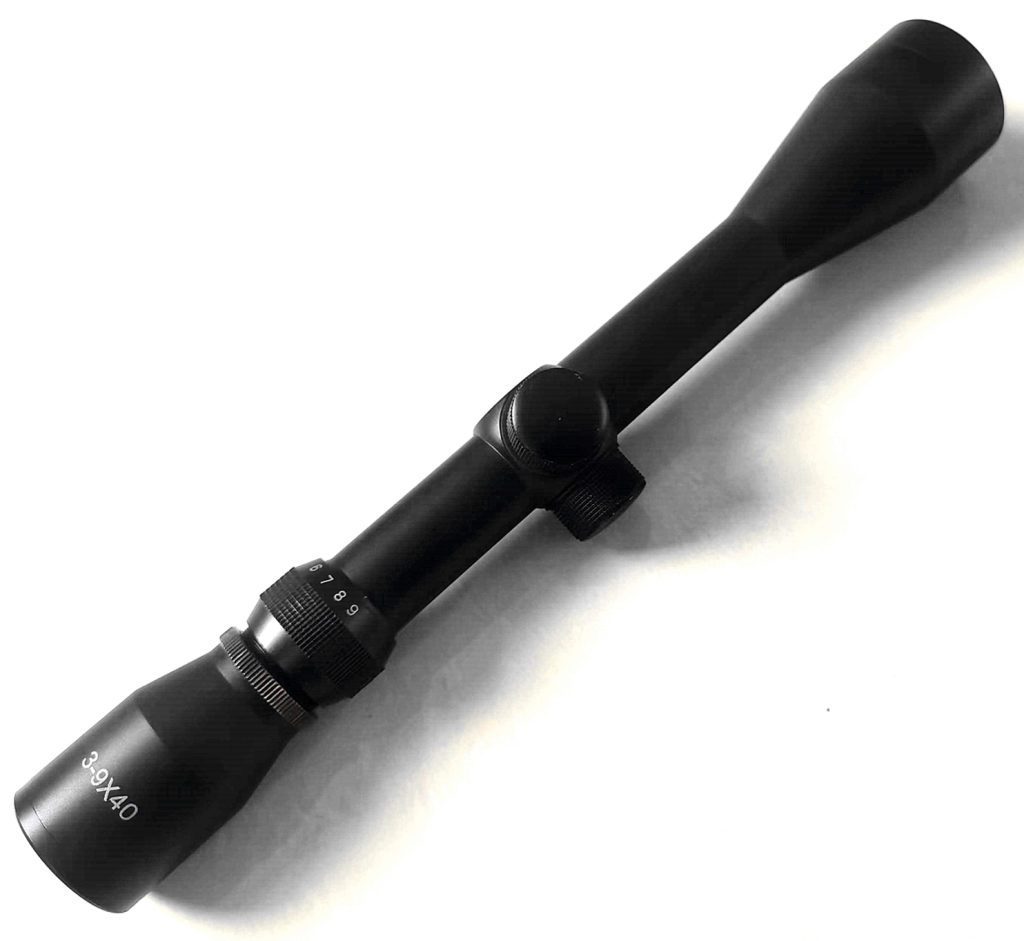
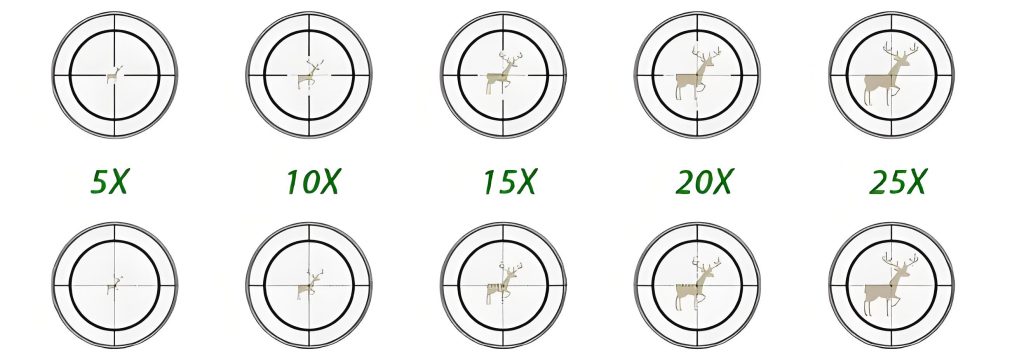
Magnification is the degree to which a scope enlarges the target image. It dictates how large your target appears through the optic and significantly impacts your field of view and image stability. Scopes come in two primary types: fixed and variable magnification.
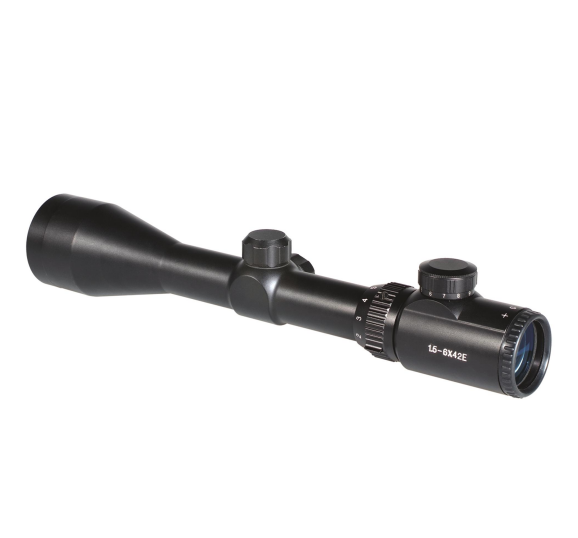
- Fixed magnification scopes, such as a 4x or 6x, offer a single, unchangeable magnification level. They are often simpler, more robust, and can be more affordable.
- Variable magnification scopes, like a 3-9x or 4-16x, allow the shooter to adjust the magnification within a specified range. This versatility makes them highly popular for a variety of shooting disciplines.
Impact of Magnification on Field of View and Image Stability:
Increasing magnification narrows the field of view (the amount of area visible through the scope) and can amplify any natural tremor or movement, making the image appear less stable. Conversely, lower magnification provides a wider field of view and a more stable image, making it easier to track moving targets or quickly acquire targets at close range.
Choosing the Right Magnification for Different Scenarios:
The optimal magnification depends heavily on the shooting scenario. For instance, a hunter stalking game in dense woods might prefer a lower magnification (e.g., 1-4x) for quick target acquisition and a wide field of view. A precision shooter engaging targets at 800 yards, however, would benefit from higher magnification (e.g., 15x or more) to precisely identify the target and aim.
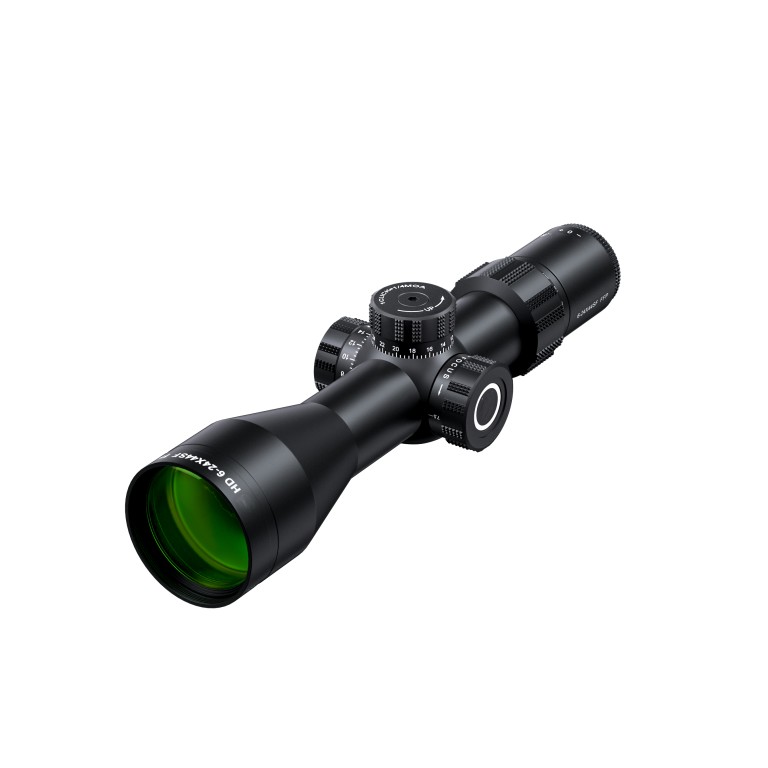
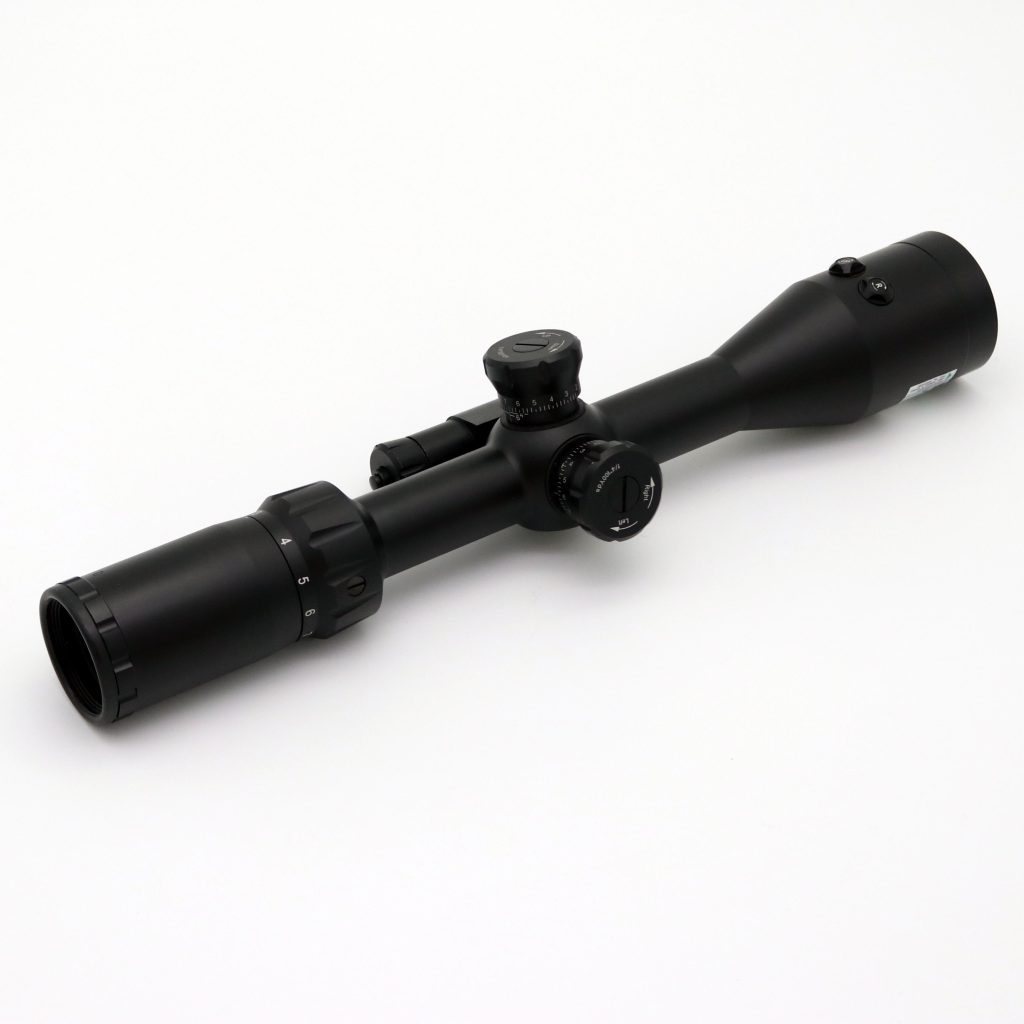
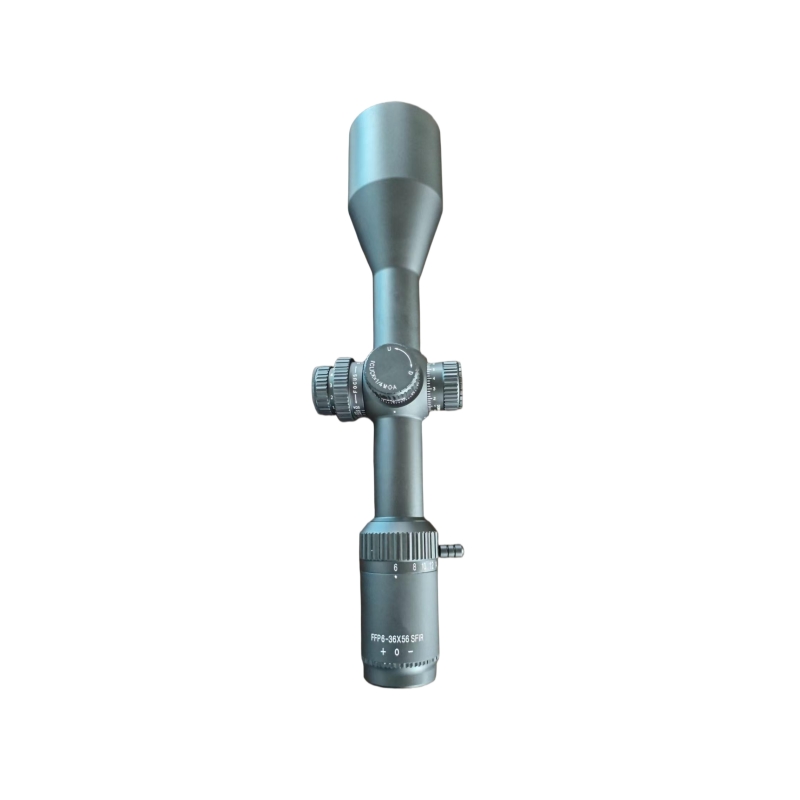
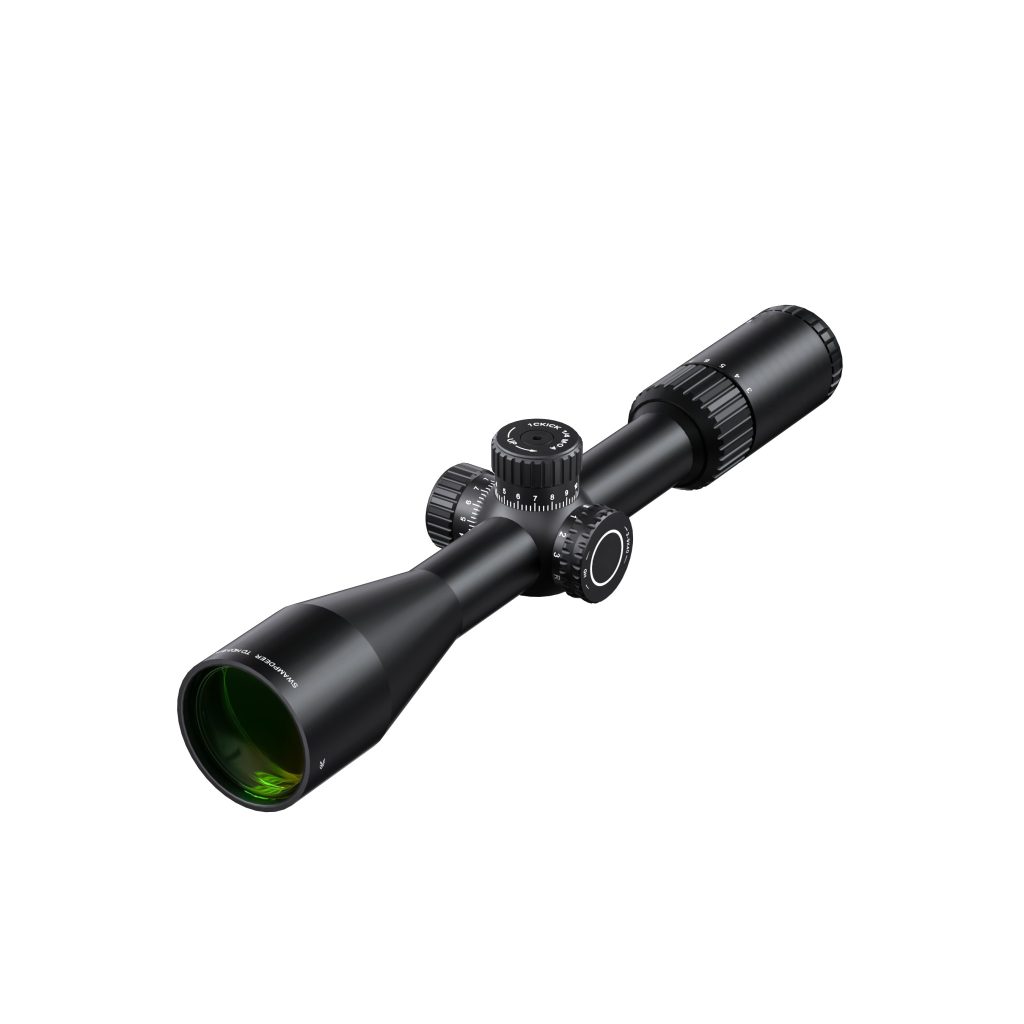
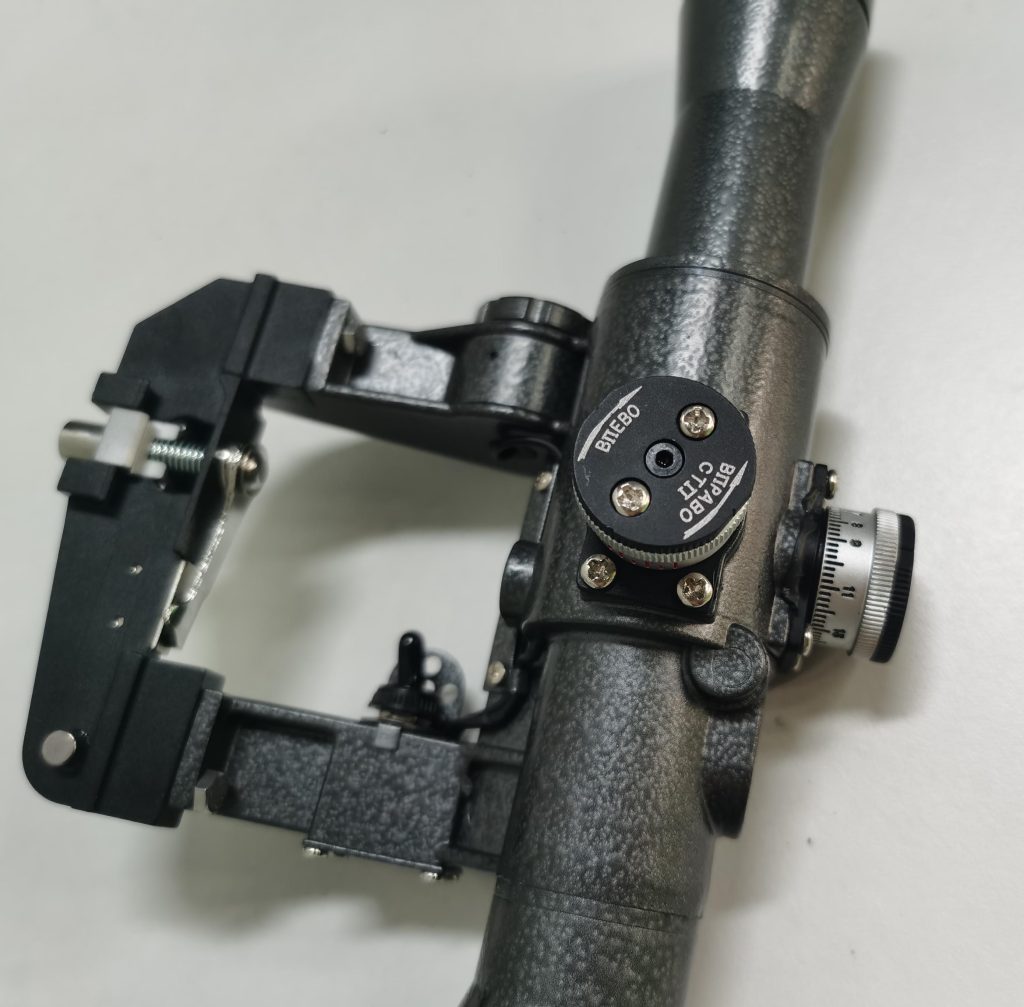
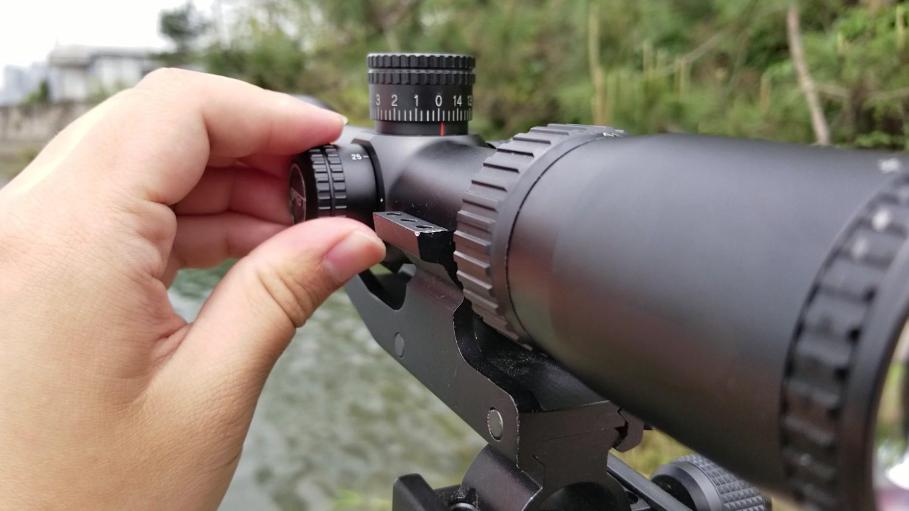
Turrets: Windage and Elevation
Turrets are the adjustable knobs on your scope that allow you to modify the point of impact of your bullet. There are two primary turrets: windage and elevation.
What is Windage? What is Elevation?
The windage turret (typically on the right side of the scope) adjusts the bullet’s horizontal point of impact, compensating for wind drift. Turning the windage turret will move your point of impact left or right. The elevation turret (located on top of the scope) adjusts the bullet’s vertical point of impact, compensating for bullet drop over distance. Turning the elevation turret will move your point of impact up or down.
How MOA (Minute of Angle) and MRAD work:
Scope adjustments are typically measured in either Minutes of Angle (MOA) or Milliradians (MRAD, often abbreviated as Mil). These are angular measurements that translate to a specific linear distance at a given range.
MOA: One MOA subtends approximately 1.047 inches at 100 yards. For simplicity, it’s often rounded to 1 inch at 100 yards, 2 inches at 200 yards, and so on. A scope with 1/4 MOA clicks means each click moves the point of impact by 1/4 inch at 100 yards.
MRAD: One MRAD subtends exactly 3.6 inches at 100 yards, or 10 cm at 100 meters. A common MRAD scope has 0.1 MRAD clicks, meaning each click moves the point of impact by 0.36 inches at 100 yards.
| Unit of Adjustment | Linear Value at 100 yards | Linear Value at 100 meters |
| 1 MOA | 1.047 inches | 2.908 cm |
| 0.1 MRAD | 0.36 inches | 1.0 cm |
How to Track Clicks and Avoid Over-adjustment:
When making adjustments, it’s crucial to track your clicks precisely. Each click produces a quantifiable change in the point of impact. If you move your impact 2 inches up at 100 yards with a 1/4 MOA scope, you would make 8 clicks up (2 inches / 0.25 inches/click = 8 clicks). Over-adjustment is a common mistake, leading to frustration and wasted ammunition. It’s best to make small, deliberate adjustments and then observe the results.
Parallax and Focus Adjustments: Adjustable Objective vs. Side Focus
Parallax is a common optical phenomenon in rifle scopes that, if not corrected, can lead to significant aiming errors.
Parallax occurs when the image of the target and the reticle are not on the same focal plane. This misalignment causes the reticle to appear to move relative to the target when the shooter’s eye position shifts slightly. Even a small amount of parallax can result in a missed shot, especially at longer ranges. Correcting parallax ensures that the reticle remains precisely on the target regardless of minor head movements.
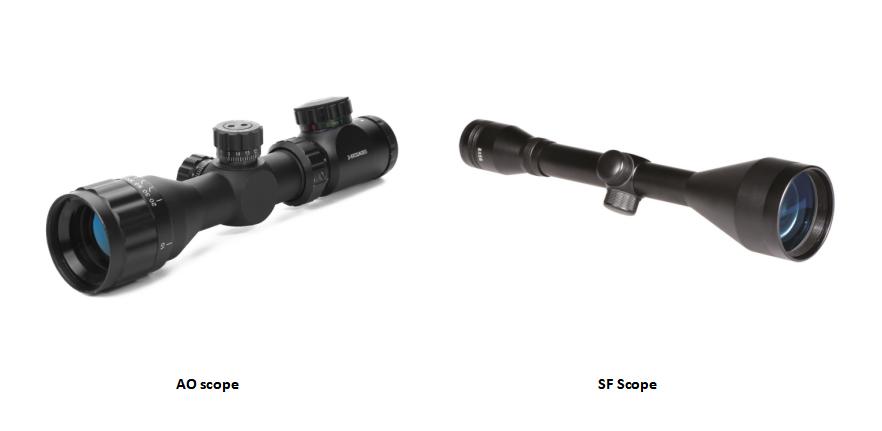
Adjustable Objective (AO) vs. Side Focus: Key Differences:
To eliminate parallax, scopes often feature a dedicated adjustment mechanism: either an Adjustable Objective (AO) or Side Focus knob.
- Adjustable Objective (AO): The AO ring is located on the front bell of the scope, around the objective lens. To adjust for parallax, you rotate this ring until the target appears sharp and clear, and the reticle shows no apparent movement relative to the target when you subtly shift your head.
- Side Focus: The side focus knob is typically found on the left side of the scope’s central tube, opposite the windage turret. This design allows for easier and quicker adjustments without having to reach forward. Like the AO, you turn the knob until the image is crisp and the reticle is parallax-free.
Pros and Cons of Each Method:
| Feature | Adjustable Objective (AO) | Side Focus |
| Location | Front of the scope (objective bell) | Left side of the scope (central tube) |
| Ease of Use | Requires reaching forward, can be slower | Easier to access, quicker adjustments |
| Ergonomics | Less convenient for quick adjustments in shooting position | More ergonomic, especially in prone or bench rest |
| Typical Cost | Often found on more budget-friendly scopes | Generally on mid to high-end scopes |
| Durability | Can be robust, but external movement points | Internal mechanism, less exposed to external damage |
When to Choose AO or Side Focus Based on Use Cases:
For shooters primarily operating from a bench or in scenarios where quick adjustments aren’t paramount, an AO scope can be perfectly adequate and cost-effective.
For hunters, tactical shooters, or anyone requiring rapid, on-the-fly parallax correction without breaking their shooting position, a side focus scope offers a significant advantage due to its accessibility.
How to Adjust a Rifle Scope
The process of adjusting a rifle scope begins with “zeroing,” which is the fundamental step to ensure your bullet hits where your reticle aims at a specific distance.
The Zeroing Process
Zeroing is the act of adjusting your scope’s windage and elevation turrets so that the point of impact of your bullet consistently matches your point of aim at a predefined distance. This is your “zero distance.” You should zero your scope whenever you first mount it, change ammunition types, or if you suspect your rifle has taken a significant bump or impact.
Step-by-step guide:
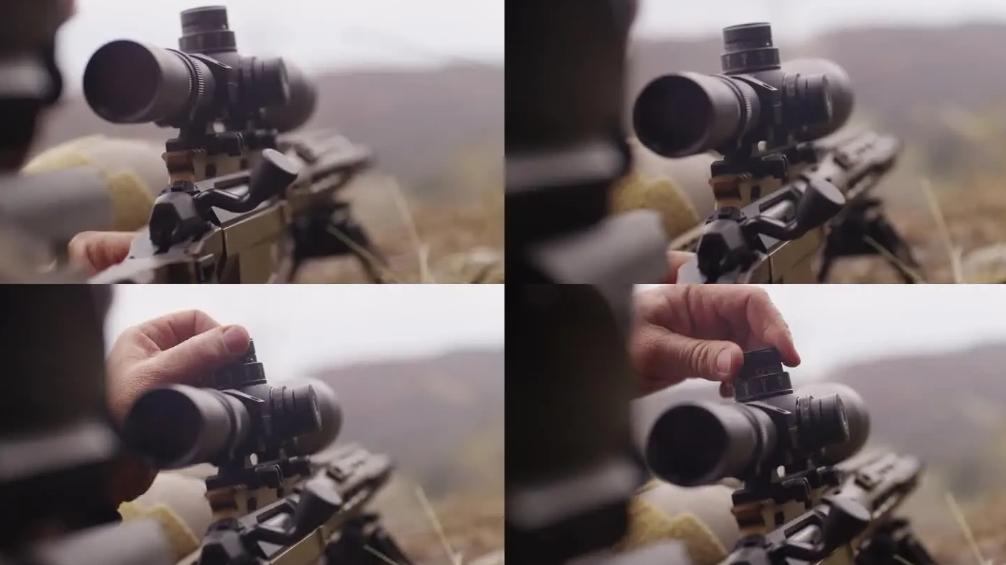
- Mounting the scope properly: Begin by securely mounting your scope to your rifle. Ensure the scope rings are correctly aligned and tightened to the manufacturer’s specifications. The scope should be level with the rifle, and eye relief (the distance from your eye to the eyepiece) should be comfortable and consistent. An improperly mounted scope will lead to inconsistent results and frustration.
- Choosing the right zeroing distance: The ideal zeroing distance depends on your primary shooting activity. For general hunting with common cartridges, a 100-yard or 200-yard zero is often preferred. For rimfire rifles or airguns, 25 or 50 yards might be more appropriate. Long-range precision shooters may opt for a 100-yard zero and then use ballistic data for longer engagements. For this example, we’ll use a 100-yard zero.
- Shooting groups and adjusting windage/elevation:
- From a stable shooting rest (e.g., sandbags or a bipod), aim at a target at your chosen zeroing distance (100 yards).
- Fire a group of 3-5 shots, aiming consistently at the center of the target.
- Observe where the group impacts the target relative to your aim point.
To adjust: If your group is, for example, 2 inches low and 1 inch left at 100 yards, and you have a 1/4 MOA scope:
You need to move your point of impact up by 2 inches. Since 1/4 MOA is 0.25 inches per click at 100 yards, you would adjust 8 clicks UP (2 / 0.25 = 8).
You need to move your point of impact right by 1 inch. You would adjust 4 clicks RIGHT (1 / 0.25 = 4).
- After making the adjustments, fire another 3-5 shot group, aiming at the center again. Repeat this process until your groups are consistently centered on your aim point.
Tip: Always adjust from a stable rest for best results. Any movement or inconsistency from the shooter can mask the true point of impact and make accurate adjustments impossible. A solid bench rest or prone position with support is highly recommended.
Which Way to Adjust the Scope?
Understanding which way to turn your turrets is crucial for effective scope adjustment. While most turrets are clearly marked, a quick reference can prevent common errors.
How to Read Turret Directions:
Most elevation turrets will have an “UP” or “U” arrow with an accompanying direction (e.g., clockwise or counter-clockwise). Similarly, windage turrets will have “R” (right) or “L” (left) with an arrow.
Clockwise vs. Counter-clockwise: Moving Point of Impact:
- Elevation: To move your point of impact UP, you will typically turn the elevation turret in the direction indicated by the “UP” arrow. This usually means turning the turret counter-clockwise on many scopes. Conversely, turning it the opposite way will move the point of impact DOWN.
- Windage: To move your point of impact to the RIGHT, you will typically turn the windage turret in the direction indicated by the “R” arrow. This often means turning the turret clockwise. Turning it the opposite way will move the point of impact LEFT.
Common User Mistakes and How to Avoid Them:
A common mistake is forgetting whether you’re adjusting the point of impact or the reticle. When you turn a turret, you are always adjusting the point of impact in the direction indicated. For example, if your shots are hitting low, you want to move the impact up, so you turn the elevation turret in the “UP” direction.
Another mistake is over-adjusting; make small, precise changes, then re-shoot to verify. It’s also easy to confuse MOA and MRAD click values if you switch between scopes or try to convert them on the fly. Stick to one system or ensure you clearly understand the conversion.
Adapting Your Scope for Different Shooting Scenarios
Once your scope is zeroed, you can adapt its settings to optimize performance across various shooting scenarios.
Close to Medium Range Shooting
For shooting within 0-300 yards, the emphasis is on rapid target acquisition and a wider field of view.
Suggested Magnification Settings: For close to medium ranges, a lower to moderate magnification is generally preferred. For example, a 1-4x, 2-7x, or 3-9x scope on its lower settings (e.g., 2x to 6x) provides an excellent balance of magnification and field of view. This allows for quick target identification and tracking, which is crucial in dynamic situations.
Quick Parallax Corrections (AO/SF Usage): At these ranges, parallax error is less pronounced than at longer distances, but it can still affect precision. If your scope has a side focus, a quick adjustment to a general setting for the anticipated range (e.g., 100 or 150 yards) will usually suffice. For AO scopes, making a quick adjustment to sharpen the image is beneficial. The key is speed; don’t get bogged down trying to achieve perfect parallax.
Fast Target Acquisition Techniques: Use both eyes open if possible, especially on lower magnifications. This allows for better situational awareness and a wider field of view. Practice quickly bringing the rifle to your shoulder, acquiring the target through the scope, and firing. The goal is to get on target and make the shot as quickly and efficiently as possible.

Long-Range Precision Shooting
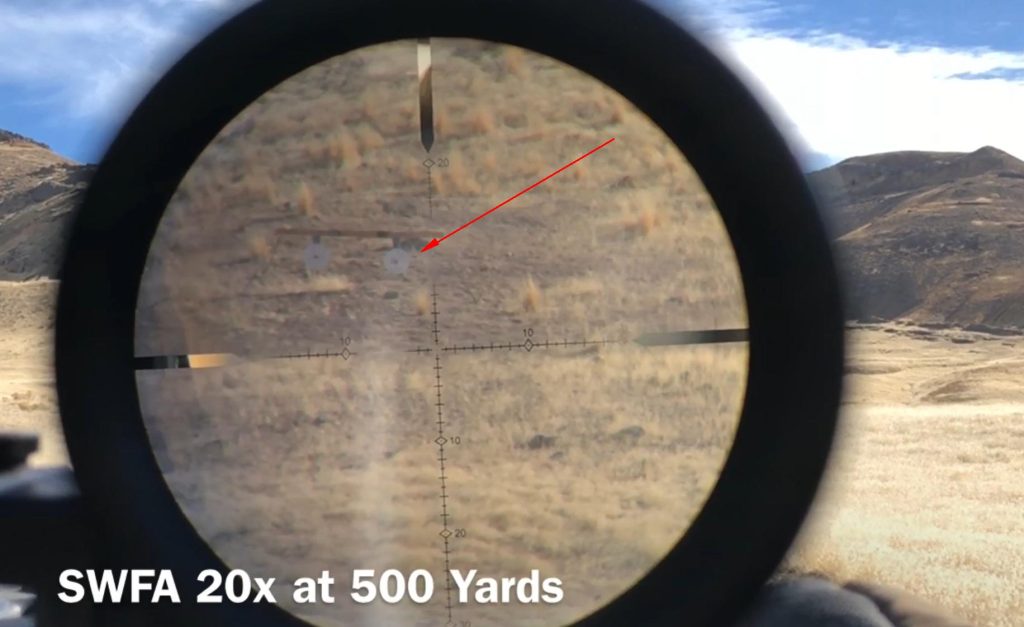
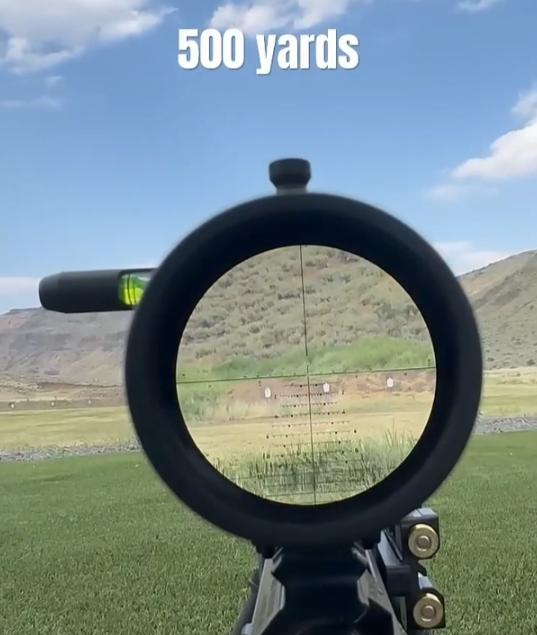
Long-range shooting (typically beyond 300 yards) demands meticulous attention to detail and precise adjustments to account for bullet drop and environmental factors.
Importance of Precise Elevation Adjustments: At longer distances, gravity has a significant effect on the bullet’s trajectory. A bullet that shoots perfectly flat at 100 yards might drop dozens of inches at 500 yards. Precise elevation adjustments are paramount to compensate for this bullet drop. Even a small error in elevation can result in a complete miss.
Accounting for Bullet Drop and Wind Drift:
- Bullet Drop Compensation (BDC): This involves dialing in the necessary elevation adjustments on your turret or using holdovers on your reticle (e.g., BDC reticles with multiple aim points) to account for the bullet’s arc.
- Wind Drift: Wind is a major factor at long range. Even a light breeze can push a bullet significantly off course. Windage adjustments are made to counteract this drift. You’ll need to assess wind speed and direction and make corresponding adjustments.
Using Ballistic Charts or Rangefinders:
- Ballistic Charts: These charts provide data on bullet drop and wind drift for your specific ammunition at various ranges and environmental conditions. Many online ballistic calculators or mobile apps can generate these charts.
- Rangefinders: A laser rangefinder is essential for accurately determining the distance to your target, as precise range data is critical for calculating bullet drop.
Long-Range Scope Adjustments: Tips and Tools:
Many long-range scopes feature turrets with clearly marked MOA or MRAD increments and often have “zero stops” or “multi-turn” indicators to help track large adjustments. Tools like a Kestrel weather meter can provide real-time atmospheric data (temperature, pressure, humidity, wind speed/direction), which can be fed into ballistic calculators for highly accurate firing solutions.
Consider using a scope with a first focal plane (FFP) reticle, as its subtensions (MOA/MRAD marks) remain true at all magnifications, simplifying holdovers and ranging at any power setting.

Frequently Asked Questions (FAQs)
Q1: Which way should I turn my turrets to adjust my shot?
To move your point of impact UP, turn the elevation turret in the direction marked “UP” (usually counter-clockwise). To move your point of impact DOWN, turn it the opposite way. To move your point of impact RIGHT, turn the windage turret in the direction marked “R” (usually clockwise). To move your point of impact LEFT, turn it the opposite way. Always think about moving the bullet hole to the center of your target.
Q2: What‘s better: Adjustable Objective or Side Focus?
Neither is inherently “better”; it depends on your primary use. Side Focus is generally more convenient and faster to adjust, making it preferred for hunting, tactical, and competitive shooting where quick adjustments are needed. Adjustable Objective (AO) scopes are often more budget-friendly and perfectly suitable for static shooting from a bench or where time is not a critical factor.
Q3: Do I need to re-zero my scope for different ammunition types?
Yes, absolutely. Different ammunition types (even different bullet weights or brands within the same caliber) will have varying velocities, ballistic coefficients, and powder charges. This will result in different points of impact. It is crucial to re-zero your scope whenever you switch to a different ammunition type to maintain accuracy.
Q4: How often should I adjust my parallax setting?
Ideally, you should adjust your parallax setting every time you change the distance to your target, especially at longer ranges. For close-range shooting, a single setting might suffice for a range of distances. At extended ranges (e.g., beyond 150-200 yards), even small changes in distance can introduce significant parallax error, making frequent adjustment beneficial.
Q5: Can I use long-range scopes for hunting in the woods?
While technically possible, it’s generally not ideal. Long-range scopes typically have high minimum magnification, narrow fields of view, and often heavy, bulky designs. These features make them cumbersome for quick target acquisition in dense woods where shots are usually taken at close range. A lower magnification, lighter, and more compact scope is much better suited for woodland hunting.
Conclusion: Final Tips for Reliable Scope Adjustment
Mastering your rifle scope is an ongoing process that significantly enhances your shooting capabilities. To ensure reliable performance and consistent accuracy across all scenarios, remember these final tips:
Always zero your scope before making scenario-specific adjustments: Your zero is your foundation. Without a solid zero at your chosen distance, any further adjustments for range or wind will be inaccurate. Choose a zero-stop scope when necessary.
Understand your scope‘s adjustment scale (MOA or MRAD): Knowing whether your scope adjusts in MOA or MRAD, and the value of each click, is fundamental. Confusion here leads to frustration and wasted ammunition.
Practice at different ranges to gain familiarity: The more you shoot at varying distances and in different conditions, the more intuitive scope adjustment will become. Practical experience reinforces theoretical knowledge.
Clean your optics and turrets regularly to maintain precision: Dust, dirt, and grime can obscure your view or impede the smooth operation of your turrets. Regular cleaning ensures maximum clarity and precise mechanical function.
By understanding these principles and consistently applying them, you’ll gain the confidence and skill to adapt your rifle scope for any shooting scenario, consistently hitting your mark with precision.