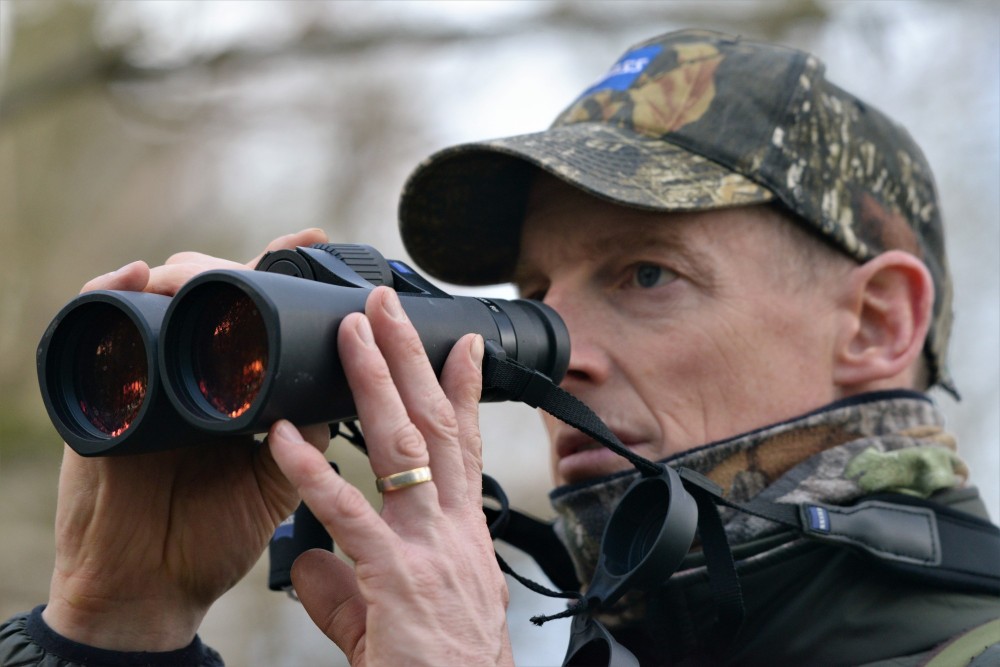
A 2026 buyer’s guide built around real field constraints (not marketing math)
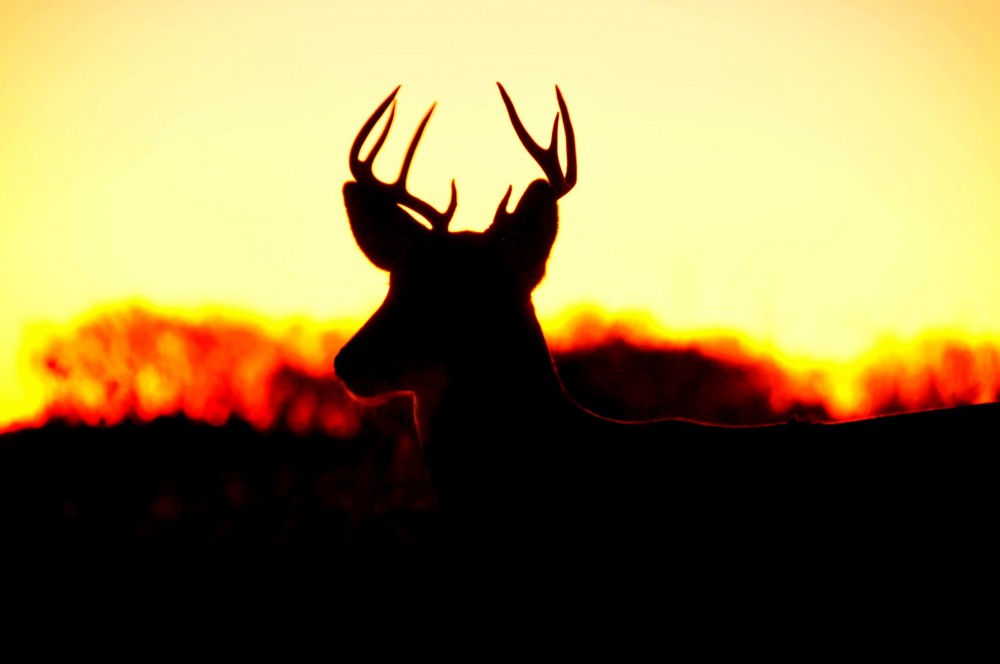
If you hunt whitetails in timber or mule deer on shaded slopes, you already know the truth: dawn and dusk don’t just make things darker – they make everything harder to read. Antler points blend into brush. Backlit edges flare. You’re glassing through mixed shadow, fog, and heat-haze at the exact moment deer move.
So this guide is not a list of trendy models. It’s a decision framework. I’ll show you which specs matter most, how to pick a format that matches your terrain, and how to test binoculars the way you’ll actually use them.
Why low light is different in the deer woods
Low light isn’t a uniform dimmer switch. It’s usually high contrast: bright sky, dark timber, and moving animals that never stand where the light is perfect. Your binoculars need to do three things at once:
- Deliver enough usable light to your eye to keep the image from collapsing into gray.
- Hold contrast so you can separate fur from brush and antler from branch.
- Control stray light and glare when the horizon is lit but the ground is dark.
The common mistake is buying purely on magnification. In low light, stability and brightness are often more valuable than extra power – because extra shake and a dimmer image hide detail faster than magnification reveals it.

The 5 specs that actually move the needle at dawn and dusk
1) Exit pupil (brightness you can feel)
Exit pupil is the easiest low-light spec to understand and the hardest to ignore once you’ve used it correctly. It’s calculated as objective diameter divided by magnification. Bigger exit pupil generally means a brighter, more forgiving image in low light.
Rule of thumb for deer hunting: aim for ~5 mm or larger if your primary glassing time is dawn/dusk.
2) Stray-light control (glare kills detail)
A binocular can be ‘bright’ on paper and still look washed out if it’s poor at controlling glare. Look for deep, well-fitting eyecups, good internal baffling, and a reputation for strong contrast. In real hunting, this is what keeps a backlit deer from turning into a dark blob.
3) Coatings and prisms (transmission + contrast)
If you’re shopping mid-range and up, prioritize fully multi-coated optics and phase-corrected prisms on roof designs. Those features don’t magically turn night into day – but they help keep contrast and reduce flare as light fades.
4) Field of view and edge clarity (finding deer fast)
A wider field of view makes it easier to pick up movement and re-locate a bedded deer after you look away. Edge sharpness matters more than people admit because deer are rarely centered in your view when you first spot them.
5) Eye relief and eyecups (especially with glasses)
Low light is not the time to fight blackouts. If you wear glasses, choose longer eye relief and eyecups that hold position. You want an easy, repeatable sight picture, even when you’re breathing hard or glassing off a tree.
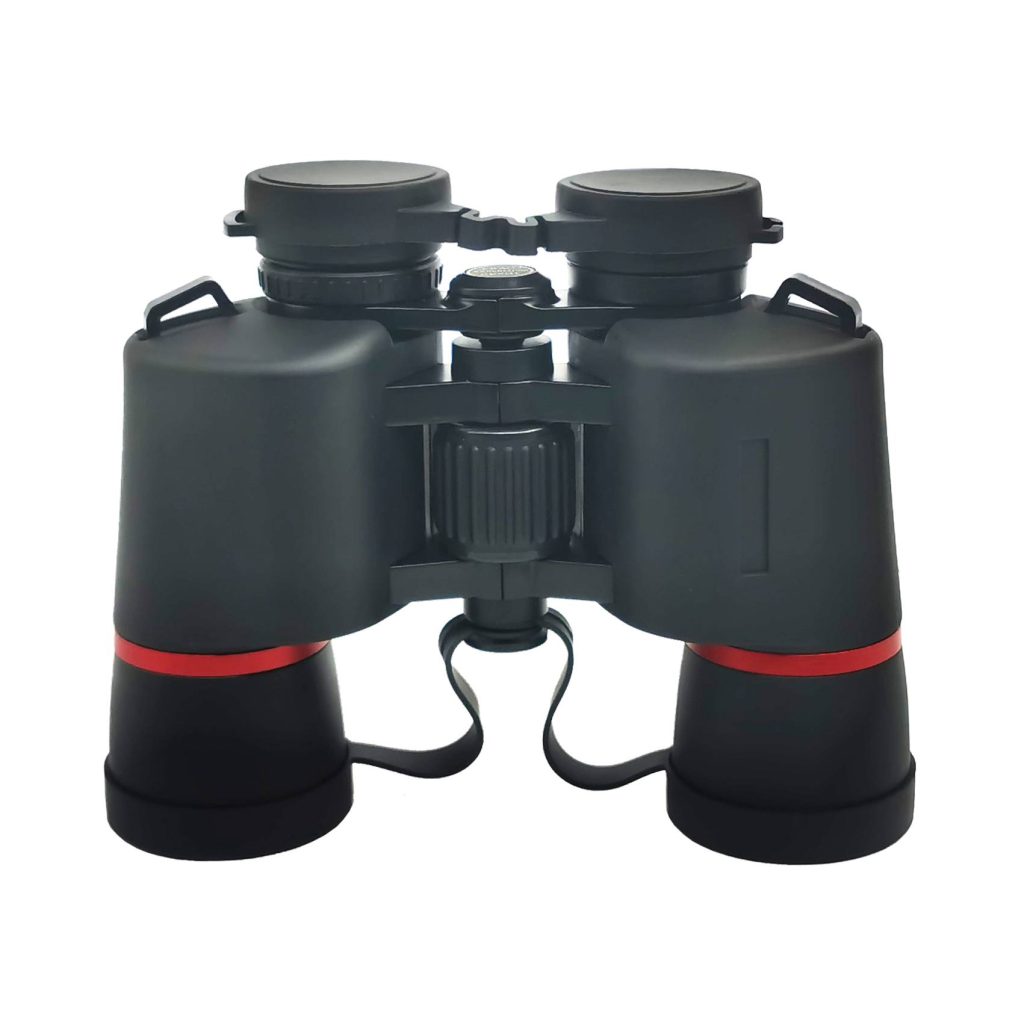
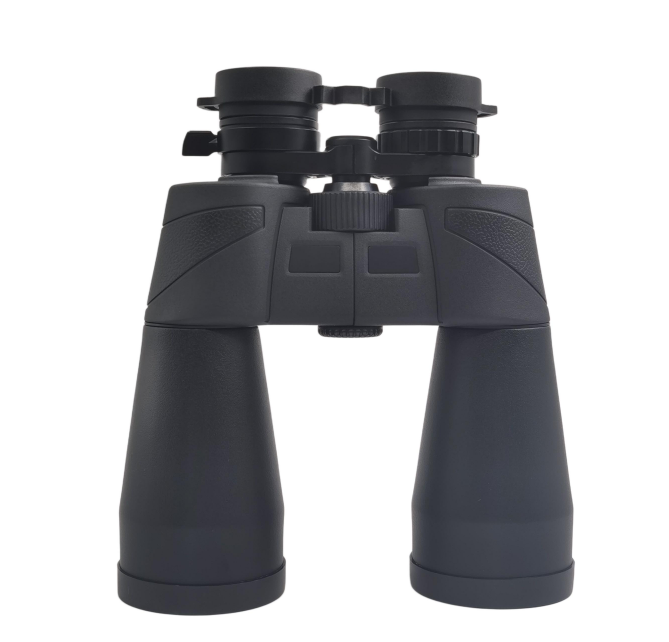
Format choices that make sense for low light
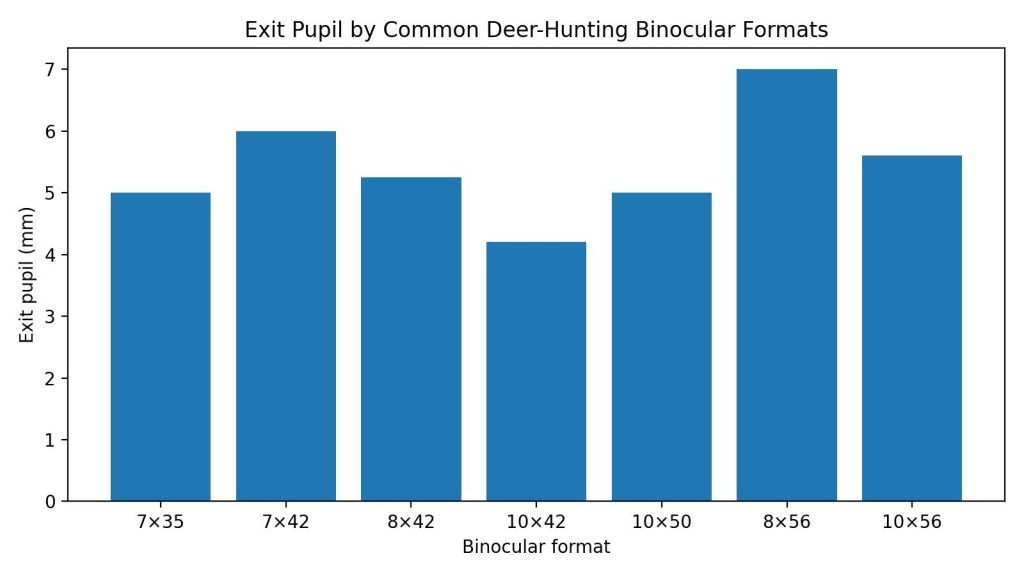
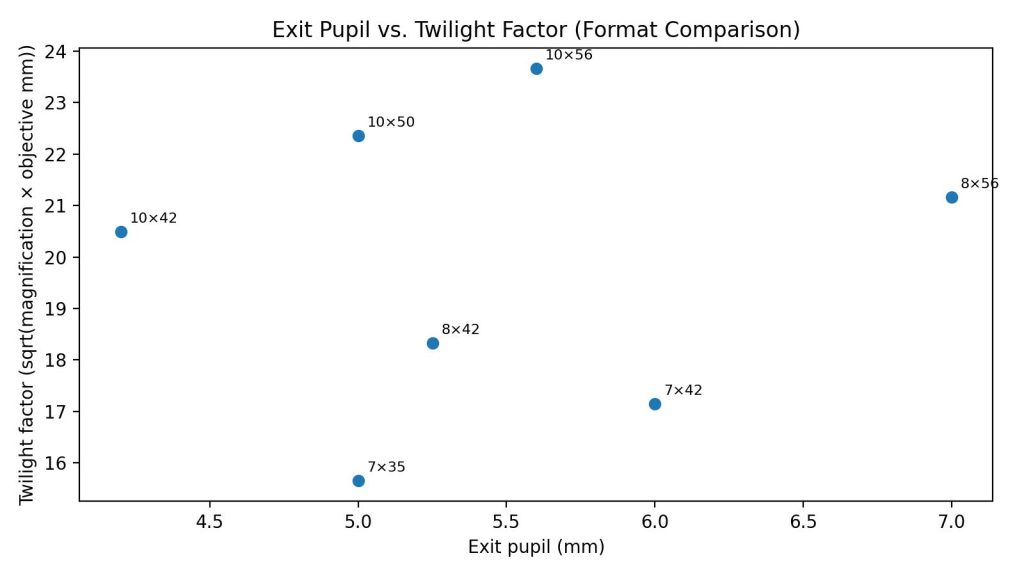
Instead of arguing ‘best binoculars,’ it’s more useful to match a format to how you hunt. Below is a quick comparison of the sizes hunters keep coming back to for dawn and dusk.
| Format | Exit pupil (mm) | Twilight factor | Best fit | Trade-offs |
| 7×42 | 6.0 | 17.1 | Timber, thick cover, and long sessions on stand | Less reach across big cuts |
| 8×42 | 5.2 | 18.3 | All-around: stand + still-hunt + light spot-and-stalk | Not as bright as 8×56 at the edge of legal light |
| 10×42 | 4.2 | 20.5 | Open country when you need more ID detail | More shake; low-light image feels ‘tighter’ |
| 10×50 | 5.0 | 22.4 | Balanced open-country low light without going huge | Heavier; may need a harness for all-day |
| 8×56 | 7.0 | 21.2 | Maximum low-light brightness for stand hunting or glassing in shade | Bulky; less pleasant to carry |
| 10×56 | 5.6 | 23.7 | Low light + long-range detail if you glass a lot from stable positions | Weight and shake make it niche |
My default recommendation (if you only buy one)
For most deer hunters, 8×42 is the most forgiving and versatile format. It balances low-light usability, stability, and carry comfort. If your hunting is heavily weighted toward stand hunting in timber or you routinely push the edge of legal light, 8×56 is the specialist upgrade.
When 10× makes sense
10× is a good choice when your terrain is open enough that you’re consistently identifying deer past a few hundred yards. If you go 10×, consider a 50 mm objective (10×50) or plan on bracing your elbows, using a pack, or running a lightweight tripod adapter.
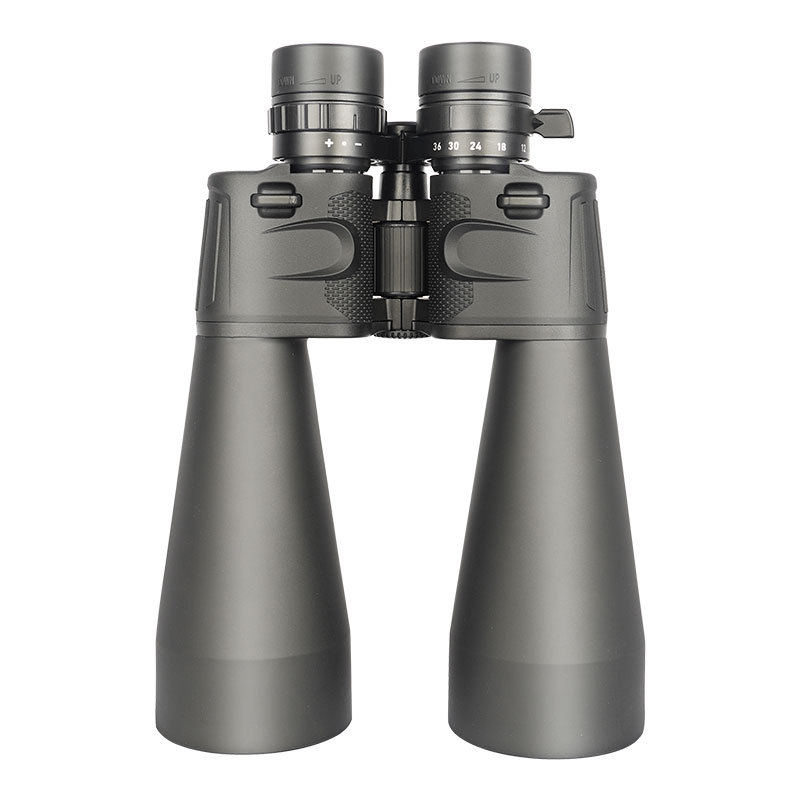
Field features that matter more than spec sheets
Focus speed and feel
In low light, deer often appear and vanish in seconds. A smooth focus wheel with the right speed (not too slow, not twitchy) lets you snap from 40 yards to 200 yards without hunting for focus.
Diopter adjustment that stays put
A drifting diopter ruins low-light performance because it softens contrast – exactly what you’re relying on. Prefer locking diopters or designs that are recessed and hard to bump.
Weather sealing and fog resistance
Dawn hunts are wet hunts: temperature swings, breath, drizzle, and frost. Waterproofing and nitrogen/argon purging keep your glass usable when conditions are exactly the kind that push deer to move.
Harness or chest carry
A harness keeps binoculars stable, quiet, and accessible – and it reduces fatigue with heavier low-light formats. If you hate harnesses, at least choose a strap that won’t let the binos bounce while you still-hunt.
Quick tests you can do before you buy
Bring your own checklist. Five minutes in the parking lot can save you years of regret:
Shadow detail test: Stand with the sun at a low angle and look into a shaded treeline. Do you keep texture in bark and brush, or does it wash out?
Glare test: Put the bright sky just outside the field of view. If the image blooms or fogs, stray-light control is weak.
Focus snap: Focus from near to far quickly. The wheel should be smooth, with no gritty spots or slack.
Edge check: Pan slowly across a fence line or branches. Strong optics stay readable across most of the field.
Comfort test: Hold them one-handed, then two-handed. If you can’t get a stable view now, it will be worse after a mile hike or in cold fingers.
Budget reality: what you’re paying for
At a basic level, most binoculars can ‘see deer.’ What changes with price is how long the image stays usable as light drops, and how much frustration you remove from the process.
- Entry level: Good daylight glass; low-light performance usually limited by glare, coatings, and mechanical feel.
- Mid-range: Noticeable jump in contrast, coatings, and durability. This is where most serious hunters should start.
- Upper mid-range: Better low-light control, cleaner edges, and smoother mechanics. This is also where warranties and QC often improve.
- Premium: The difference is subtle in bright daylight and obvious at the edge of legal light: less flare, more contrast, and less eye fatigue.
Keep low-light performance from degrading
Dirty glass is sneaky in the morning – it doesn’t just blur, it creates flare. A simple routine keeps your optics performing like they did on day one:
- Blow off grit before wiping (dust turns into scratches).
- Use a lens brush or clean microfiber – not your shirt.
- Dry the binoculars after wet hunts; store uncapped overnight to let moisture escape.
- Check the hinge tension and eyecups occasionally; small looseness becomes big annoyance in cold weather.

Selection Logic B: Pick the right low-light binocular in 3 steps
Step 1: Where do you hunt most?
- Mostly timber / treelines / stands: start at 7×42 or 8×42.
- Mixed cover with occasional long glassing: 8×42 is the safe default.
- Mostly open country with long looks: start at 10×42 or 10×50.
Step 2: How often are you truly hunting in low light?
- Occasionally: 8×42 is usually enough if glare control is good.
- Frequently (legal light edge, heavy canopy, fog): consider moving up in exit pupil (10×50 or 8×56).
- Almost always (stand hunters, late season, thick timber): 8×56 is the specialist tool.
Step 3: Can you hold the image steady?
This is the honest filter most people skip. If you can’t hold 10× steady for 20-30 seconds, you’ll see less detail than you would with 8×.
- If hand-held only: favor 7× or 8×.
- If you frequently brace on a pack/tree: 10× becomes more realistic.
- If you glass for long sessions: consider a lightweight tripod adapter (even a small one changes everything).

A simple ‘good-enough’ checklist for low-light buyers
| What to check | What ‘good’ looks like |
| Exit pupil | Target ~5 mm or larger for dawn/dusk focus. |
| Glare control | Minimal haze when bright sky is just outside the view. |
| Eyecups & eye relief | Comfortable, repeatable viewing without blackouts. |
| Focus feel | Smooth, no slack; fast enough for near-to-far jumps. |
| Sealing | Waterproof + fog-proof (purged). |
| Warranty/QC | Clear warranty terms and strong reputation for consistent builds. |
FAQ (Schema-style Q&A)
Q: What binocular size is best for low light deer hunting?
A: For most hunters it’s 8×42. It’s bright enough for many dawn/dusk conditions while staying stable and easy to carry. If you’re regularly in heavy timber or pushing legal light, 8×56 is the low-light specialist.
Q: Is 10× better than 8× for dawn and dusk?
A: Not automatically. 10× can show more detail, but it also magnifies shake and usually reduces exit pupil at the same objective size. In true low light, a steadier 8× view often reveals more usable detail.
Q: What exit pupil should I look for?
A: Aim for roughly 5 mm or larger if low light is a priority. Bigger exit pupils generally look brighter and are more forgiving when your eyes aren’t perfectly centered behind the eyecups.
Q: Does twilight factor matter?
A: It’s a useful comparison tool across formats, but it doesn’t account for optical quality, coatings, or glare control. Treat it as a ‘math hint,’ not a guarantee.
Q: Are 50 mm objectives worth it for deer hunting?
A: They can be – especially for open country or when you want 10× magnification without the low-light penalty of a 10×42. The trade-off is weight and bulk.
Q: Do I need ED glass for low light?
A: ED glass can help with color fringing and perceived sharpness, but low-light performance is often dominated by coatings, contrast, and stray-light control. Don’t buy ED at the expense of poor mechanics or glare.
Q: Roof prism or Porro prism for low light?
A: Either can work. Roof prisms are compact and common in hunting bins; Porros can offer strong 3D depth and value. In low light, execution matters more than prism type.
Q: What’s the fastest way to test low-light performance in a store?
A: Step outside at dusk (or into deep shade) and do a glare test: keep bright sky just outside the field and look for haze or flare. Also check how quickly you can focus from near to far.
Q: How do I stop fogging?
A: Choose sealed, purged binoculars and avoid breathing directly onto the eyepieces. After a wet hunt, dry them and store in a ventilated spot before sealing them in a case.
Q: Is a tripod overkill for deer hunting binoculars?
A: Not if you glass a lot in open country. Even a small tripod or a solid pack rest can turn 10× into a real advantage and reduce eye fatigue.