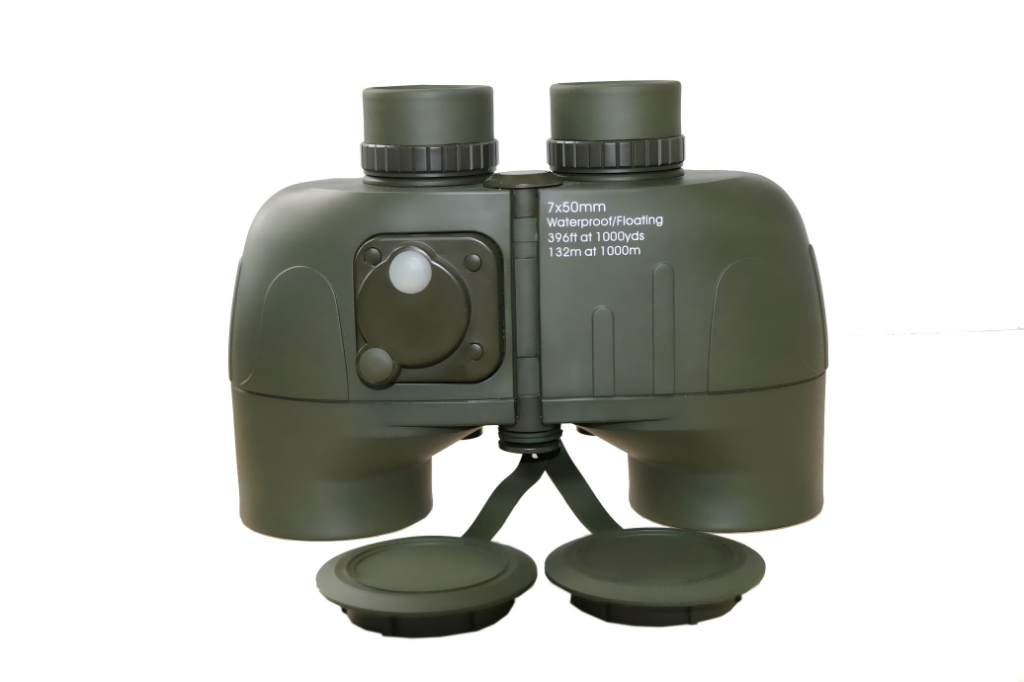
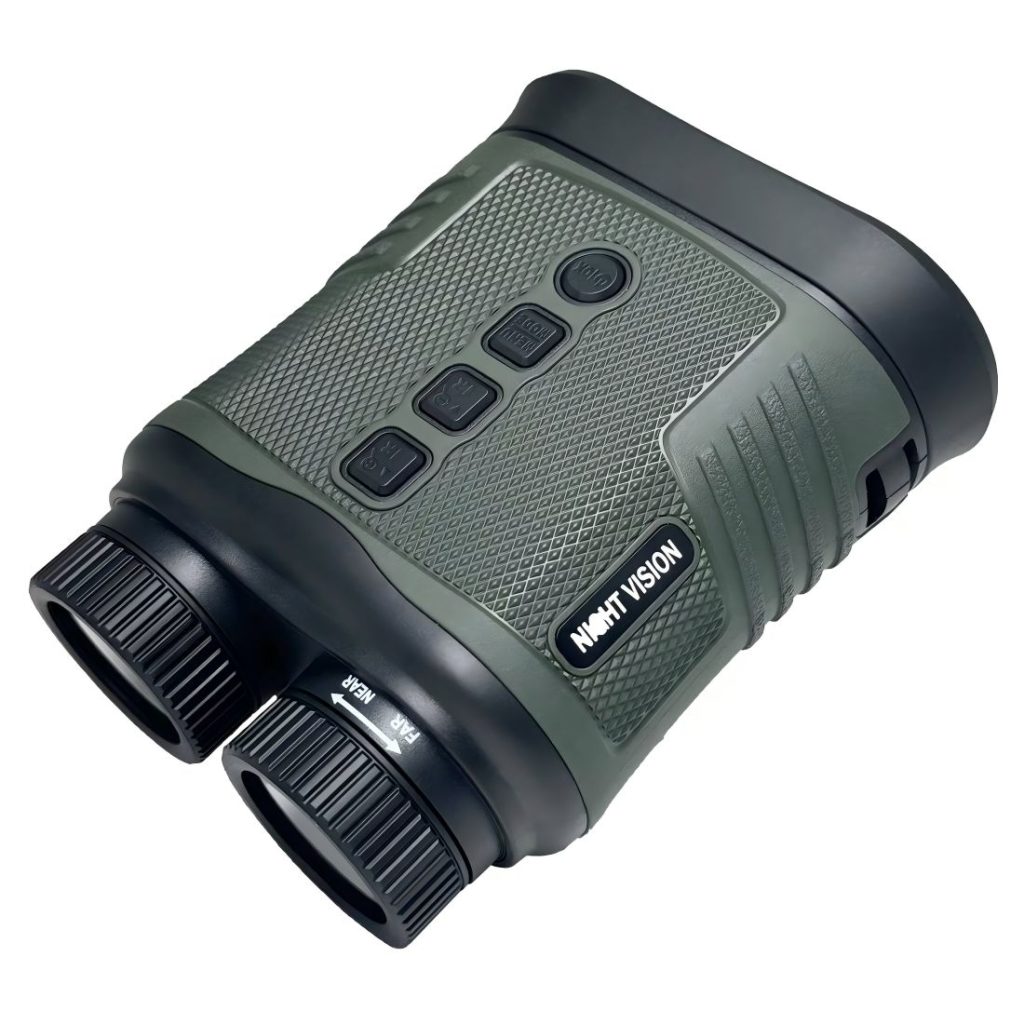
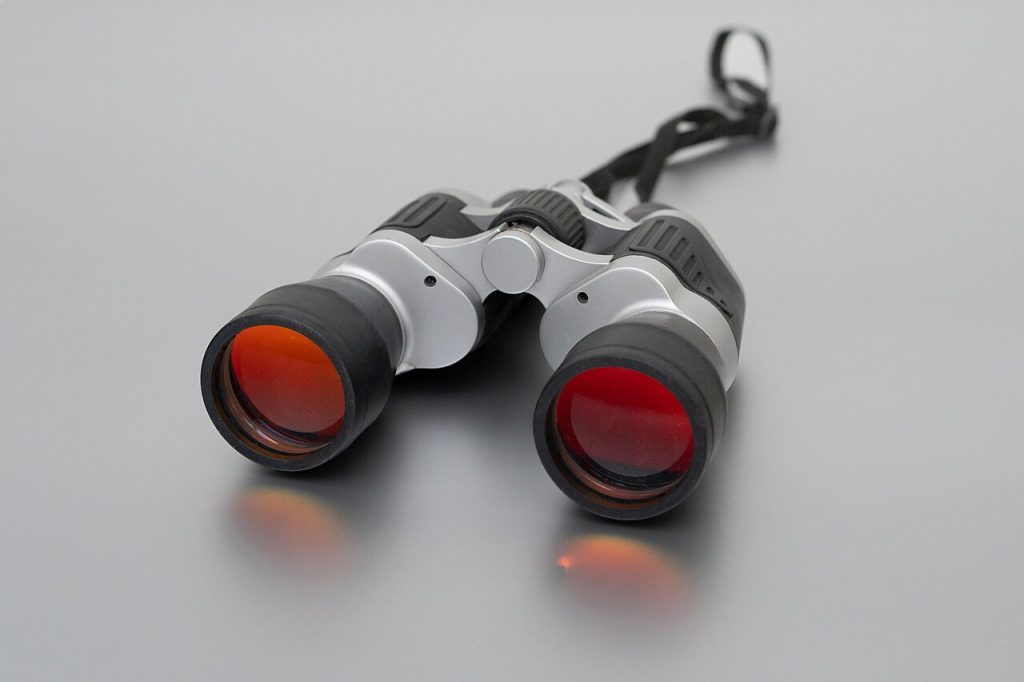
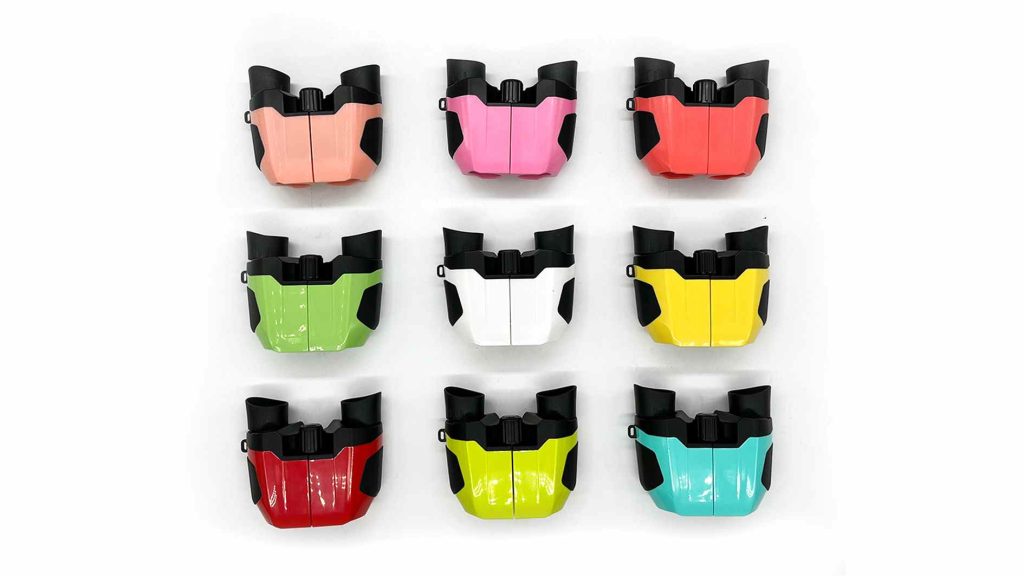
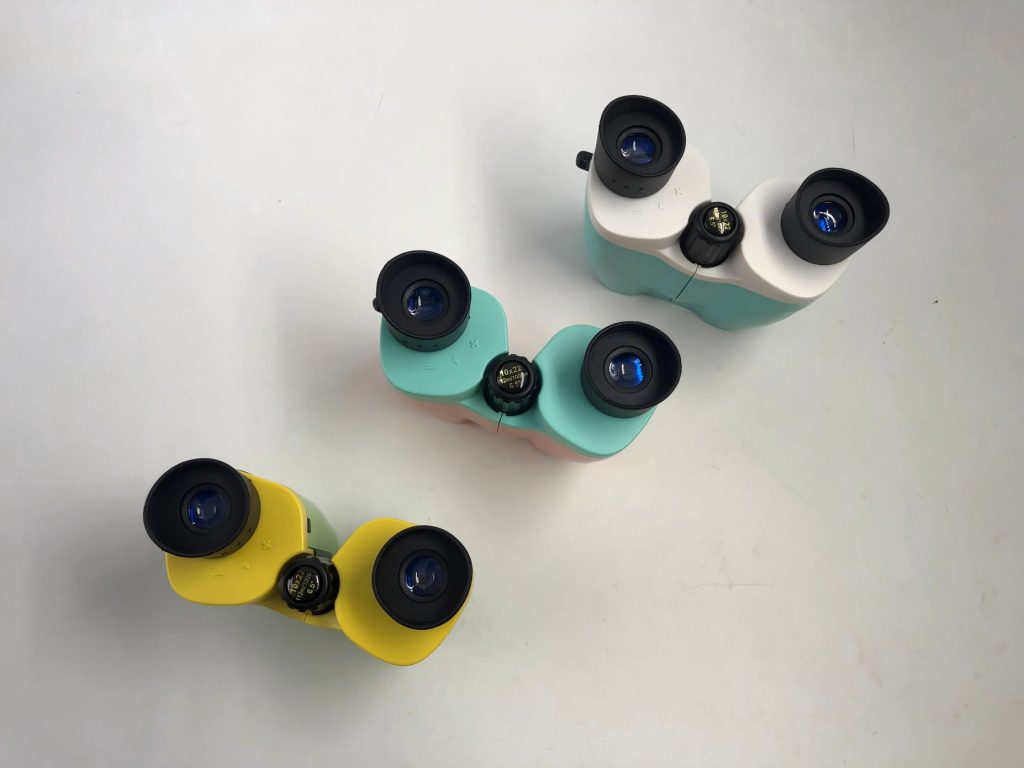
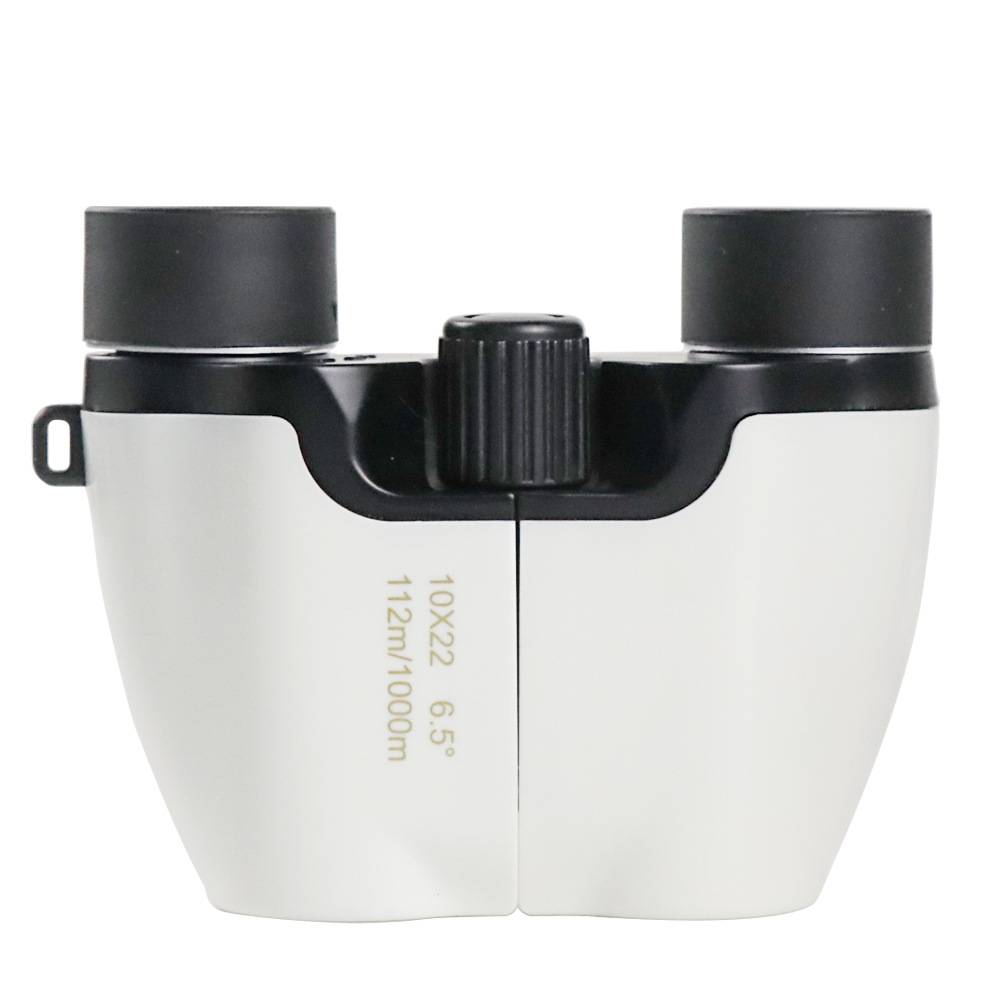
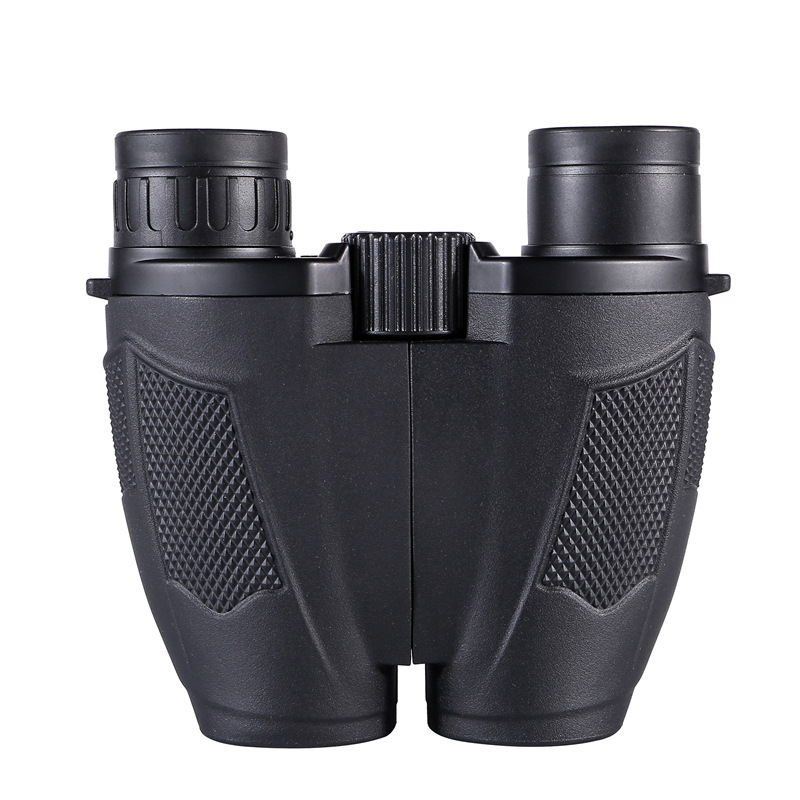
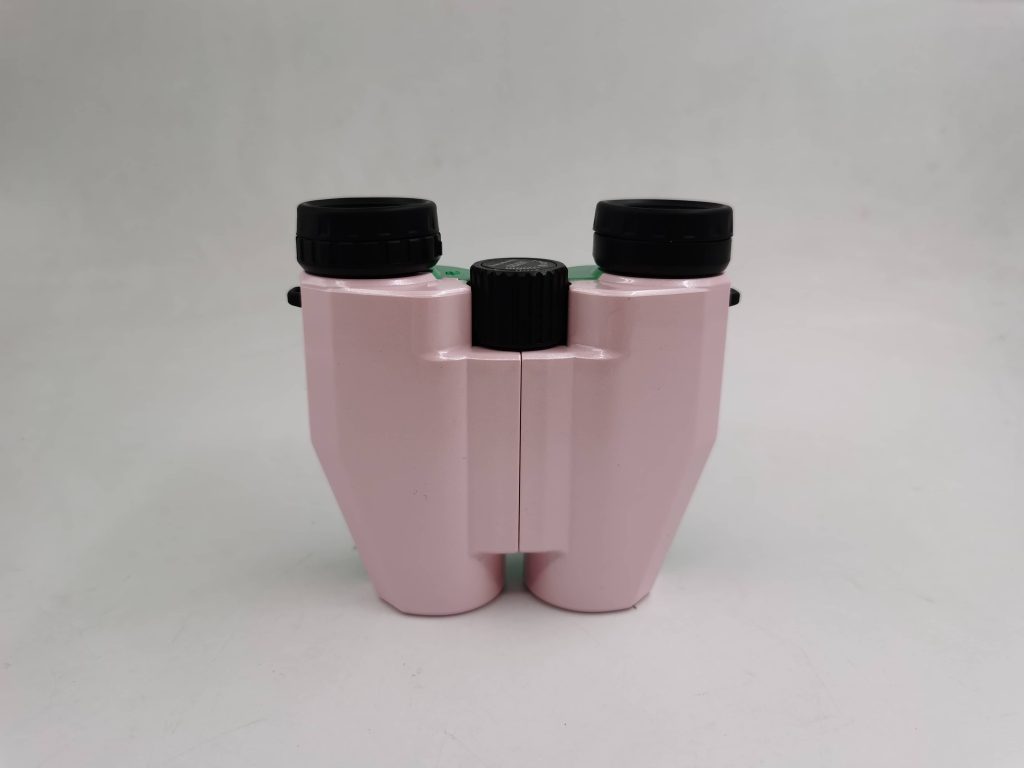
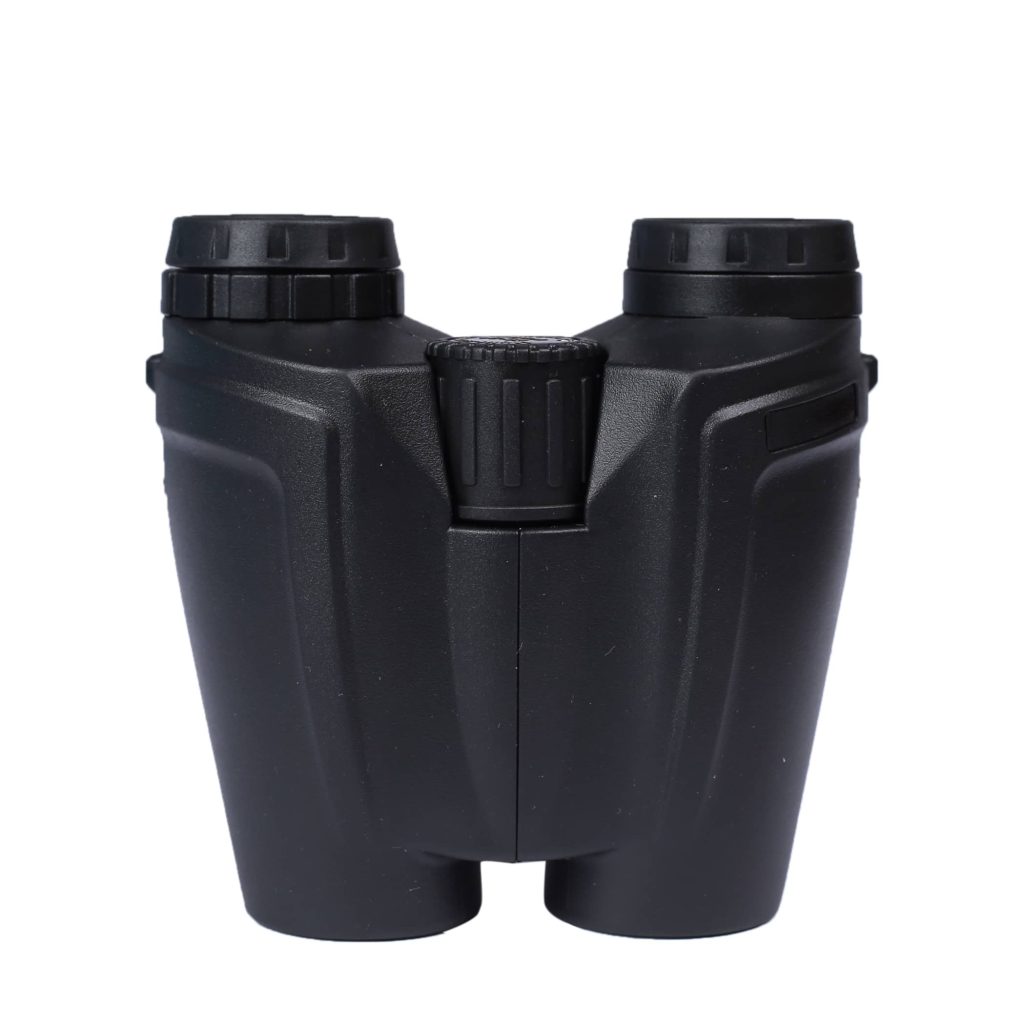
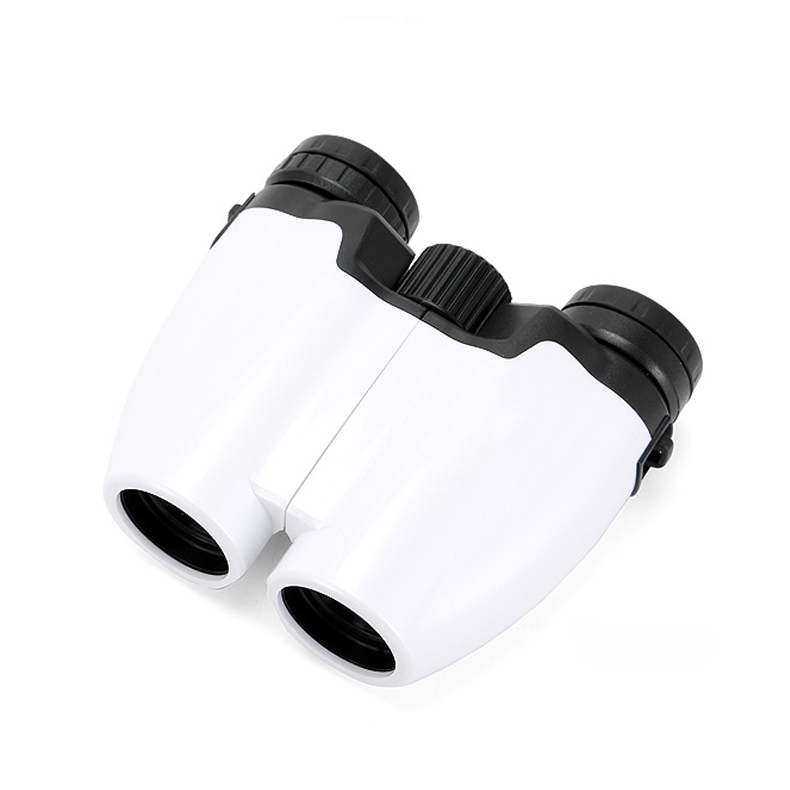
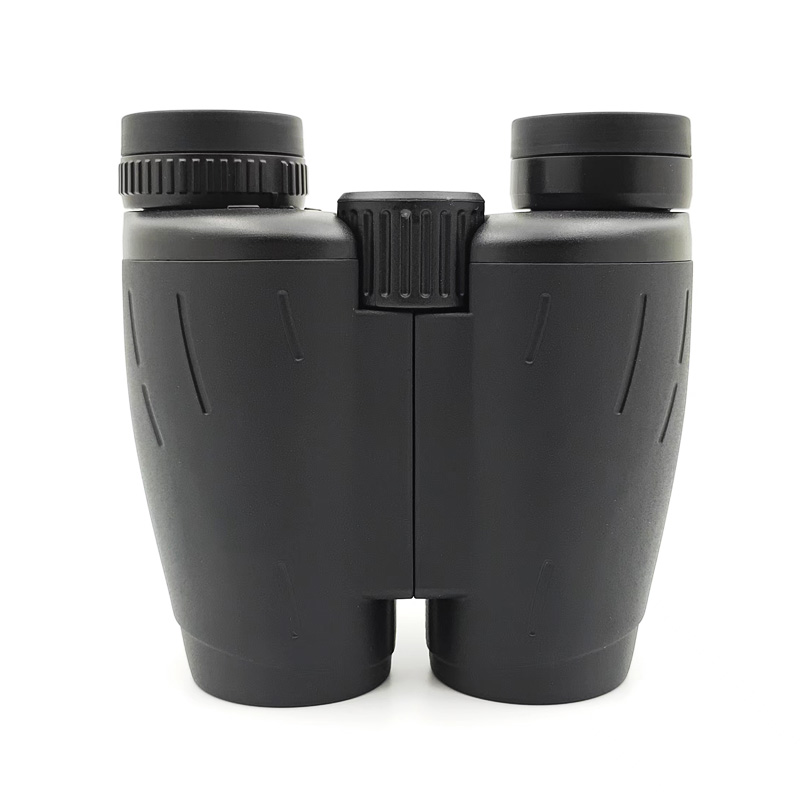
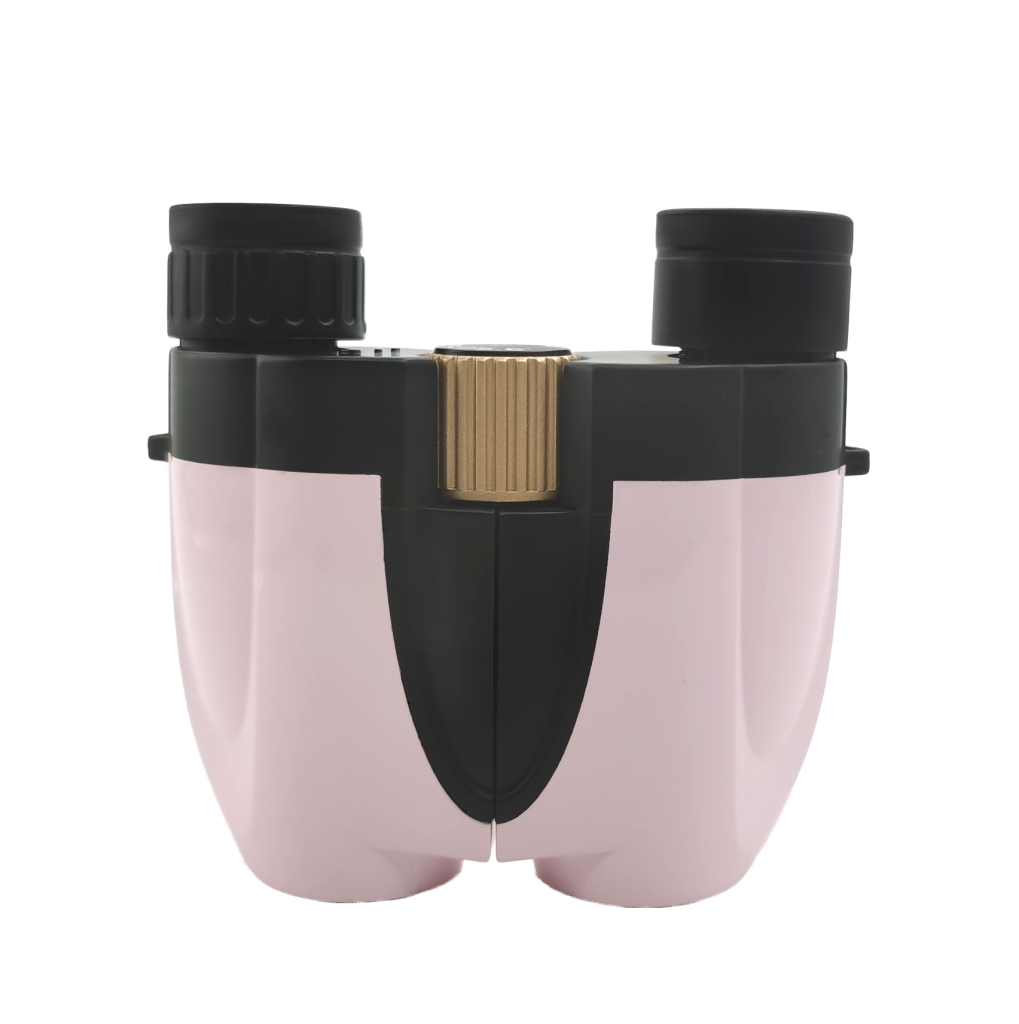
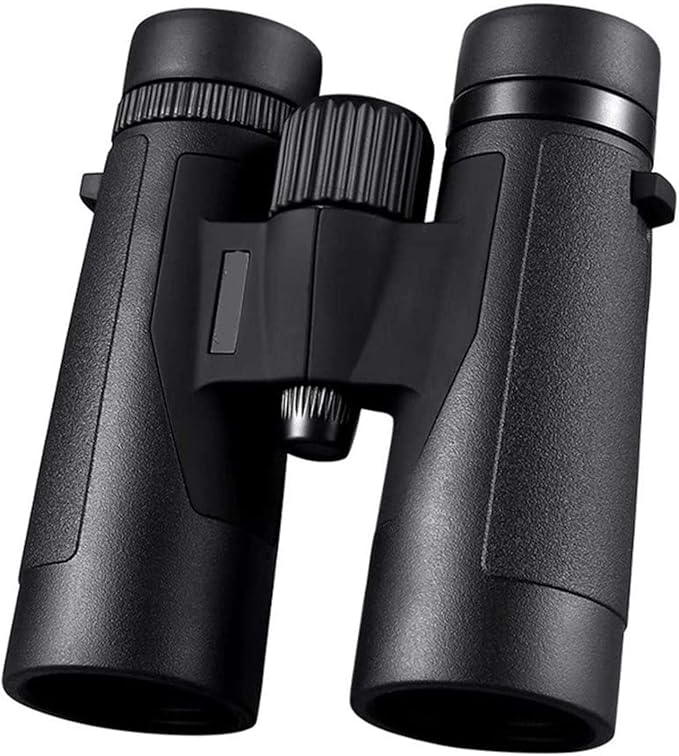
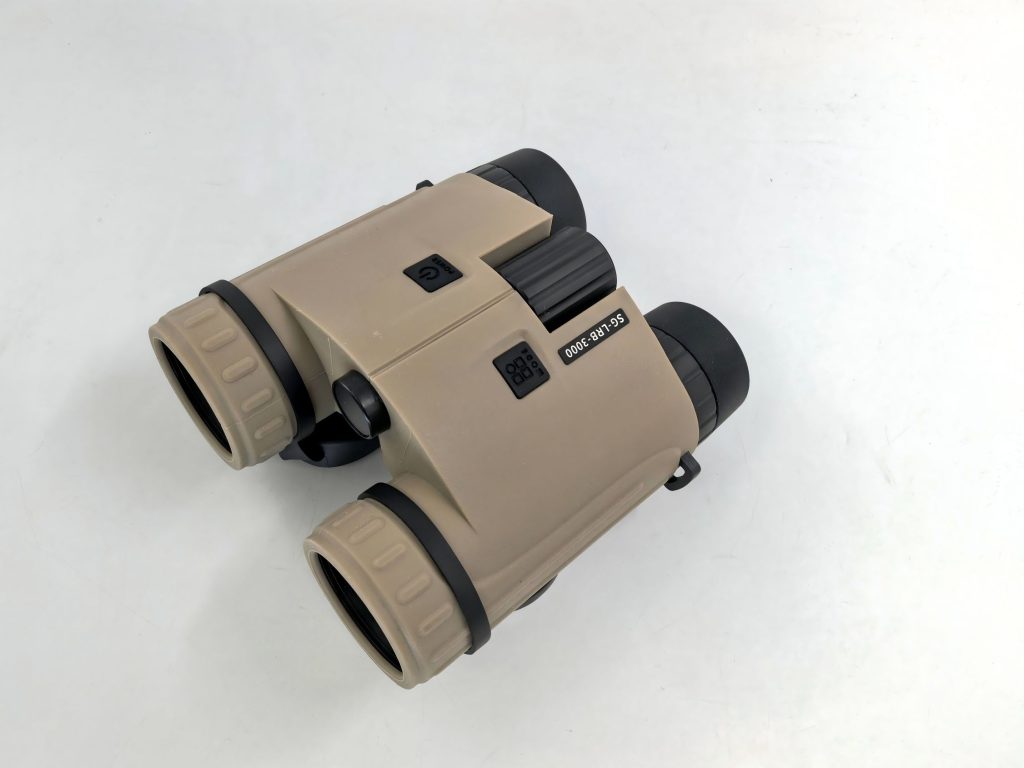
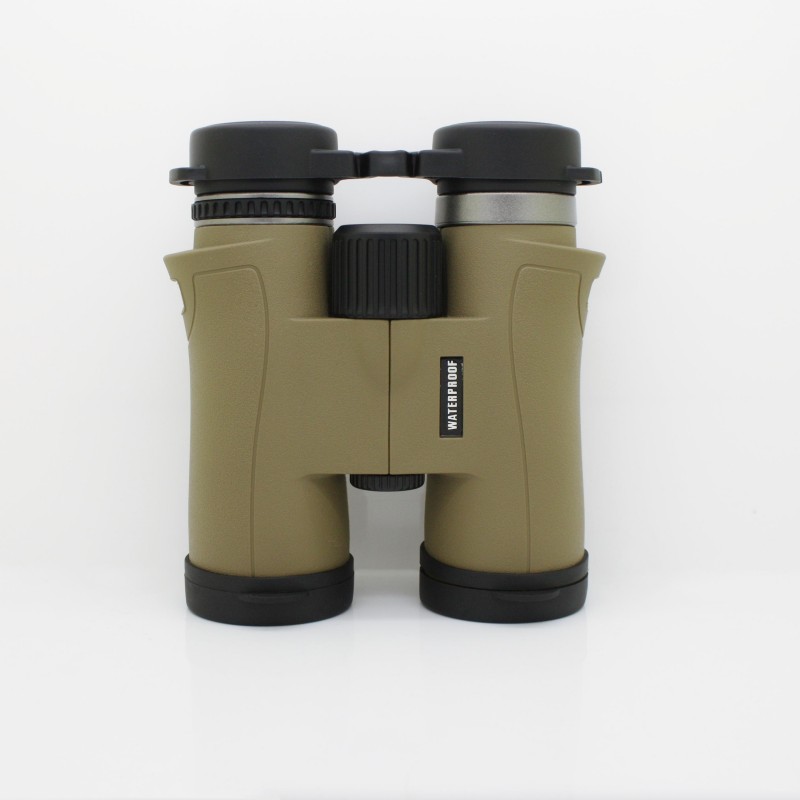
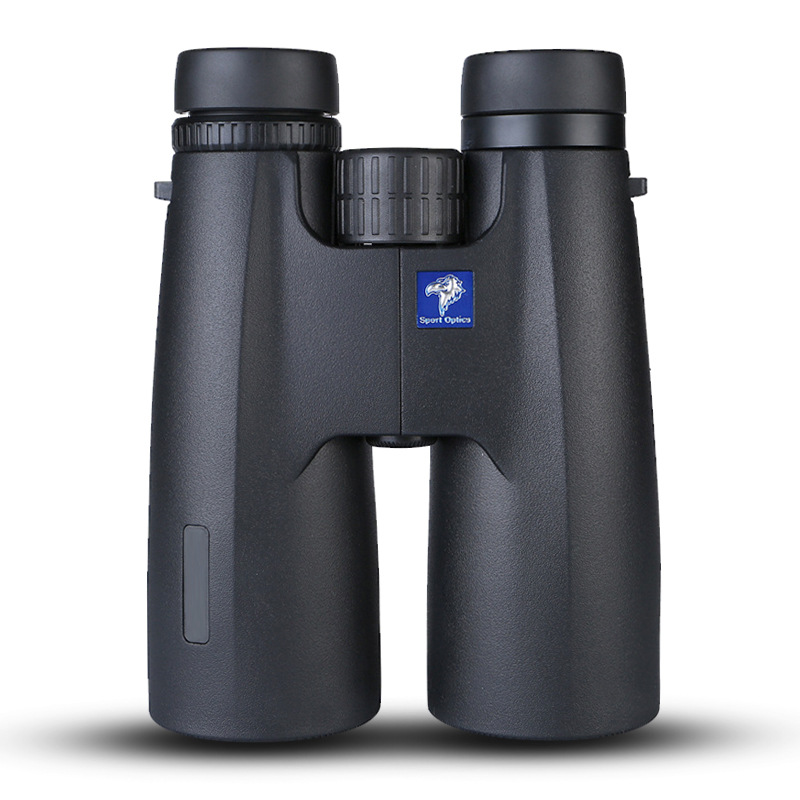
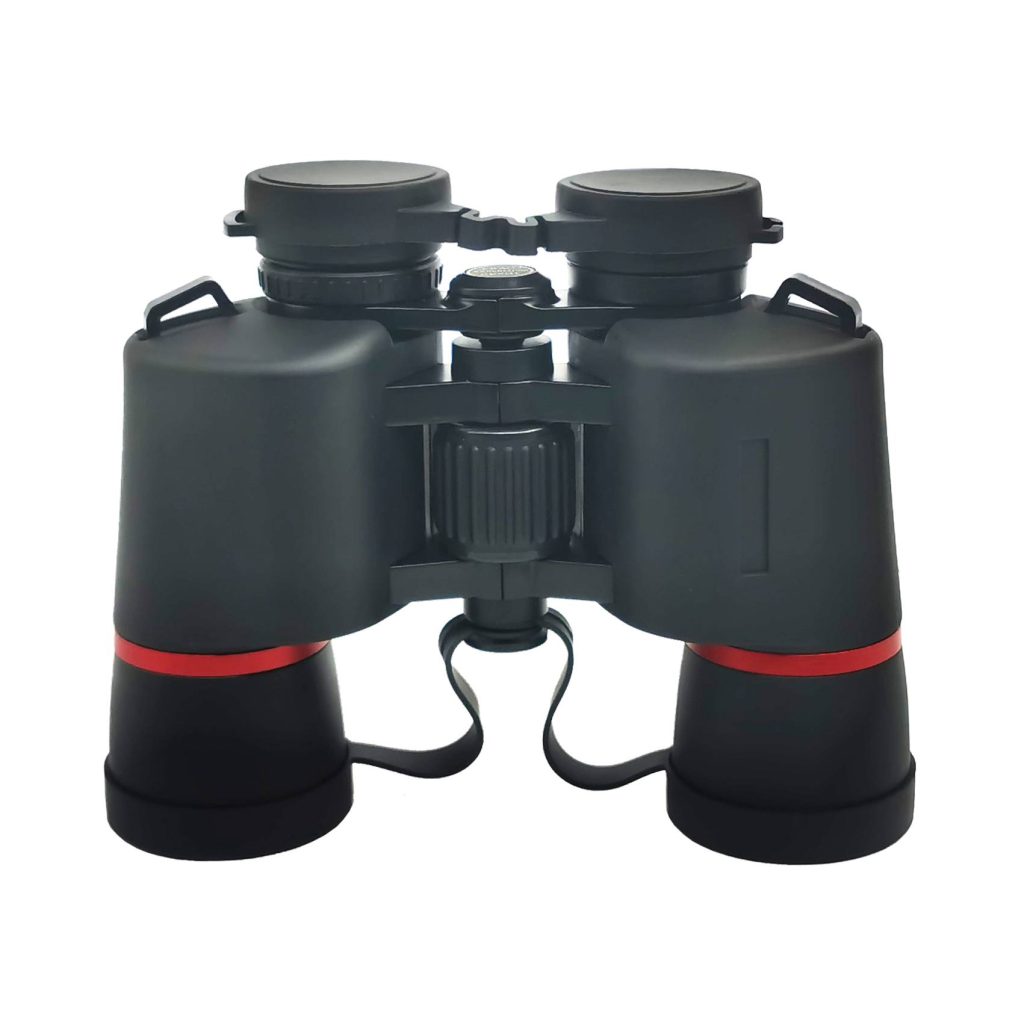
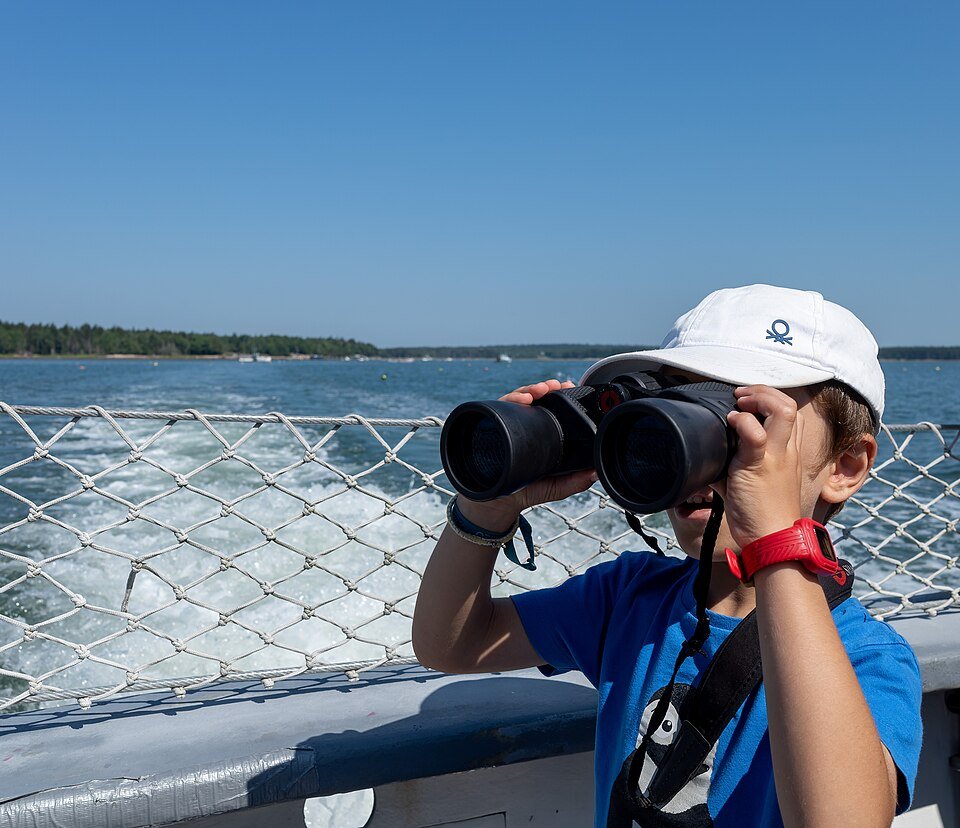
Applicable to: Binoculars/Monoculars/ Rangefinder Binoculars (including Birdwatching and Travel Scenarios)
Why do glasses make it hard to see the full field and cause blackout areas?
Many people choose a binocular based on magnification (8×, 10×) and objective lens diameter (21/25/32/42 mm). But the real factor that determines whether you can comfortably see the full field with glasses is a more human-centered metric: whether you can consistently position your eyes at the correct eye point.
When wearing glasses, there is naturally an extra 8–15 mm of distance between your eyes and the eyepiece (caused by lens thickness, frames, and nose pads). If the binocular’s effective eye relief is insufficient, or if the eyecup height is not properly adjusted, the circular field of view becomes incomplete. You may see edges “cut off” or experience drifting dark areas that move with your eyes (commonly called kidney bean or blackout).
This article explains the correct way to achieve full-field viewing with glasses, following the sequence: optical principles → structural matching → on-site adjustment → selection and verification.
Key takeaways (remember these 3 points):
- For full-field viewing with glasses, prioritize effective eye relief over the nominal eye relief listed in brochures.
- To avoid blackout, the exit pupil and the eyebox tolerance are equally important — small exit pupils with wide fields are more sensitive to eye position.
- The eyecup is not just an accessory; it’s a fixture that positions the optical eye point on your face. Correct height + stable stop = maximum viewing comfort.

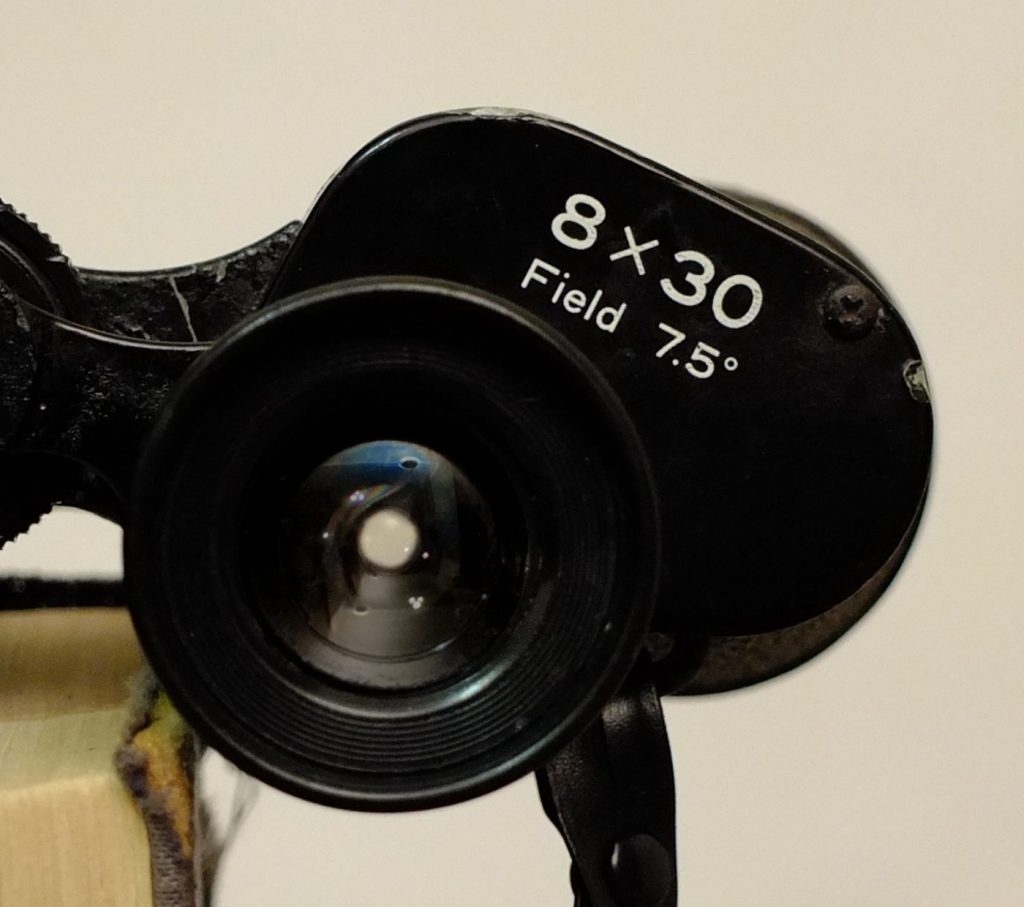
Eye Relief: Determines Whether You Can See the Full Field
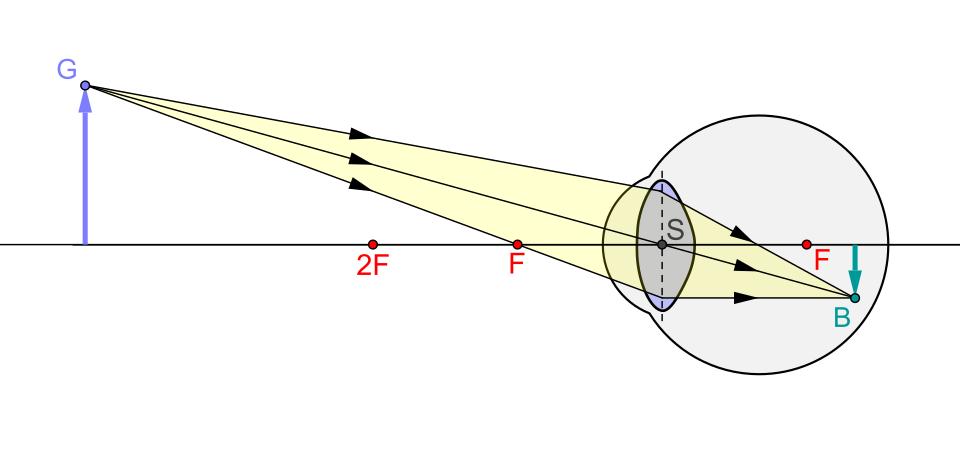
Eye relief is the distance from the last lens element of the eyepiece (or the reference plane of the eyecup) to the position of your eye’s pupil. When your eye is positioned near this distance, the full light beam enters the pupil, allowing you to see a complete, uniform circular field of view.
The key point is that the eye relief listed in specifications usually refers to the optical design eye relief, whereas users wearing glasses need the effective eye relief — the remaining usable distance after accounting for eyecup thickness, eyepiece guard height, and the distance from your glasses lenses to your pupil.
Practical thresholds (based on typical adult framed glasses):
- Effective eye relief ≥ 15 mm: Usually allows full or nearly full field of view.
- 17–20 mm: Provides a noticeably more forgiving experience; turning your head or scanning doesn’t easily cut off the view.
- < 14 mm: Most likely requires pressing glasses close to the eyepiece, or you will only see a “shrunk field circle.”
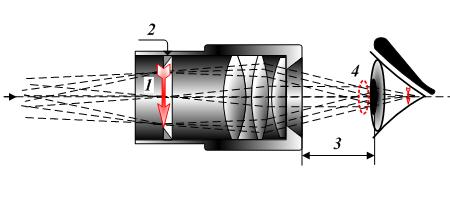
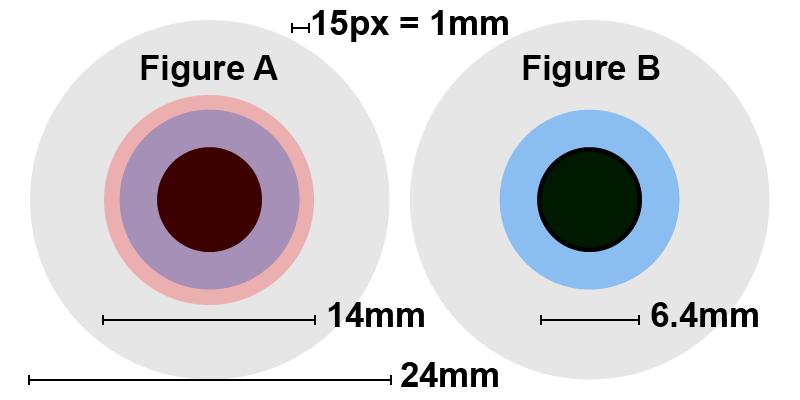
Exit Pupil & Eyebox: Determines How Forgiving the View Is
The exit pupil is the “bright circle” you see behind the eyepiece. Its diameter can be roughly estimated with a simple formula:
Exit Pupil ≈ Objective Lens Diameter ÷ Magnification
A larger exit pupil allows your eyes to receive enough light even if they are slightly off the eye point in any direction, making the view more forgiving. A smaller exit pupil means that even tiny misalignments can cause dark edges or blackout areas.
This is why, at the same 8× magnification, an 8×21 (exit pupil ≈ 2.6 mm) is usually more demanding on eye position than an 8×32 (exit pupil ≈ 4.0 mm). For glasses wearers, the tolerance of a small exit pupil is further reduced, making sufficient effective eye relief and precise eyecup stops even more critical.
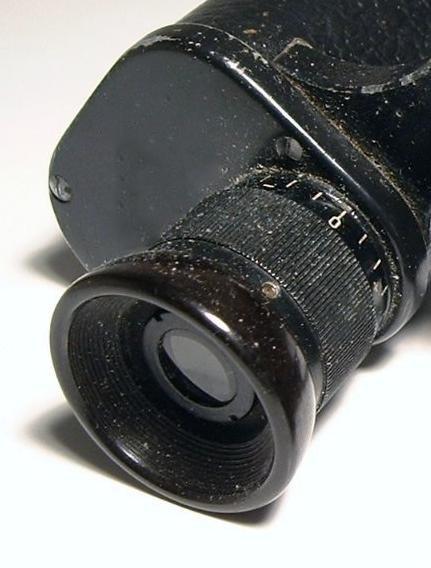
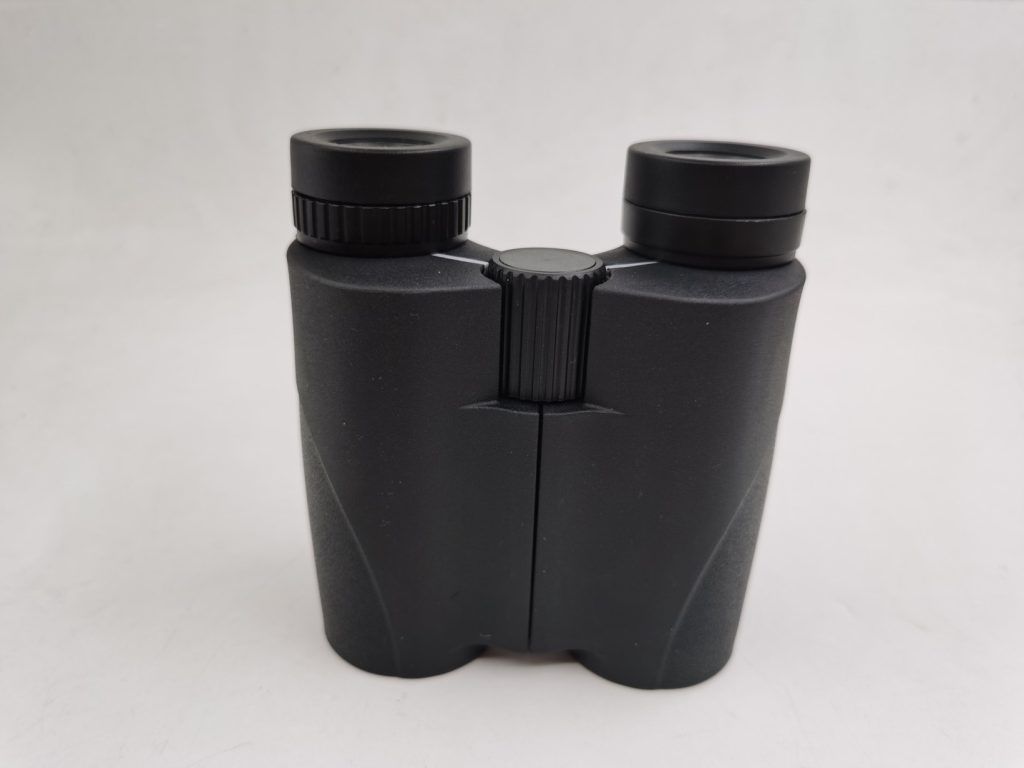
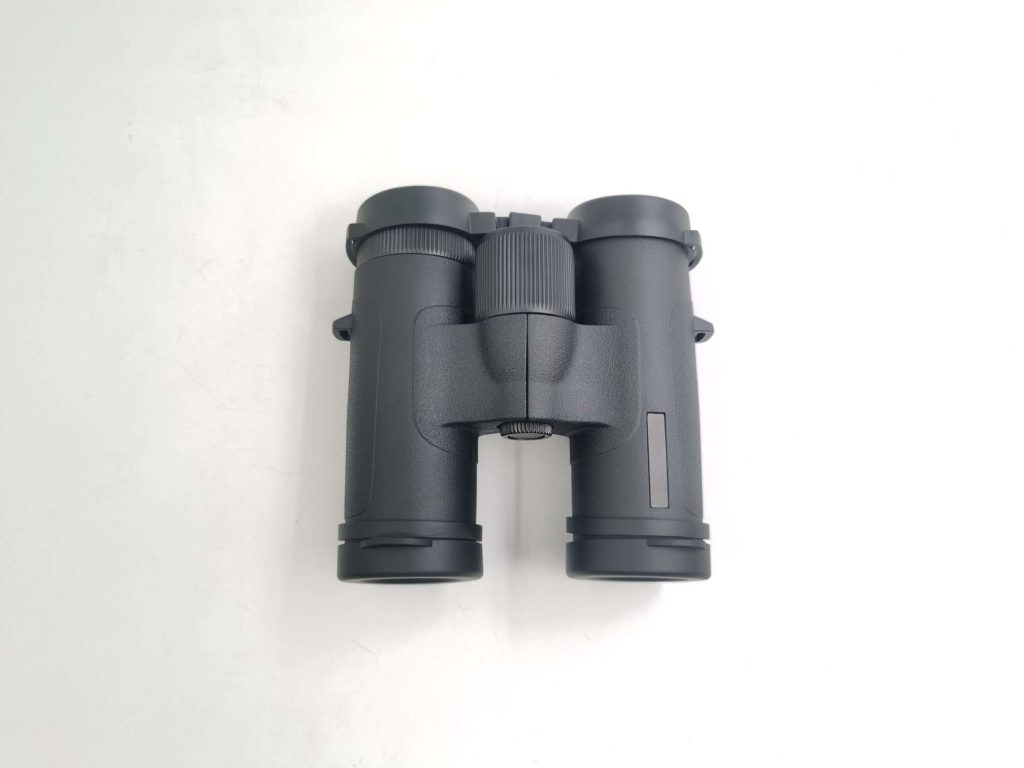
Eyecup Height and Structure: Turning the Optical Eye Point into a Usable Eye Point
If eye relief is the “optimal distance,” the eyecup is the mechanical locator that fixes this distance in place. For users wearing glasses, the general approach is to fully retract twist-up eyecups (or fold down rubber eyecups), allowing the glasses lenses to get as close as possible to the eyepiece and maximizing effective eye relief.
However, there are two engineering details that are often overlooked:
- Stop accuracy: The more consistent the height difference between eyecup detents, the easier it is to quickly return to the full-field viewing position.
- Contact surface shape and material: Soft rubber with rounded edges and moderate friction helps reduce scratching and slipping of glasses. Eyecups that are too hard or too narrow can tilt the glasses, indirectly causing blackout.
In short: a good eyecup amplifies the glasses-wearing experience; a poor eyecup wastes even the best eye relief specifications.
The Mechanism of Blackout / Kidney Bean: What’s Actually Going Wrong
So-called kidney bean effects are usually not caused by defective optics. Rather, they happen when your pupil partially blocks the field light bundle, resulting in a moving dark area. Typical features include: the dark area shifts in a bean-like shape when you move your eyes slightly; the dark area changes noticeably when you move the binoculars forward or backward.
Common causes can be grouped into three categories:
- Incorrect front–back distance: Insufficient effective eye relief, or glasses pushing the eye point beyond the usable eye relief range.
- Lateral decentering: Improper IPD (interpupillary distance) adjustment, or the exit pupil discs not being aligned with your pupils.
- Tilt and rotation: Glasses frames or nose pads prevent the eyepiece from sitting parallel to the glasses, causing an angled eye entry. This makes blackout drift more likely during scanning.
If you notice blackout appearing more strongly in one specific direction (for example, only in the upper-left corner), first check for a combined tilt and decentering issue. Slightly rotating the eyepiece angle and then fine-tuning the IPD is often more effective than simply moving the binoculars closer or farther away.
Proper Adjustment Process for Glasses Wearers (Achieve Full-Field Viewing in 30 Seconds)
Step 1 | Set the IPD first
Adjust the hinge until the two circular fields merge into one perfect circle. A figure-eight shape means the IPD is not correctly set.
Step 2 | Start with the eyecups fully retracted
Twist the eyecups to their lowest position (or fold them down) so your glasses are as close to the eyepieces as possible. Then fine-tune by one click if blackout appears.
Step 3 | Set diopter compensation before fine focusing
Focus the left eye first, then use the right-eye diopter to match clarity. After this, use only the center focus wheel.
Step 4 | Check edge completeness and uniformity
Against a bright background (sky or white wall), check whether the field edges are complete and even. Then observe a high-contrast target to see if blackout drifts during scanning.
Step 5 | Perform a final dynamic test
Walk while viewing, add slight movement, and raise the binoculars quickly. Stable full-field viewing without blackout means the setup is truly well matched.
Selection and Acceptance: Using Specifications to Predict Usable Field of View with Glasses
During B2B purchasing or the product definition stage, what you need is a quantifiable acceptance logic. The table below breaks down full-field viewing with glasses into four controllable variables:
| Variable | Common Spec Notation | Impact on Glasses-Wearing Experience | Suggested Threshold / Acceptance Criteria |
| Effective Eye Relief | Eye Relief(mm) | Determines whether you can see the full field and whether the view is stable when scanning | Glasses priority ≥ 15 mm; target 17–20 mm. Acceptance based on stable full-field viewing. |
| Exit Pupil Diameter | Exit Pupil(mm) | Determines tolerance for eye position and resistance to blackout | Travel / compact: 2.5–3.2 mm usable but more demanding; Birdwatching / commuting: ≥ 3.5 mm more comfortable. |
| Eyecup Structure | Twist-up / Fold-down | Positions the eye point on the face, affects repeatability speed | At least 3–4 stable detents; rounded contact surfaces, no scratching or looseness. |
| Field of View | FOV(m/1000m)or ° | Larger field provides more immersion but is more sensitive to eye relief and eyebox | Ultra-wide FOV products require higher eye relief and larger eyebox; otherwise blackout is more likely for glasses wearers. |
Tip: If the supplier only provides the “nominal eye relief” but cannot explain the definition of effective eye relief (i.e., whether eyecup thickness or eyepiece guard height is deducted), it is recommended to include a full-field viewing test with glasses during prototype evaluation, and record the usable field of view at different eyecup positions.
Same Magnification, Different Experience: Bringing Parameters Back to the Product Line
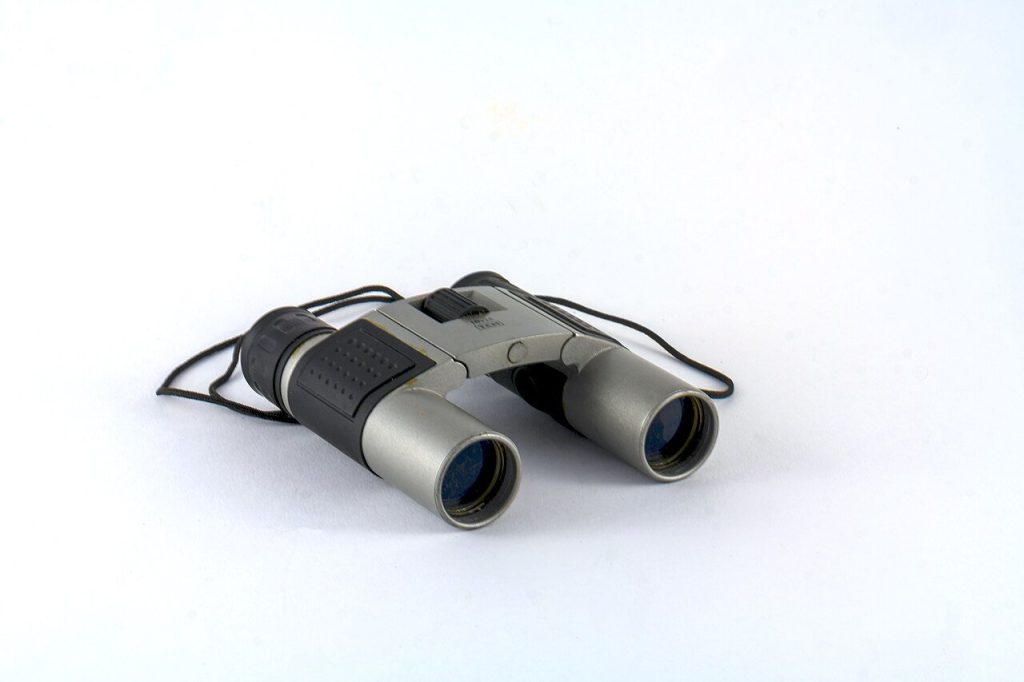
Taking common models 8×21 / 10×25 / 8×32 / 10×42 as examples, the difference in glasses-wearing experience usually comes from the combination of exit pupil + eye relief + eyepiece design, rather than magnification itself:
8×21: Portability is prioritized, but the exit pupil is small and the eyepiece space is tight. For a good glasses-wearing experience, higher effective eye relief and a wider eyebox are essential.
10×25: Higher magnification makes hand shake more noticeable, so glasses users need stable eyecup stops; otherwise, blackout is amplified by the shaking.

8×32: Larger exit pupil makes it naturally more forgiving, making it a glasses-friendly range suitable for both birdwatching and travel.
10×42: Offers clear advantages in low-light performance and resolution, but with increased size and weight. For glasses wearers, it is generally easier to provide high eye relief and a wide eyebox.

From User Complaints to Engineering Improvements: Targeted Solutions for Blackout Issues
If you are a brand or purchasing team, the following “complaint → cause → improvement” examples can be directly converted into specification requirements:
| Common Feedback | Likely Cause | Suggested Structural / Specification Improvements |
| “Cannot see the full field with glasses; view seems cut off” | Insufficient effective eye relief; eyecup at lowest position still too high; eyepiece guard too thick | Increase target effective eye relief; optimize minimum eyecup height; reduce unnecessary eyepiece guard thickness |
| “Blackout occurs with even slight movement, especially when scanning” | Eyebox too narrow; exit pupil too small; wide FOV but insufficient eye relief | Optimize eyepiece to enlarge eyebox; increase eye relief; if needed, limit ultra-wide FOV risk boundaries |
| “Eyepieces are easily scratched or get oily” | Eyecup contact surface too hard or sharp; transfer of oils/sunscreen | Use soft rubber with rounded edges; offer replaceable eyecups; provide cleaning and anti-oil guidelines |
| “Hard to reproduce the setup after initial adjustment” | Eyecup detents not stable; diopter drifts easily | Improve eyecup detent consistency; provide damping or locking mechanism for diopter |
3 On-Site Tests: Quickly Determine Glasses-Friendliness Without Looking at Specs
Test A | Full-Field White Wall Test
Point the binoculars at a white wall or the sky, keeping the eyecups fully retracted. The test passes only if you see a complete circular field with uniform edges.
Test B | Quick Raise Test
Raise the binoculars from chest to eyes quickly. If at least 8 out of 10 attempts achieve full-field viewing immediately, the eyebox and eyecup are well matched.
Test C | Scanning Blackout Test
Scan across tree branches or building edges with small eye movements. If blackout drifts noticeably, first check eye relief, eyecup position, and IPD.
Conclusion: Turning “Nominal Eye Relief” into Glasses-Wearing Experience
For glasses-wearing users, the true experience metrics are “full-field view + no blackout + repeatable setup.” This cannot be guaranteed by a single parameter; it is the result of a system combining effective eye relief, exit pupil/eyebox, eyecup design, and assembly consistency.
- For product definition: Include effective eye relief in the specifications and add a full-field viewing test with glasses to the acceptance process.
- For procurement: Require suppliers to provide structural details such as minimum eyecup height, detent consistency, and diopter damping.
- For end users: Follow the 30-second adjustment process described in this article; most blackout issues can be resolved immediately.
When these details are properly addressed, glasses wearers can truly enjoy the immersive full-field viewing experience.