As red dot sights become standard across pistols and rifles, shooters are no longer asking whether to use an optic, but how to mount it correctly. Mounting is often treated as a technical detail, yet it plays a decisive role in how a red dot performs in real use.
Different mounting methods can change how stable the optic feels, how naturally the dot appears in the window, and how consistently the system holds zero over time. This is why shooters may have very different experiences with the same red dot sight when it is mounted in different ways.
In this article, we look at red dot sight mounting methods from three practical dimensions:
- Mounting structure – how the optic is mechanically attached
- Mounting height – how high the optic sits above the firearm
- Mounting position – where the optic is placed
This approach helps clarify why certain mounting methods exist and how they serve different applications. For a deeper discussion on how mounting affects shooting performance, you can also refer to our previous article on accuracy and target acquisition.

A Practical Way to Classify Red Dot Sight Mounting Methods
Red dot mounting methods are often grouped by brand-specific systems or platform names. While useful, this can make the topic harder to understand for users comparing options across different firearms.
From a supplier perspective, a more practical classification focuses on function rather than naming. Nearly all red dot mounting solutions can be understood through three questions:
- How is the optic attached? (structure)
- How high does it sit? (height)
- Where is it positioned? (location)
By answering these questions, shooters can better understand the trade-offs involved in each mounting method, regardless of firearm type or optic brand.
Mounting Methods Based on Structural Design
Structural design determines how recoil forces are transferred from the optic into the firearm. This directly affects stability, durability, and long-term consistency.
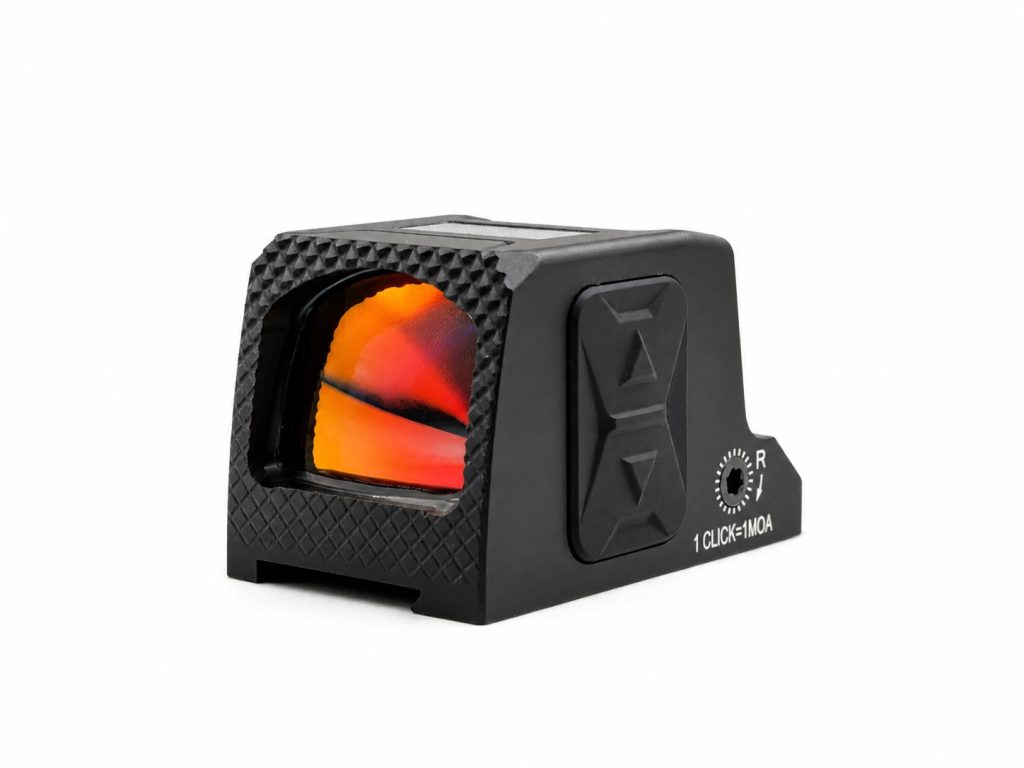
Direct Mount (Slide or Receiver Cut)
Direct mounting refers to installing a red dot sight directly onto a milled slide or receiver cut, without an intermediate adapter plate.
This method minimizes the number of contact surfaces between the optic and the firearm. With fewer interfaces, there is less opportunity for movement under recoil, which is why direct mounting is often favored for applications that prioritize stability and repeatability.
From a practical standpoint, direct mounting typically results in:
- a lower overall mounting height,
- improved mechanical rigidity,
- and consistent zero retention over extended use.
The main limitation is flexibility. Direct mounts are usually cut for a specific footprint, which means optic compatibility must be considered early in the setup process.

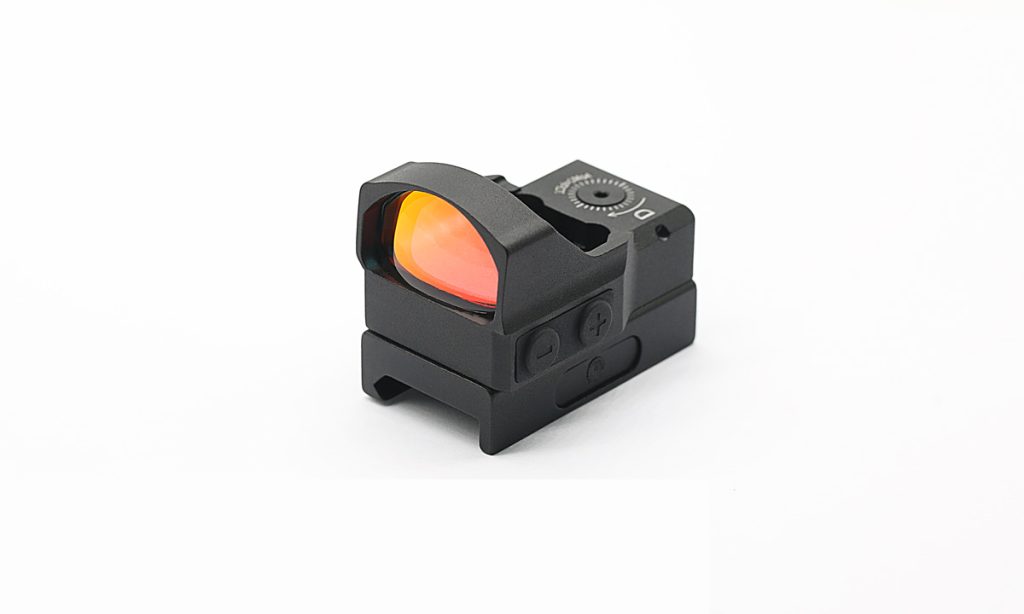
Mounting Plate Systems
Mounting plate systems use an adapter plate between the firearm and the red dot sight. These systems are common on modular platforms designed to support multiple optics.
The primary advantage of a plate-based system is versatility. Shooters can change optics without modifying the firearm, making this approach popular for OEM configurations and users who want flexibility.
However, plate systems introduce an additional mechanical layer. From a supplier’s standpoint, performance depends heavily on:
- plate material and thickness,
- machining accuracy,
- and how recoil lugs and fasteners are designed.
When properly engineered, plate systems can perform reliably. When tolerances or materials are compromised, they may be more sensitive to long-term wear.
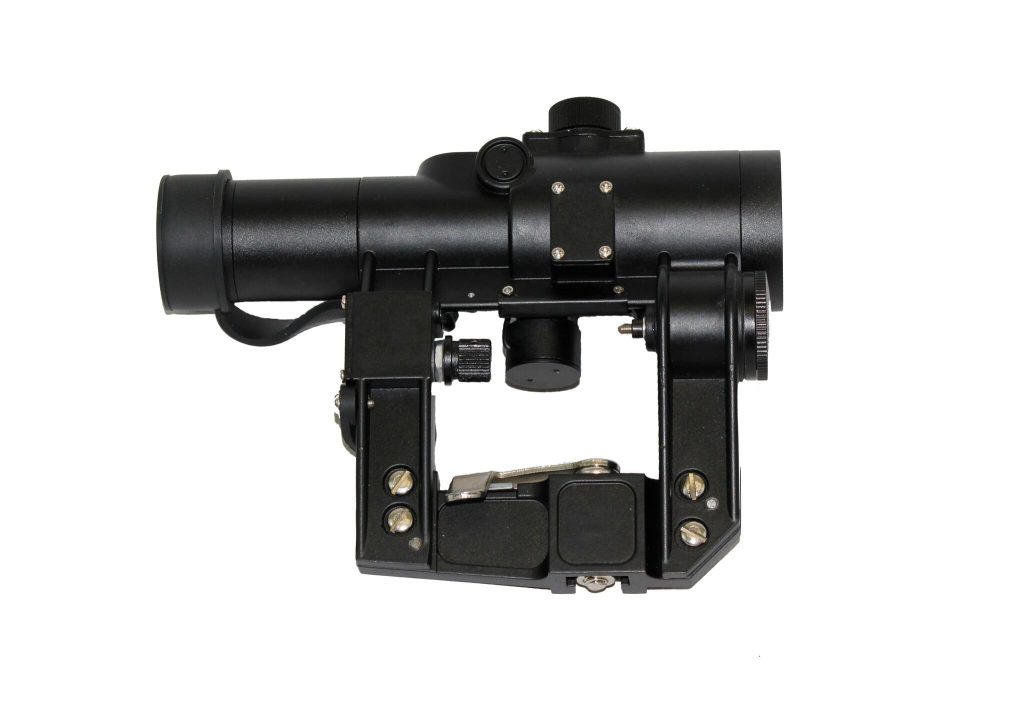
Integrated and Proprietary Mounting Designs
Some firearms and optics use integrated or proprietary mounting designs, where the mounting interface is built into the platform itself.
These designs often aim to optimize:
- alignment,
- ergonomics,
- and overall system integration.
Because they are designed as a complete system, integrated mounts can offer excellent stability. The trade-off is reduced flexibility, as these solutions typically support a narrower range of optics or accessories.
Structural Comparison Overview
| Mounting Structure | Stability | Flexibility | Typical Use |
| Direct Mount | High | Low | Duty, competition |
| Mounting Plate | Medium–High | High | Modular platforms |
| Integrated Design | High | Low | Platform-specific systems |
Mounting Methods Based on Height
Mounting height affects how the shooter’s eye aligns with the optic during presentation. While often discussed in terms of comfort, height also influences consistency and ease of use.
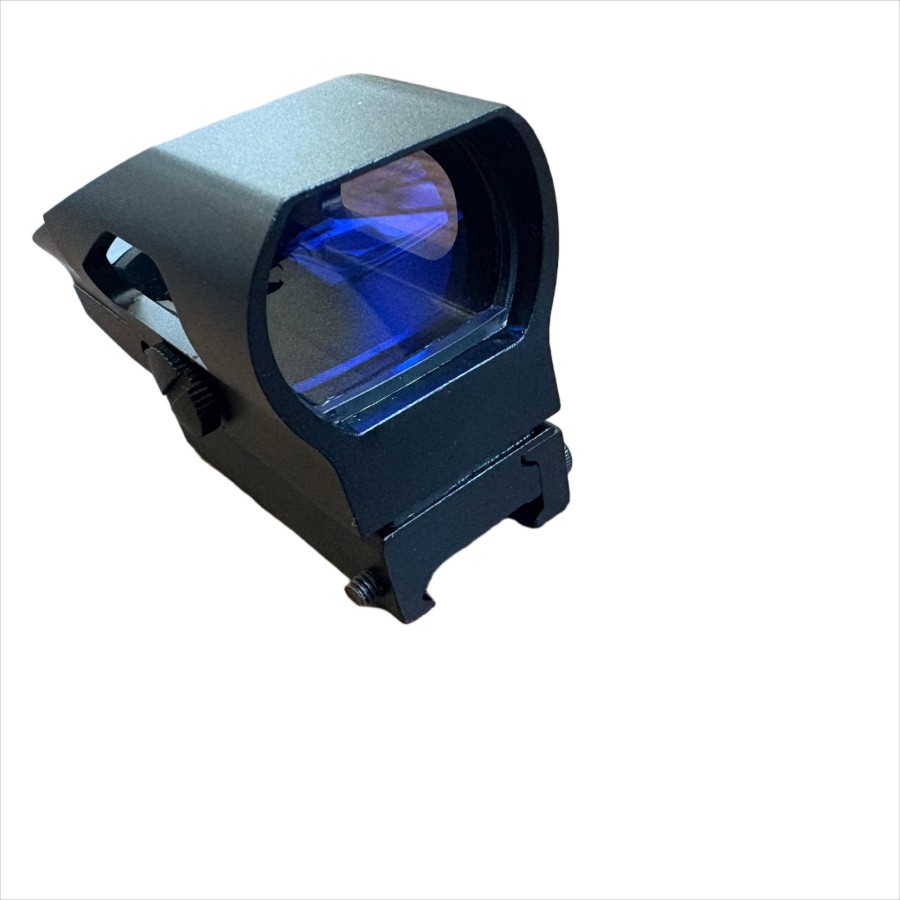
Low-Profile Mounting
Low-profile mounting places the red dot as close to the firearm as possible. This setup is common on pistols and is often preferred for shooters who want a natural presentation with minimal visual offset.
Lower mounting heights tend to:
- reduce the distance between bore and optic,
- promote consistent index,
- and simplify transitions between iron sights and optics.
This approach is widely used in both training and defensive contexts.

Absolute Co-Witness Height
An absolute co-witness setup aligns the red dot directly with the iron sights, allowing both to appear in the same sight plane.
Some shooters prefer this configuration for familiarity, especially when transitioning from iron sights. Others find that it can slightly clutter the sight picture. The preference often comes down to training background rather than performance alone.
Lower 1/3 Co-Witness and Raised Mounts
Raised mounts position the red dot slightly higher, placing iron sights in the lower portion of the window or out of view entirely.
This setup is common on rifles and is often chosen to:
- maintain a more upright head position,
- keep the optic window clear,
- and accommodate additional equipment.
The key consideration is consistency. A mount height that matches the shooter’s posture and platform tends to perform best over time.
Mounting Methods Based on Position
Position refers to where the optic sits relative to the firearm’s centerline and operating controls.
Top Mount (Standard Position)
Top mounting places the red dot directly above the bore axis. This is the most common configuration and works well across most shooting disciplines.
Its popularity comes from simplicity:
- intuitive alignment,
- predictable recoil behavior,
- and broad compatibility.
For most users, top mounting offers the most straightforward learning curve.
Offset Mounting (45-Degree and Similar)
Offset mounts position the red dot at an angle, usually alongside a primary optic or iron sights.
This configuration allows shooters to transition quickly between aiming systems by rotating the firearm slightly. Offset mounting is typically seen in competition or specialized tactical setups rather than general-purpose use.
Forward vs Rear-Biased Placement
Within top-mounted configurations, placement can shift forward or rearward depending on platform design.
- Forward placement may provide a more open field of view, common on rifles.
- Rear-biased placement is typical on pistols, aligning the optic closer to the shooter’s eye for faster dot acquisition.
Neither option is inherently better; effectiveness depends on firearm type and shooting style.
How These Mounting Methods Affect Real-World Use
While this article focuses on classification and comparison, it’s important to recognize how these methods translate into real-world performance.
Mounting structure influences stability.
Mounting height affects presentation and ergonomics.
Mounting position shapes how intuitively the dot appears during use.Together, these factors determine how easily a shooter can maintain accuracy and acquire targets efficiently.
Choosing the Right Mounting Method for Your Application
Rather than searching for a “best” mounting method, shooters benefit more from matching the method to their application:
- Duty / Tactical: prioritizes stability and repeatability
- Competition: balances speed, ergonomics, and adaptability
- Hunting: values reliability and clear sight picture
- Training / Range: often emphasizes flexibility and familiarity
Understanding these priorities helps narrow down the most suitable mounting approach.
Final Thoughts: No “Best” Method, Only the Right One
Red dot sight mounting methods exist because shooters and platforms have different needs. Structure, height, and position each solve specific problems, and trade-offs are unavoidable.
From a supplier perspective, effective mounting is about system compatibility rather than isolated components. When optic design, mounting method, and application are aligned, the red dot can perform as intended—consistently, predictably, and with confidence.
At Foreseenoptics, we approach mounting as an integral part of optical performance, not an afterthought. Understanding these methods allows users to make informed choices and get the most from their red dot sights. Any red dot questions or needs? Please feel free to contact us.