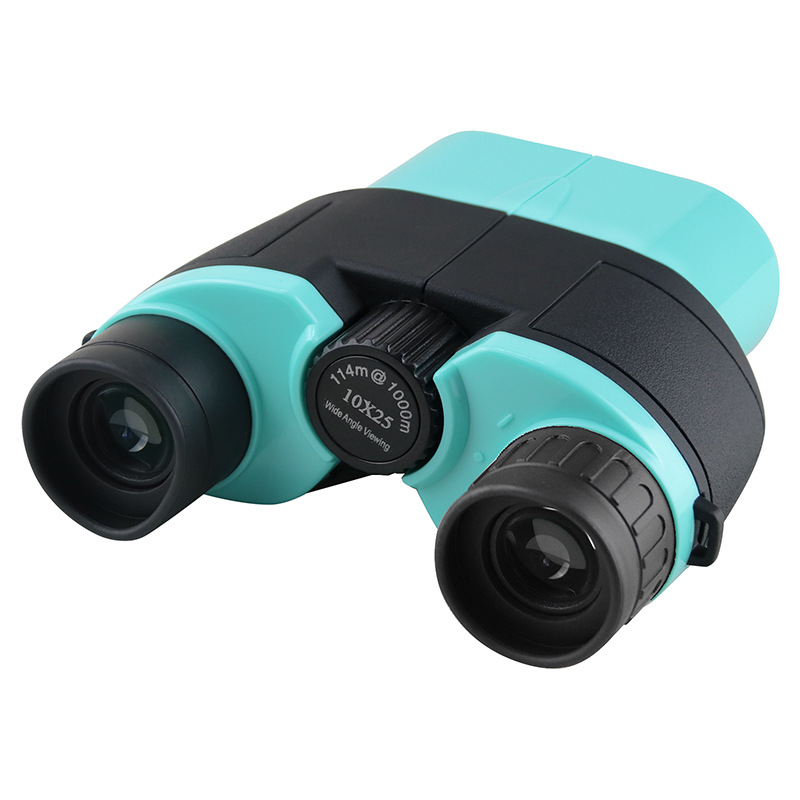
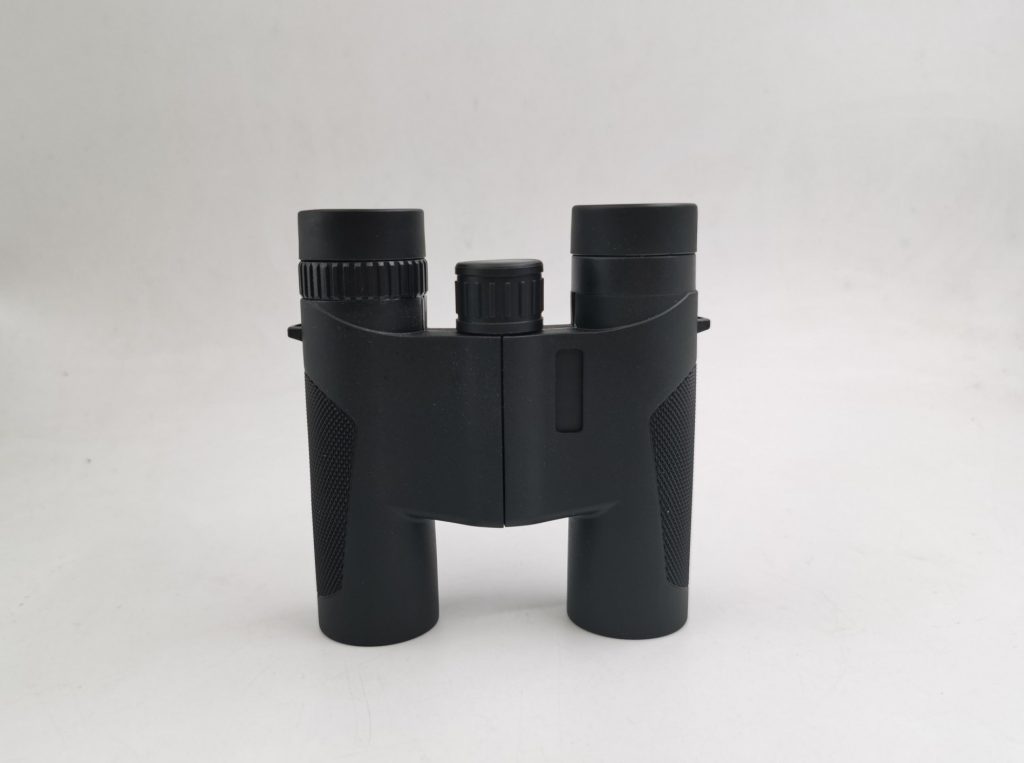
One Specification Covering Binoculars / Monoculars / Rangefinder / Birdwatching / Travel
Start with the conclusion: use “3 platforms + 2 modules” to cover 80% of the $50–$300 market.
In the $50–$300 price range, the hard part isn’t just making a telescope. The real challenge is this: when one brand needs to cover binoculars, monoculars, rangefinder models, birdwatching, and travel categories at the same time, how do you keep cost, appearance, user experience, and mass-production consistency reusable?
If you want the most SKUs with the fewest platforms, simplify your product line into:
- 3 core platforms: 25mm portable platform, 32mm all-purpose platform, 42mm low-light platform
- 2 optional modules: a laser Rangefinder (LRF) module and an ”experience upgrade package” (better coatings, phase correction, ED glass, improved eyepiece design)
This article follows a practical structure: define usage scenarios first → break down the platform’s hard constraints → explain modules and manufacturing → finally provide a platform matrix and inspection checklist. The goal is to offer a specification framework that can be directly implemented.
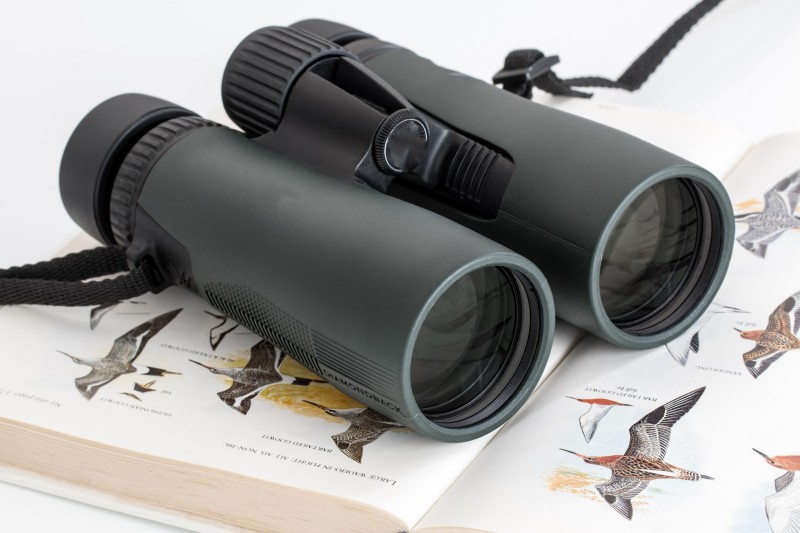
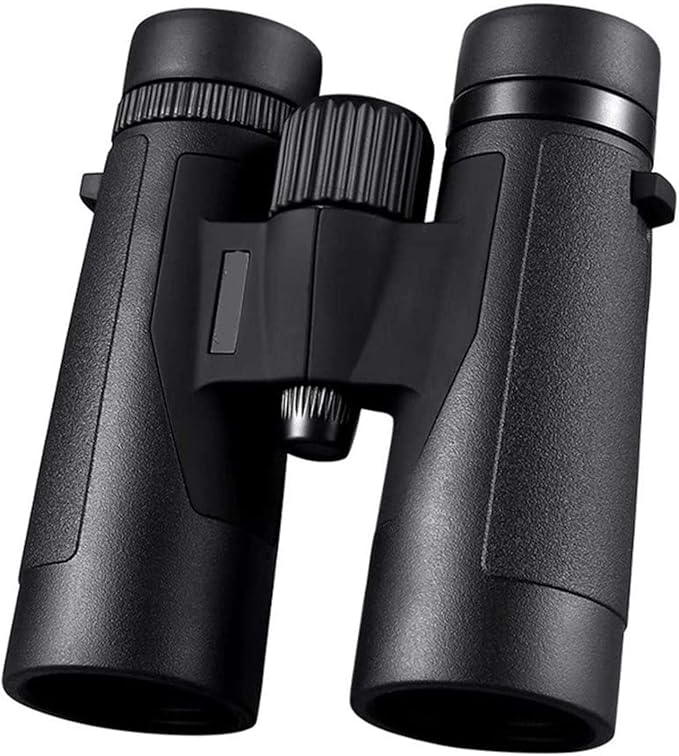
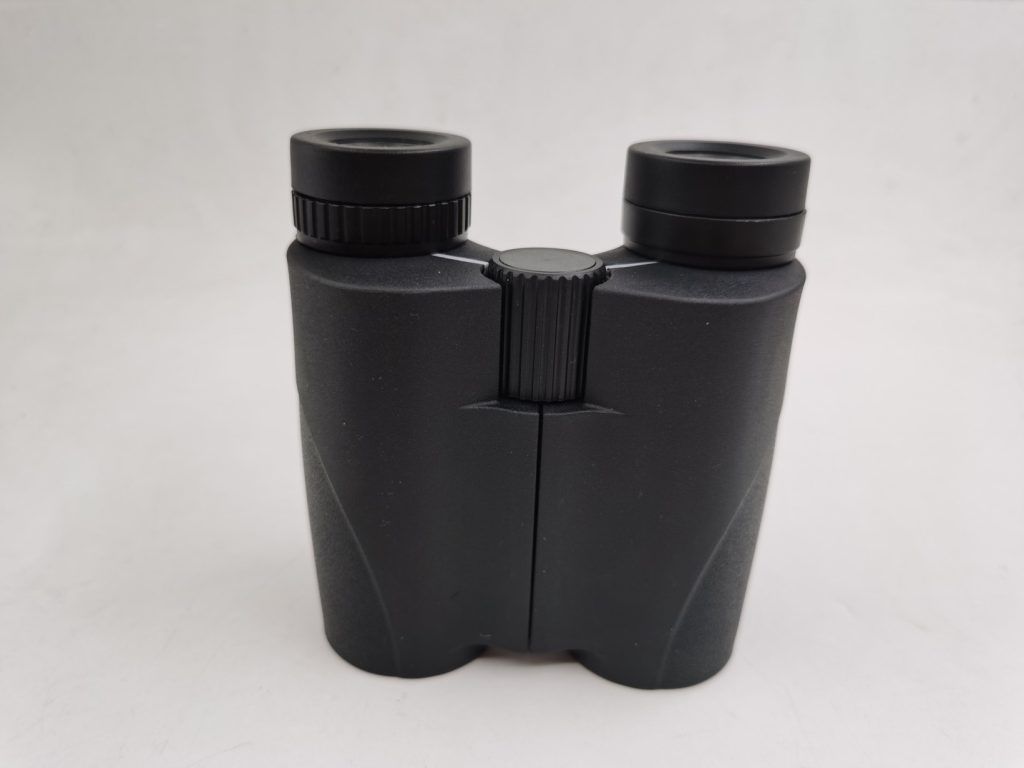
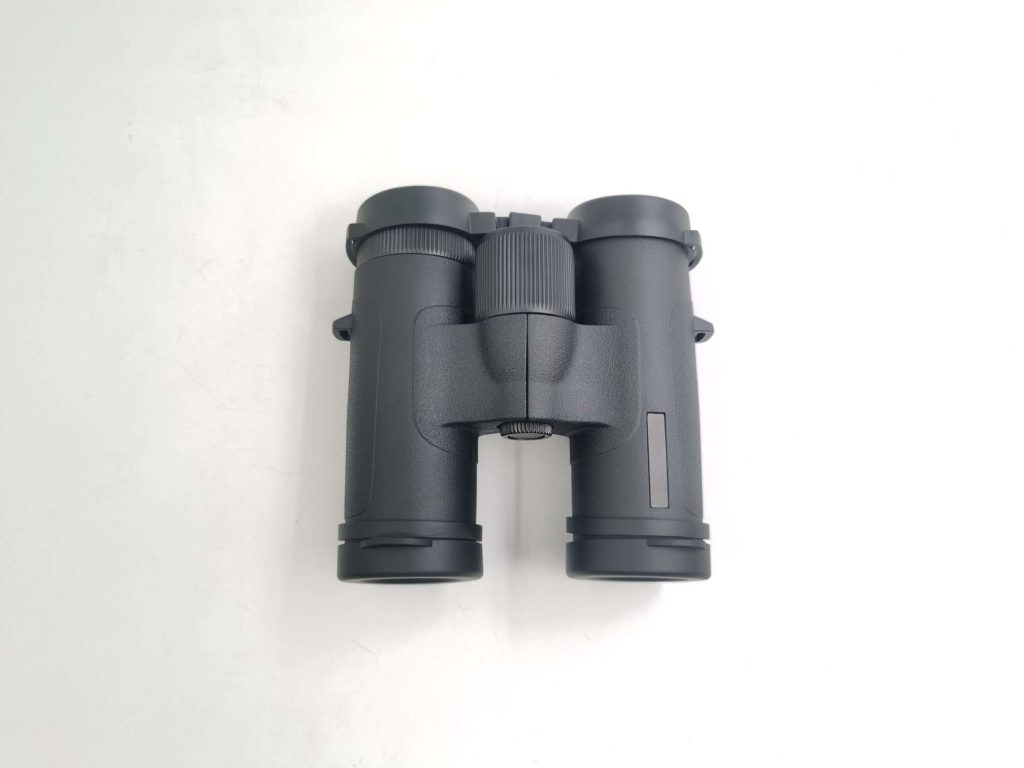
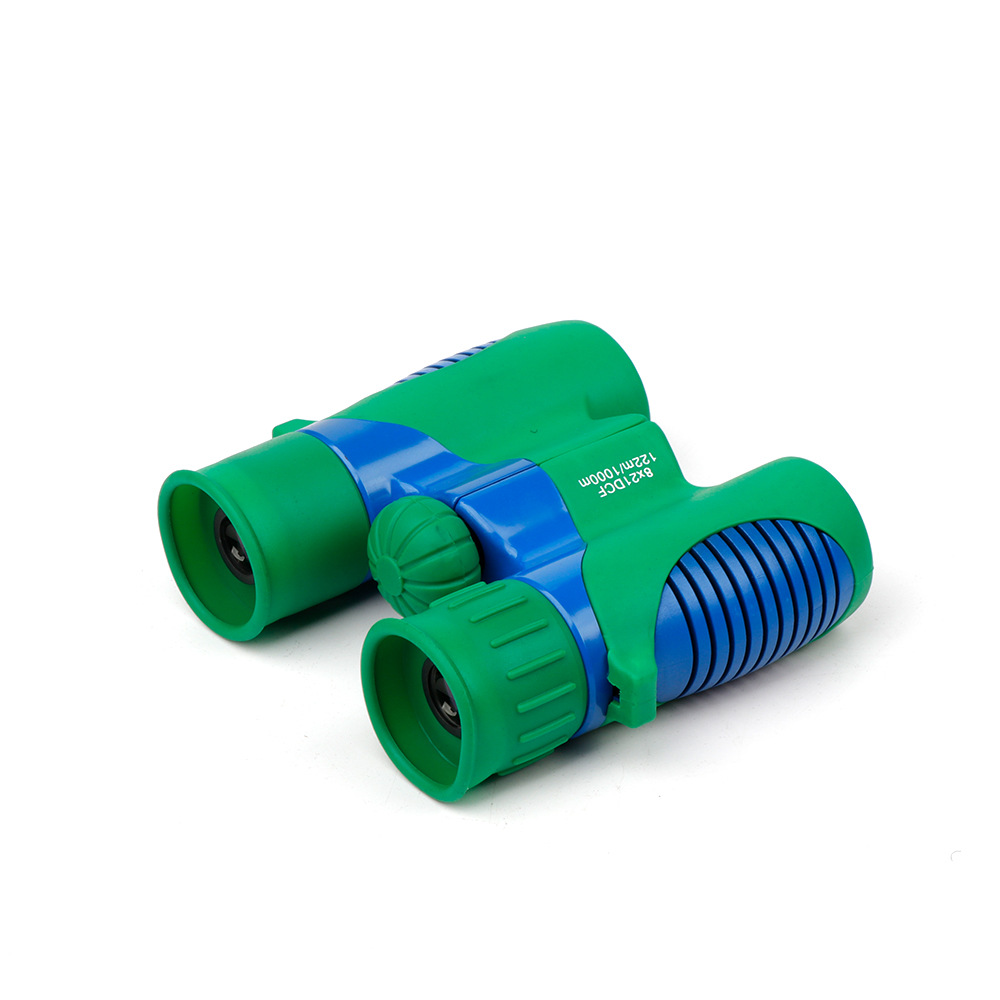
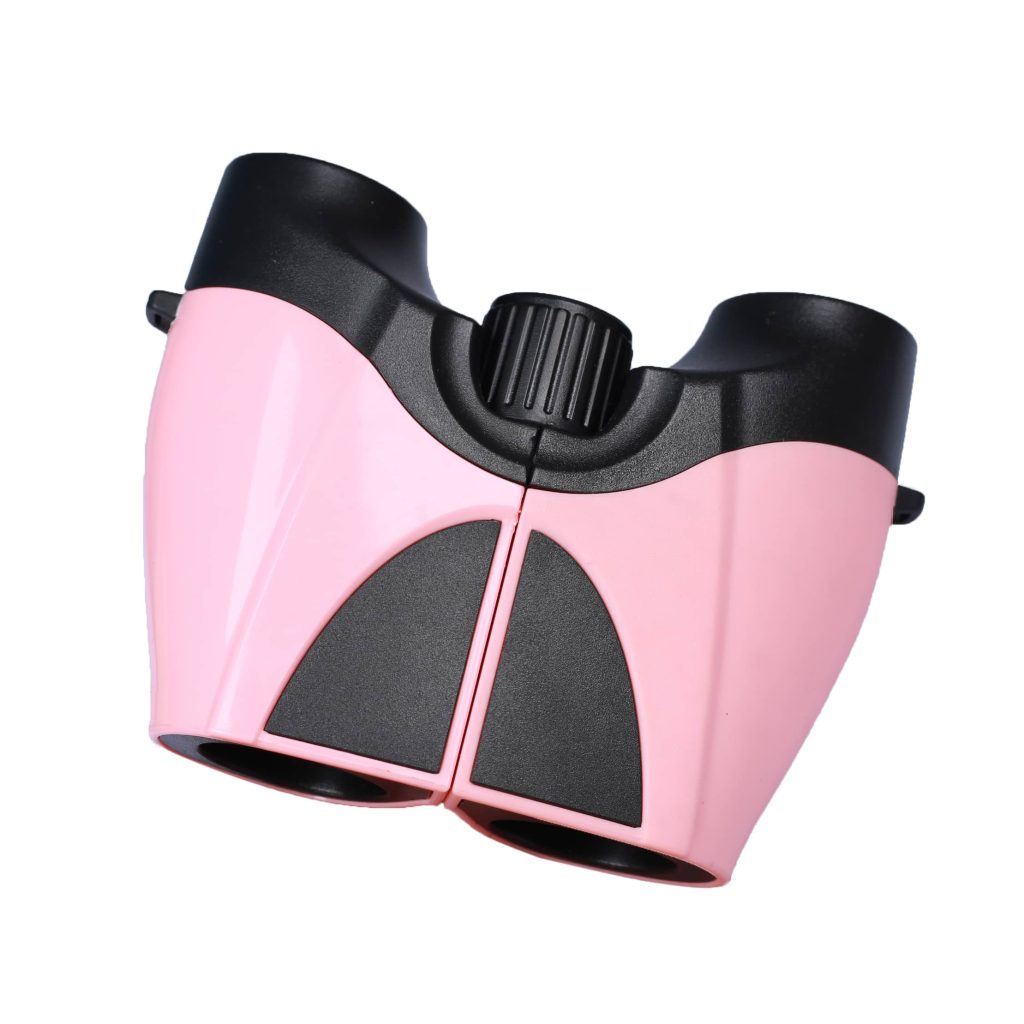
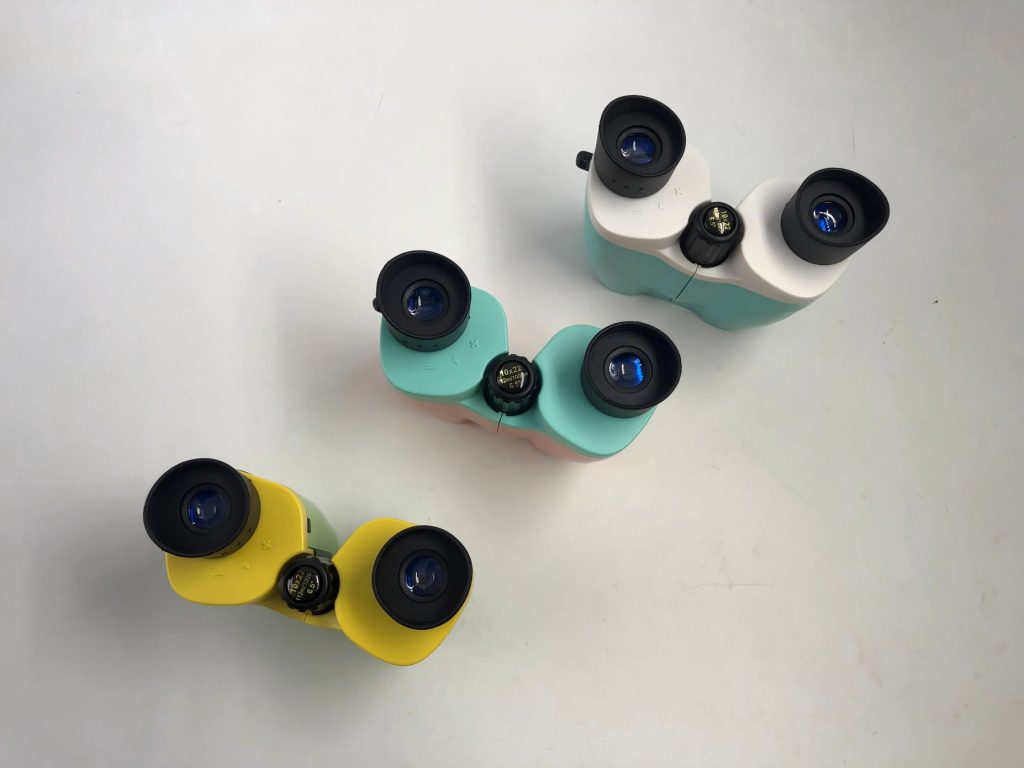
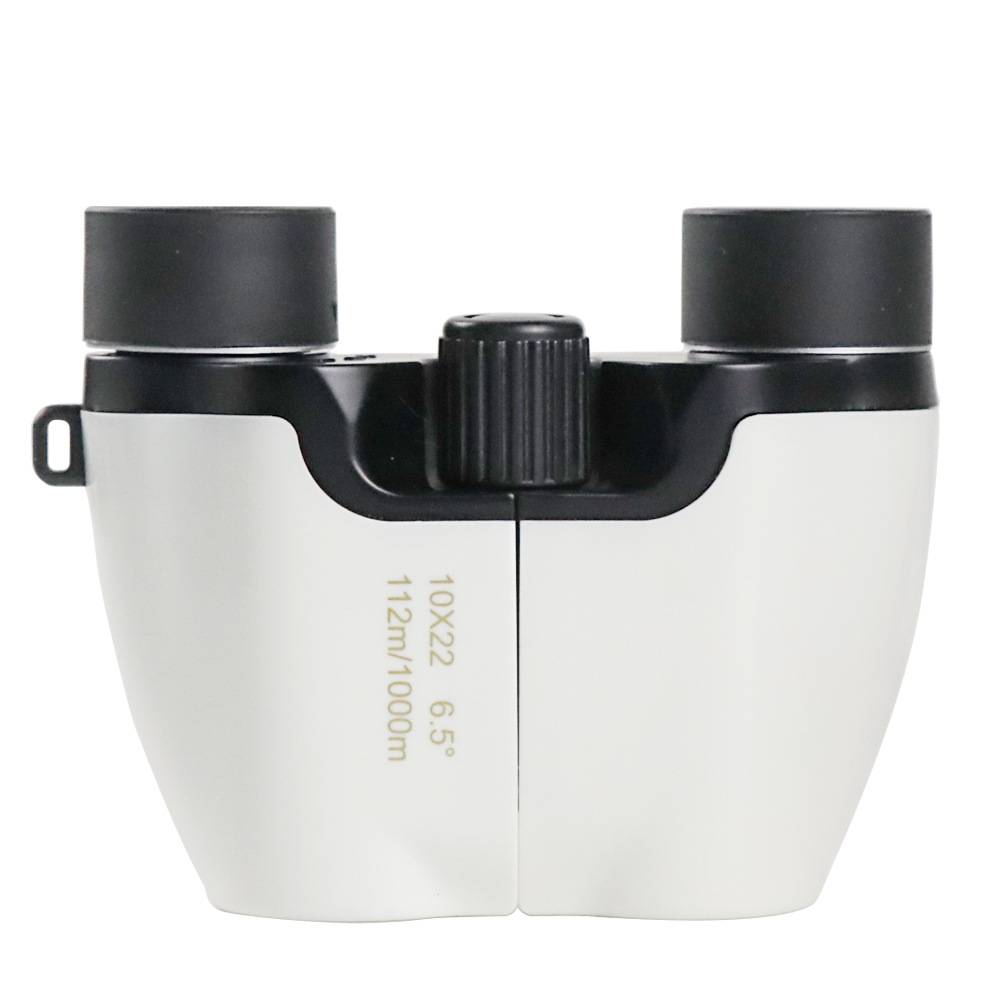
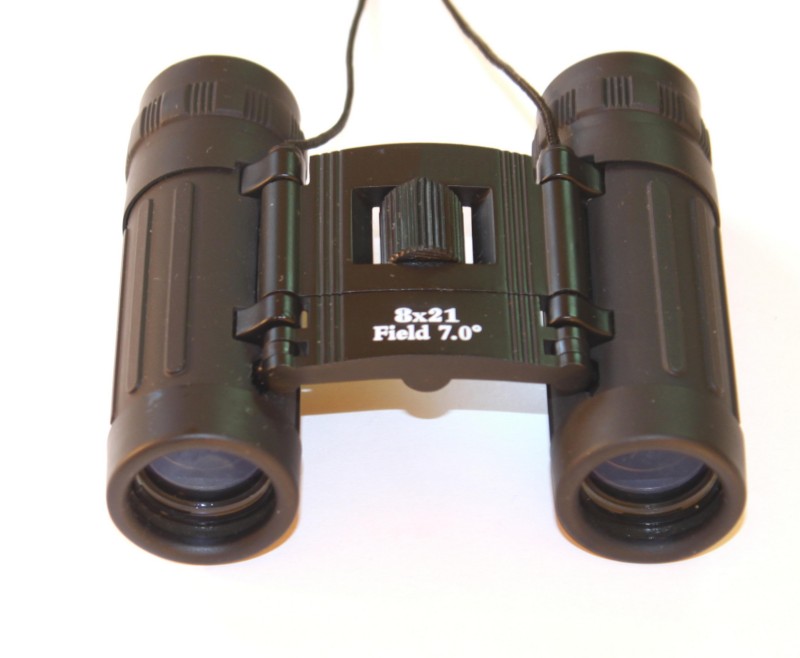
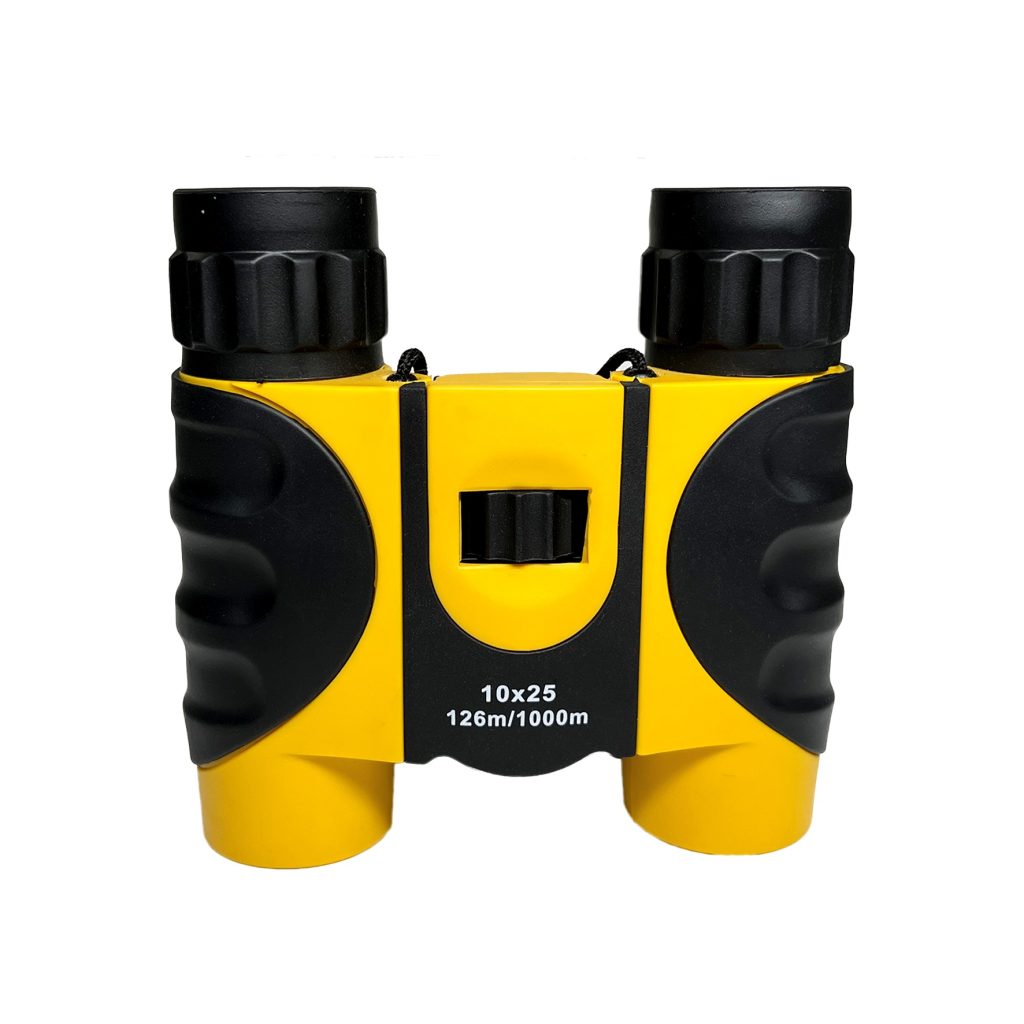
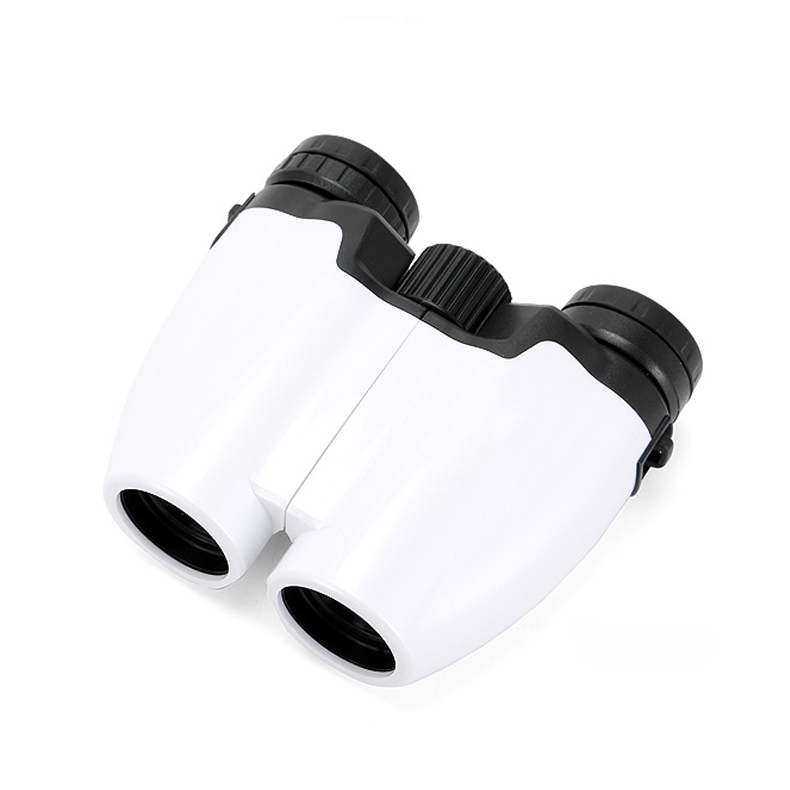
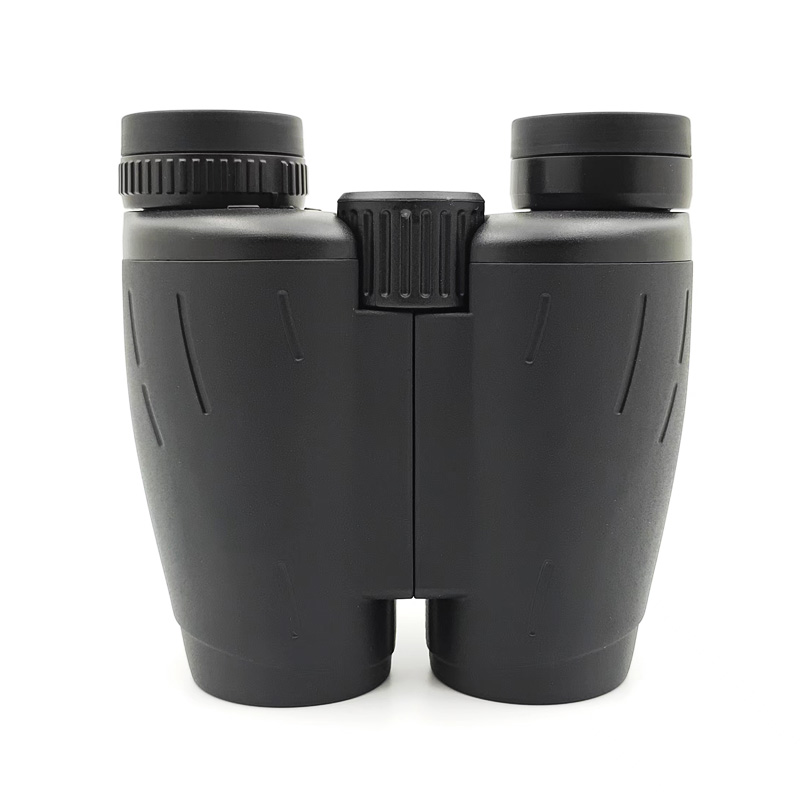
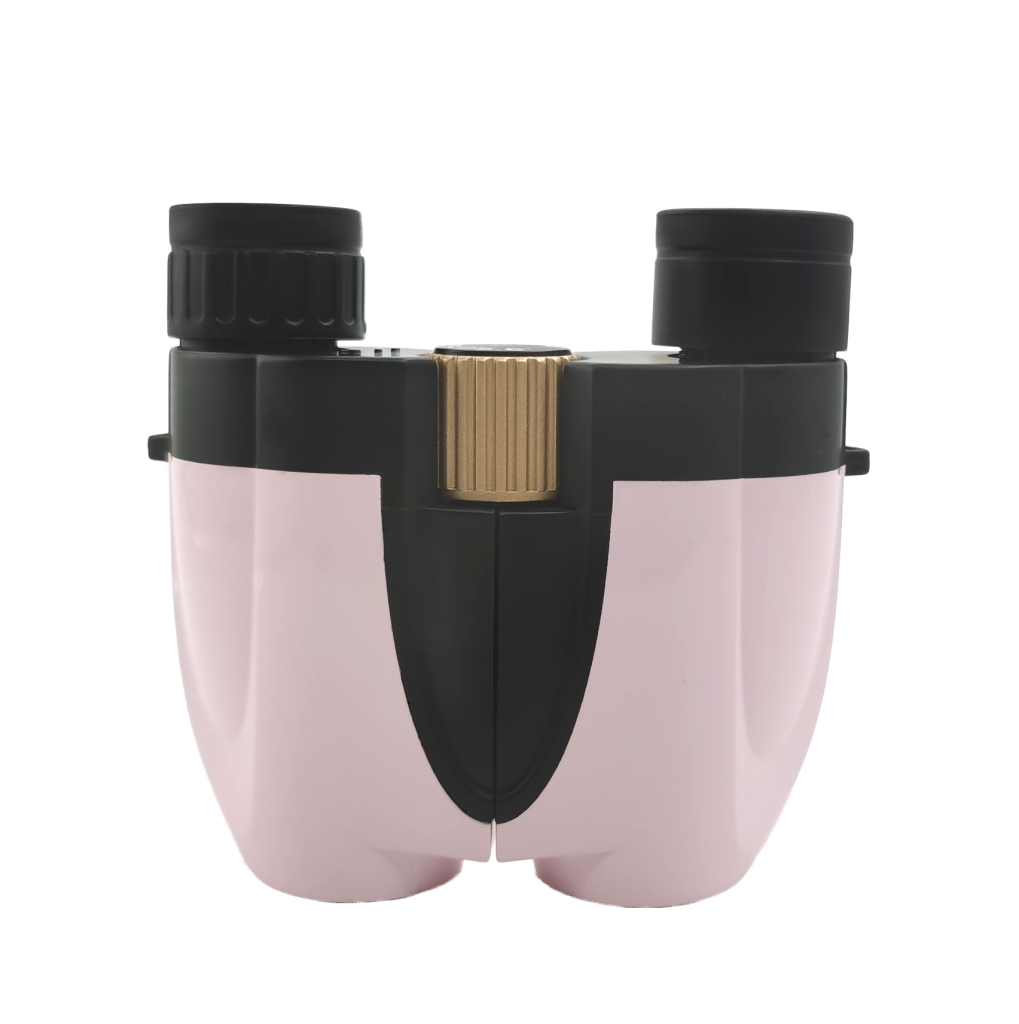
- 25mm portable platform: for travel / concerts / daytime hiking. Main models: 8×21 and 10×25 (lightweight, slim, foldable).
- 32mm all-purpose platform: covers travel + light birdwatching. Main models: 8×32 and 10×32 (balanced field of view, brightness, and weight).
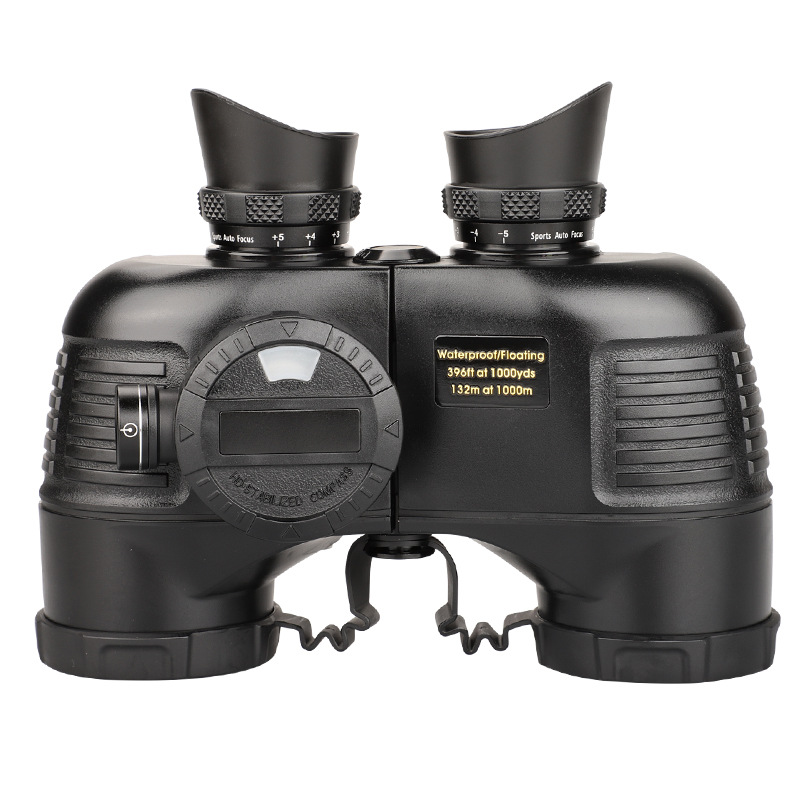
- 42mm low-light platform: for birdwatching / hunting / dusk conditions. Main models: 8×42 and 10×42 (larger exit pupil and more brightness margin).
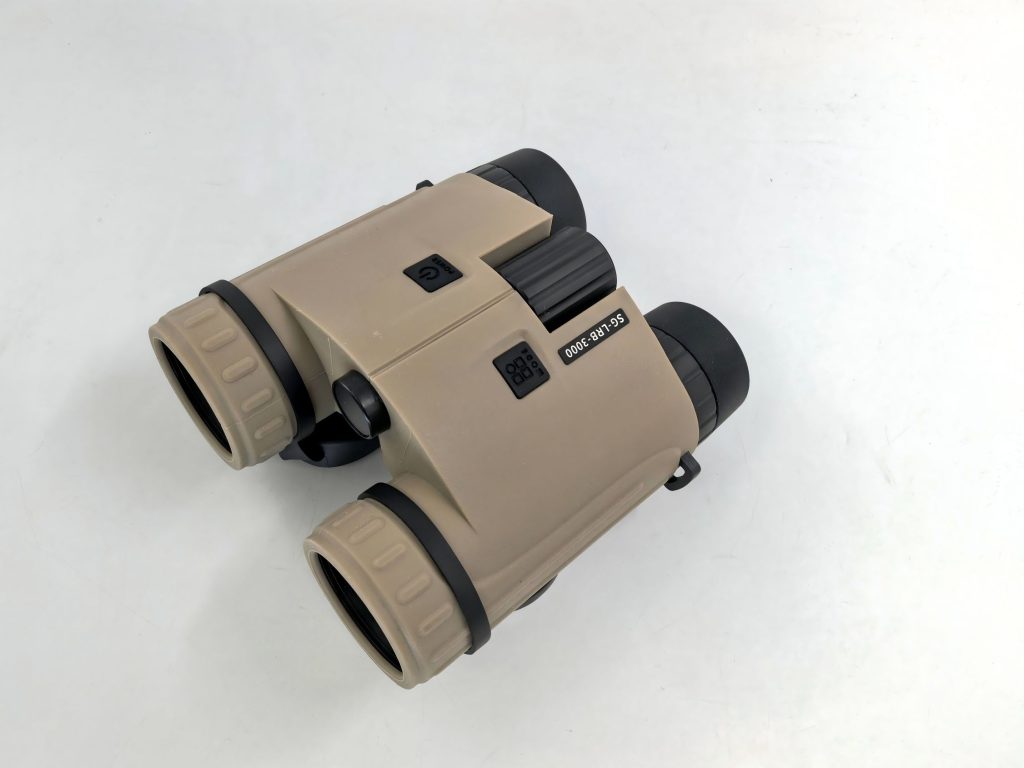
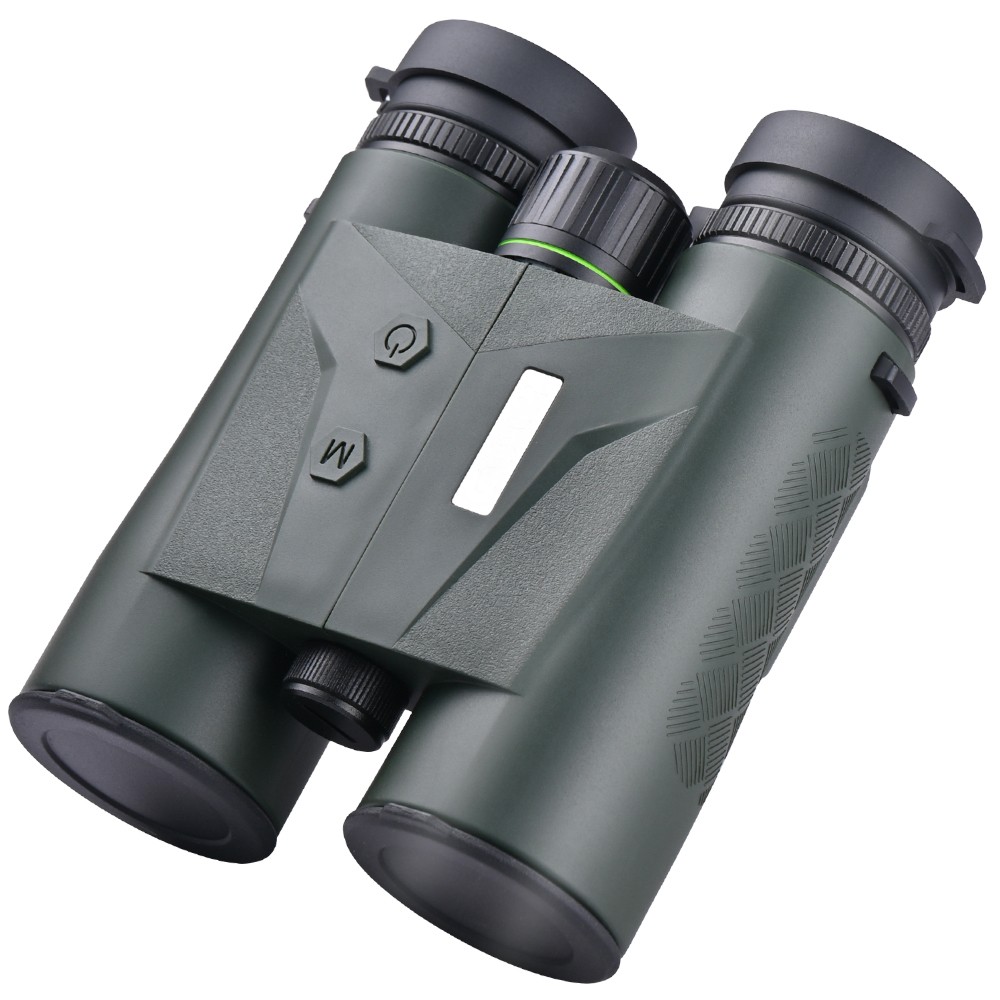
- LRF module: best applied to 10×42 (or 8×42) to reduce optical and structural risk.
- Experience upgrade: focus budget on “critical coatings + eyepiece comfort + stray light and glare control.” This is more effective than simply increasing magnification.
1. Define the “product mission” first: Different scenarios have completely different priorities
The first step in platform planning is not choosing the structure. It’s translating user scenarios into engineering priorities.
The following five scenarios cover most of the mainstream demand in the $50–$300 price range:
Travel, birdwatching, concerts/theater, general outdoor use, and rangefinding/hunting.
| Scenario | Typical Viewing Distance | Top Priority | Recommended Magnification / Objective | Pitfalls to Avoid |
| Travel / City Viewing | 50-800 m | Lightweight, quick to use | 8×21 / 10×25 / 8×32 | Too much magnification causes hand shake + narrower field of view |
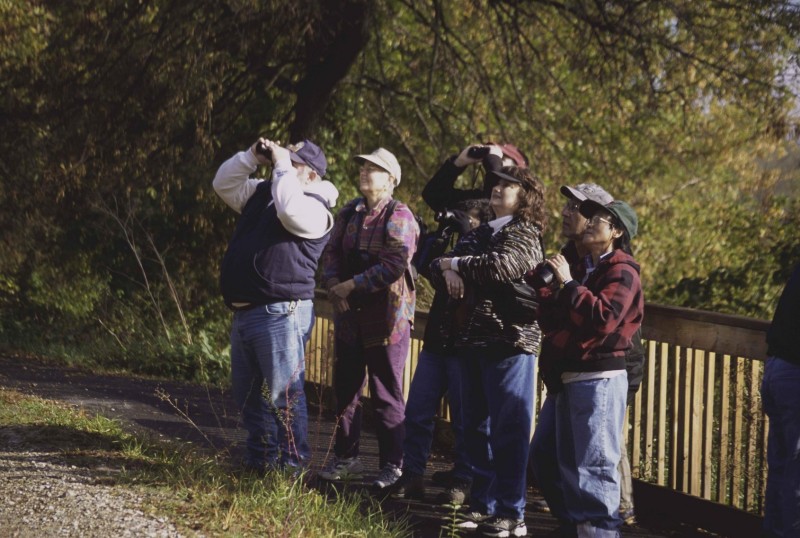
| Birdwatching (Daytime) | 20-300 m | Wide field of view, sharp edges, comfortable eye box | 8×32 / 8×42 | 10x handheld leads to fatigue and losing the subject |
| Birdwatching (Dusk / Forest) | 20-200 m | Brightness, contrast, glare control | 8×42 / 10×42 | Focusing only on objective size while ignoring coatings and stray-light control |
| Concerts / Stadium Seating | 30-200 m | Light weight, compact size, easy focusing | 8×21 / 10×25 | Exit pupil too small, short eye relief causing blackouts |
| Rangefinding / Hunting | 50-1200 m | Ranging stability, display readability, waterproof durability | 10×42(LRF) | Forcing an LRF into an ultra-compact platform |
The purpose of this table is to help you define the “must-have experience baseline” during the platform planning stage. This ensures you avoid overloading features later on, which could push the cost beyond the target price range.
2. Three Hard Constraints in Platformization: Budget, Volume, and Mass Production Consistency
Whether it’s binoculars or monoculars, platformization always comes down to three key curves:
- 1) Cost Curve: BOM (glass + prisms + coatings) + labor (assembly, adjustment, re-testing) + yield rate (repair rate increases unit cost).
- 2) Volume Curve: Objective lens size, eyepiece, and prism light transmission diameter determine “how thin you can make it” and “how large you can make the field of view.”
- 3) Consistency Curve: Coating batch consistency, collimation, and waterproof sealing affect returns and reputation.
By clearly understanding these hard constraints, the later “specification coverage” won’t turn into guesswork.
3. Module Breakdown: From “Core Specifications” to “Reusable Options”
1) Magnification x Objective Lens: Determines Brightness, Handheld Stability, and Tolerance
In the $50–$300 range, magnification is not always better when it’s higher. For platform planning, it’s more effective to use exit pupil as the key constraint:
Exit Pupil = Objective Lens / Magnification
The exit pupil determines low-light brightness, eye position tolerance, and usability for people who wear glasses.
Based on experience:
- 8×21: Exit pupil ~2.6 mm (better for daytime and indoor use)
- 8×32: Exit pupil 4.0 mm (versatile, balances brightness and size)
- 8×42: Exit pupil 5.25 mm (better for low-light conditions, but larger in size and weight)
If your target use case is “travel/concerts”, a smaller exit pupil is acceptable. However, for “birdwatching/dusk”, both the exit pupil and coatings must be upgraded together.
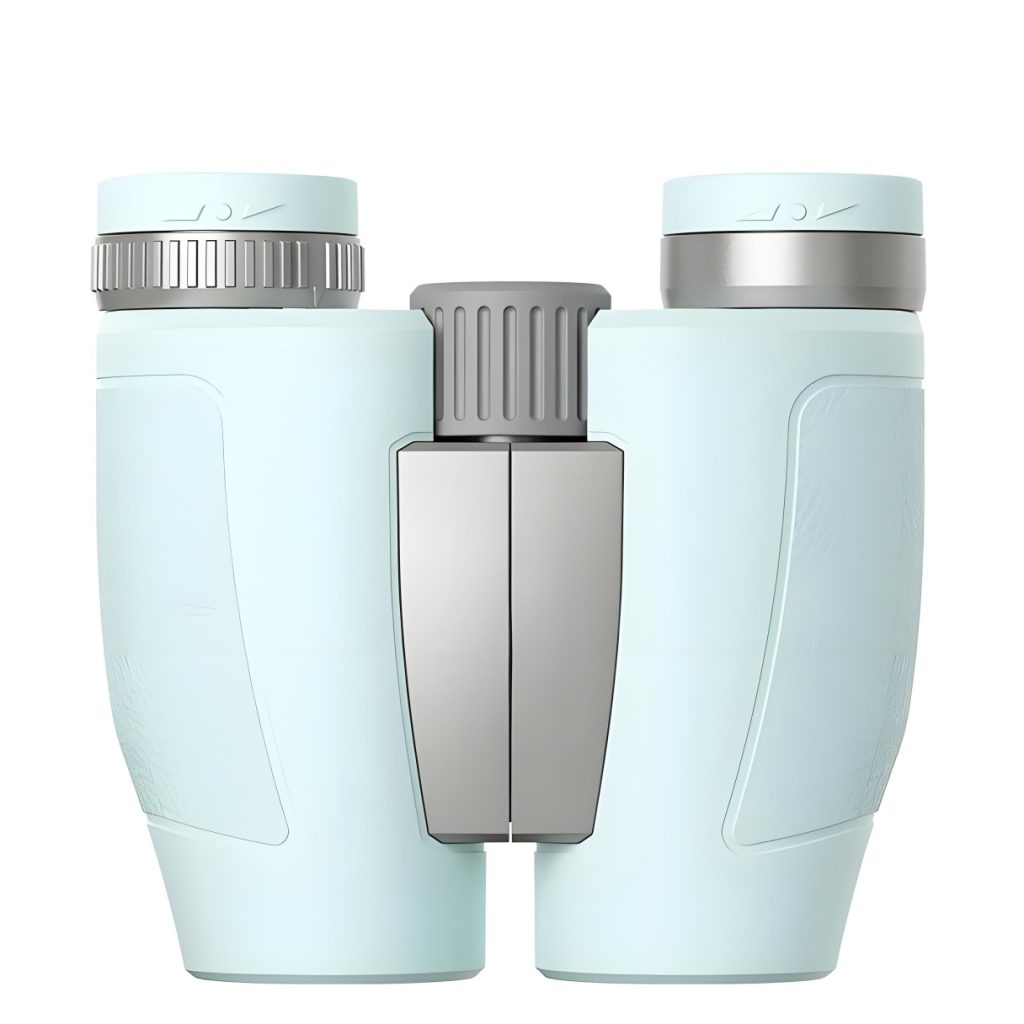
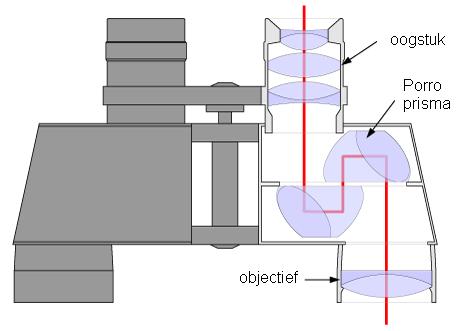
2) Optical Path and Prisms: Determines Shape, Edge Brightness, and “Perceived Transparency”
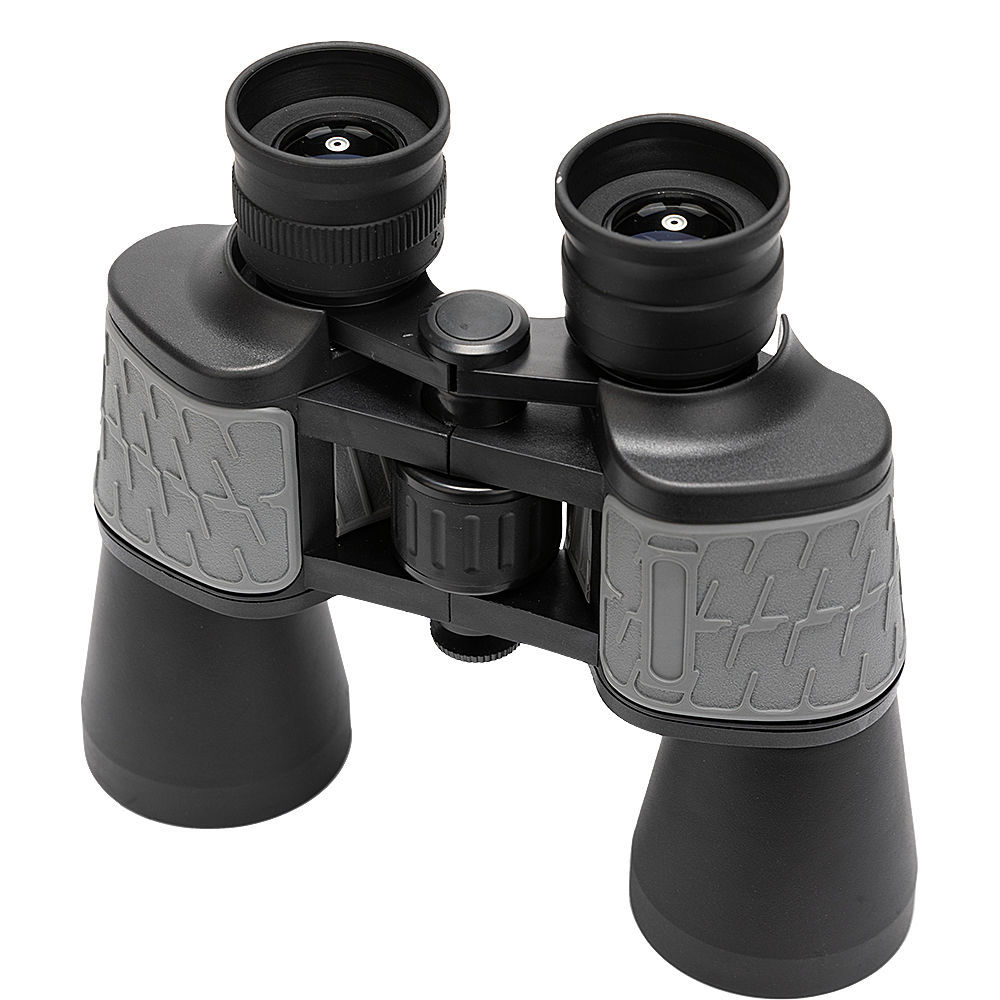
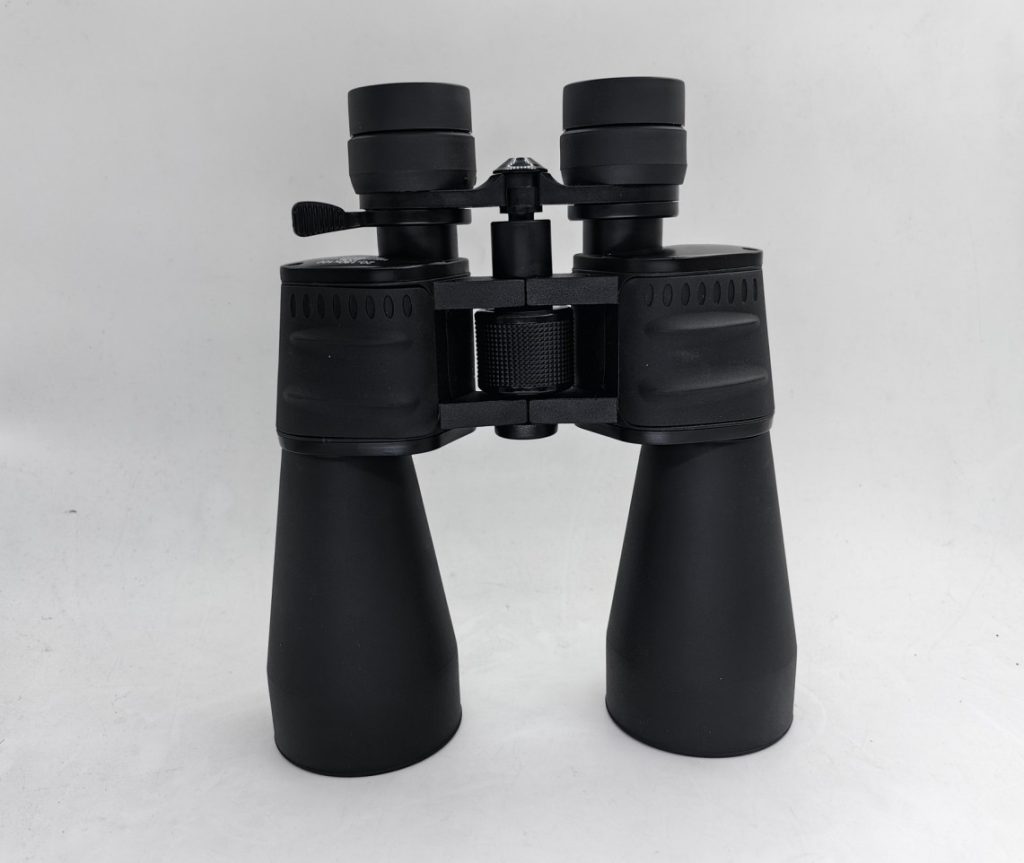
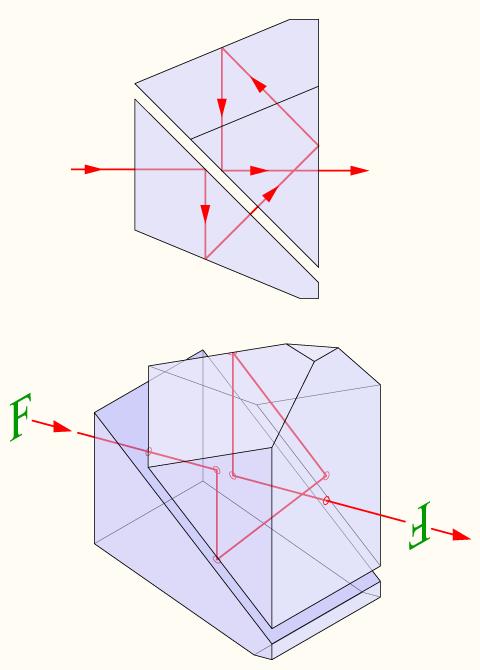
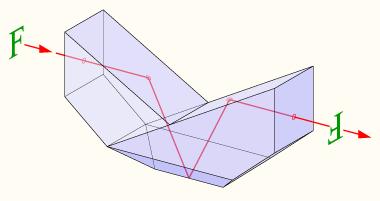
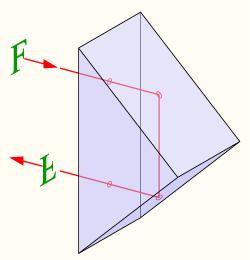
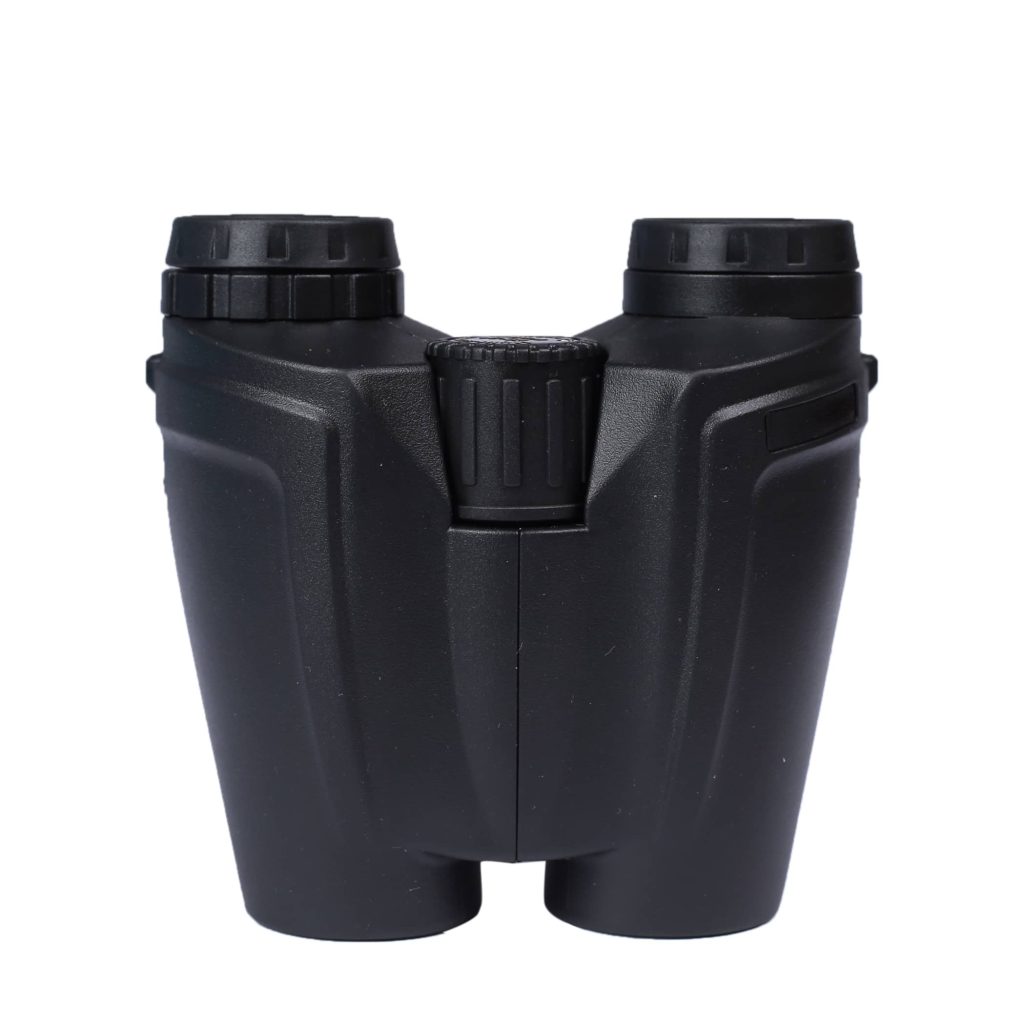
A common “structure choice” in platform selection is Roof vs. Porro:
- Roof (Roof prisms, commonly Schmidt-Pechan or Abbe-Koenig): The shape is straighter, narrower, and easier to waterproof, offering a more premium appearance. However, it is more sensitive to coatings (high reflection + phase correction) and alignment during assembly.
- Porro (Porro prisms): It’s easier to create a “bright, sharp” first impression at the same price point, with a larger tolerance for manufacturing errors. However, the shape is bulkier, and the storage volume is larger.
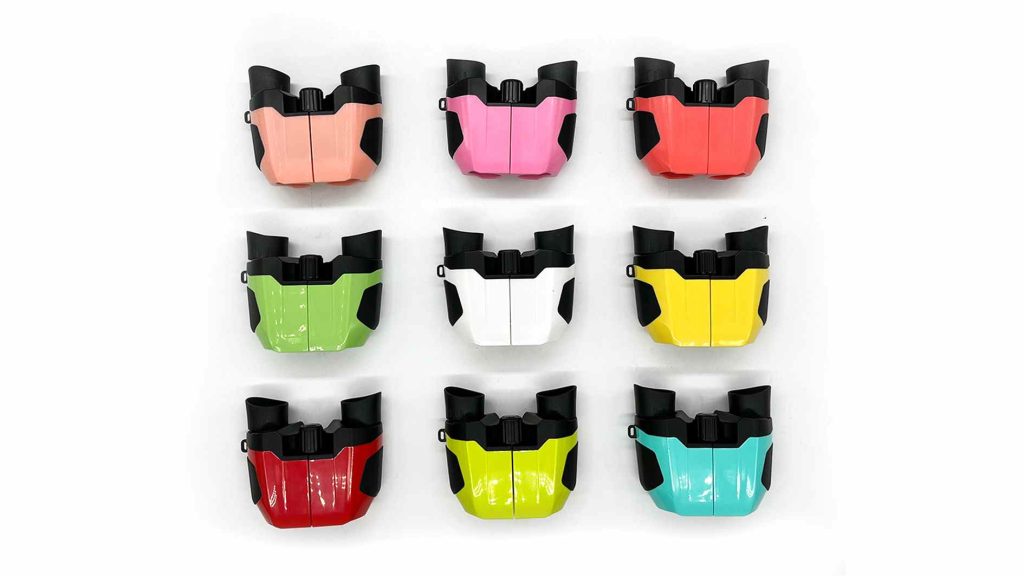
If you want to cover both travel + birdwatching, a 32mm/42mm Roof platform is recommended (easier to standardize appearance and waterproof rating). On the other hand, in the $50-$100 entry-level range, Porro platforms are often better at delivering a “high-value” experience.
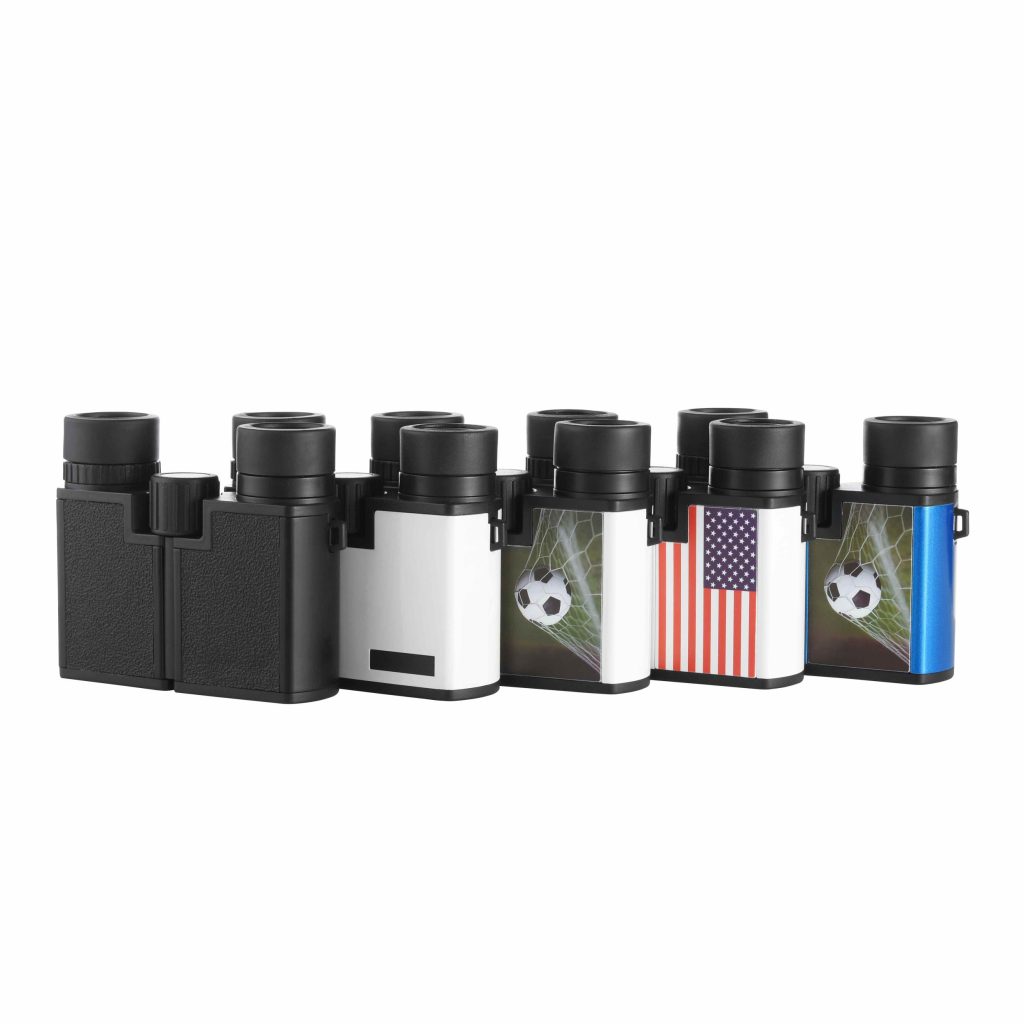
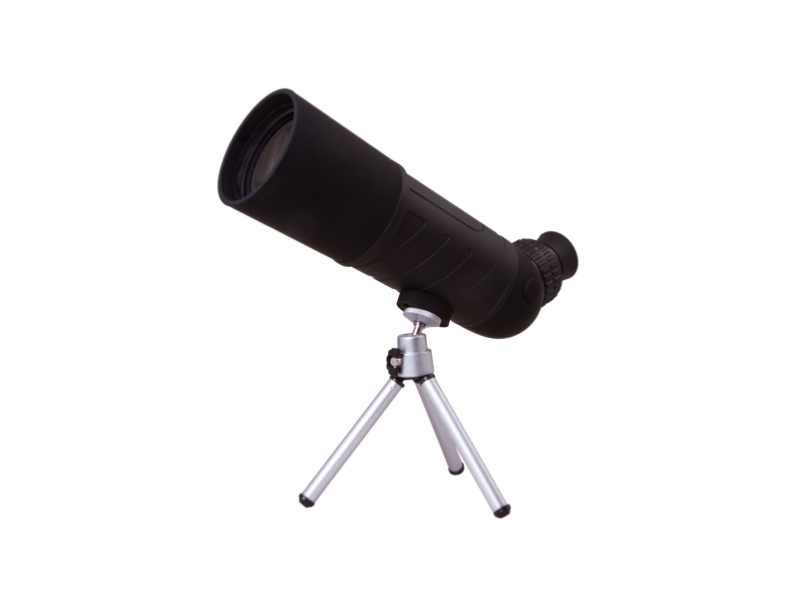
3) Monocular: Filling the Category Gap with “Size Advantage”
If your product line includes both binoculars and monoculars, the platformization approach is usually not to “start from scratch for the monocular” but to:
- Share the eyepiece platform (eye relief, eyecup, and diopter adjustment structure)
- Share the visual design language and rubber coating/anti-slip texture
- On the 25mm and 32mm platforms, use the monocular to fill the “ultra-light portable” price and channel gaps
For the $50-$100 range, a common successful formula for monoculars is: 8×25 or 10×25 + sufficient eye relief (to accommodate glasses users) + a reliable focusing feel.

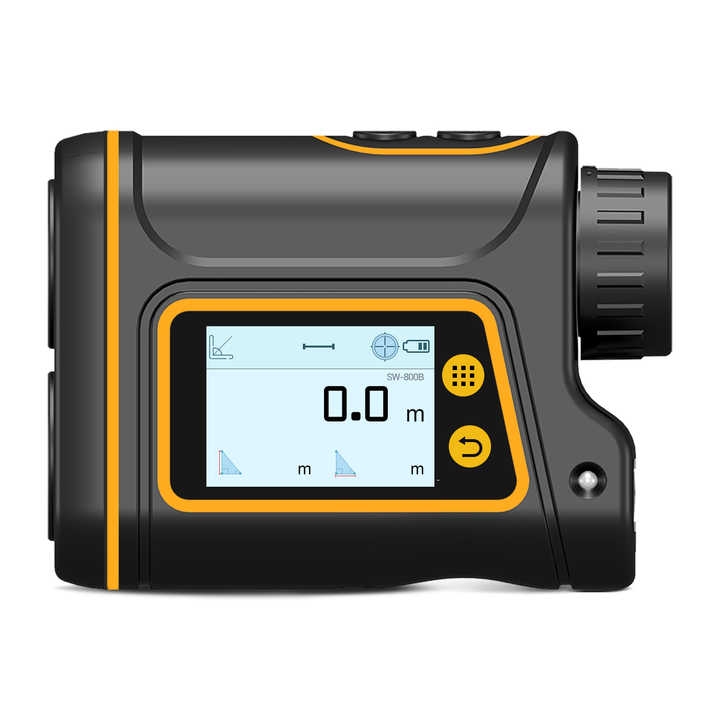
4) Rangefinding (LRF) Module: Don’t Treat It as Just “Adding an Electronic Component”
The key to rangefinding binoculars is not about “how far it can measure,” but rather the system risks after integrating the module:
- Optical Coaxial Alignment: Any angle error between the rangefinding transmission/reception and the imaging optical axis will amplify the distance deviation.
- Display and Eyepiece: The display layer and the eyepiece exit pupil position must align; otherwise, issues like obstruction, double images, and eye position sensitivity will occur.
- Power Supply and Waterproofing: The battery compartment, buttons, and sealing structures are high-risk areas for repairs.
- Reliability: The system must retain collimation and rangefinding calibration after drops and temperature cycling.
Therefore, for platform planning, it is more stable to place the LRF module on the 42mm platform (10×42/8×42). There’s more space margin, and the optical, mechanical, and electrical layout can be more comfortable.

4. The Experience Gap in the $50–$300 Range: Often Comes from Coatings and Stray Light Control, Not Magnification
With the same magnification and objective lens size, the common reason for a “big difference in viewing” is transmission rate and stray light control.
In platformization, coatings are a typical “upgrade package” — you can make it an optional feature instead of redesigning every SKU.
For the entry-level range ($50-$100), the focus should be on:
• Basic multi-layer coatings (at least multi-layer coatings on critical surfaces)
• Eyepiece shading and light control (blackened lenses, light-blocking rings)
• Collimation and focusing feel (critical for returns)
For the mid-range ($100-$300), the budget should be concentrated on:
• Full surface multi-coating (FMC) + more stable coating consistency
• Phase correction for Roof prisms and higher reflection coatings (dielectric coatings)
• More comfortable eyepieces: longer eye relief, larger eye box, and smaller “kidney bean” effect (blackout zones)
5. Platform Matrix: Covering 5 Categories with 3 Core Platforms
| Platform | Main Specs | Covered Categories | Target Experience (Keywords) | Typical Pricing Strategy |
| 25mm Portable Platform | 8×21 / 10×25 | Travel, concerts, entry-level handheld; can extend to monocular | Light, slim, quick focus, wide field of view | $50–$120: Focus on handfeel and ease of use |
| 32mm All-Purpose Platform | 8×32 / 10×32 | Travel + light birdwatching; monoculars can share eyepieces | Balanced field of view, brightness, weight; comfortable for long handheld use | $80–$220: Focus on being the “best-selling” flagship |
| 42mm Low-Light Platform | 8×42 / 10×42 | Birdwatching, hunting, dusk conditions; primary choice for LRF integration | Better low-light performance, stable contrast, reduced glare | $120–$300: Use upgrade packages to differentiate higher-end models |
Implementation Tip: The platform matrix is not a “specification list,” but a set of reusable components and process packages.
For example, the same 32mm platform can create 3 levels — entry-level (basic coatings), flagship (FMC + better eyepieces), advanced (ED + stronger glare control).
6. Mass Production Consistency Checklist: Ask RFQ Questions Until They’re “Verifiable”
The real competitive advantage of platformization is ensuring the supply chain delivers consistency using the same set of metrics. The following checklist can be directly used for RFQ, sample reviews, and incoming material inspections:
- Transmission and Glare: Can you provide transmission curves for key wavelengths or equivalent testing? Do you have subjective scoring standards for ghosting/stray light?
- Roof Structure: Do you provide clear specifications and process proof for phase correction and reflection coating types (aluminum/silver/dielectric)?
- Field of View and Edge Illumination: Does the effective field of view shrink from the nominal FOV? Can you provide a measurement method for edge illumination?
- Collimation: What are the horizontal/vertical collimation error thresholds? What’s the sampling ratio and tooling used? What are the re-testing standards after drop or temperature cycling?
- Focusing Feel: Is there an acceptance test for torque range, backlash, and temperature drift?
- Waterproofing and Nitrogen Filling: What is the IPX rating/water pressure test condition? Will repairs compromise the seal, and how is the repair process designed?
- LRF (If applicable): What is the method for calibrating the rangefinding and imaging optical axes? How do you assess the display layer’s obstruction of the exit pupil?
- Batch Consistency: How do you control brightness and color variation within the same batch or across batches (ΔT, Δcolor difference, or equivalent metrics)?
From “Stacking SKUs” to “Building Platforms” — The Scalable Strategy for the $50-$300 Range
In the $50-$300 range, users’ “tactile differences” often come from details: eye relief tolerance, glare, smoothness of focusing, and collimation stability, rather than magnification numbers on paper.
The value of platformization is in turning these details into reusable modules and metrics, allowing you to cover more categories with fewer platforms. At the same time, it transforms cost and return rates into predictable, manageable engineering variables.