A practical breakdown of how prism design affects contrast, edge sharpness, distortion, and handling in real-world use.
Both are 8×42 or 10×42 — so why do some feel “clearer, more stable, and more comfortable”?
Let’s break the differences down into three verifiable chains.
Roof (roof prism) and Porro (Porro prism) are not a simple question of “which is more advanced.” They represent two different product paths: One uses a more compact optical path to reduce size and improve form factor; the other uses a wider structure to achieve easier light transmission efficiency and more forgiving assembly tolerances.
- At the same price level, “clearer” usually does not mean higher resolution, but contrast, stray light control, and assembly consistency.
- Edge image quality (edge sharpness, distortion, chromatic aberration) is mainly determined by eyepiece and aperture design, but prism size and assembly difficulty can amplify the differences.
- Handling is not subjective guesswork: center of gravity, grip surface, bridge structure, focusing travel, and damping together determine whether the binocular feels stable and comfortable over time.
- In the $50–$100 range, Porro designs are usually more likely to deliver a “bright and transparent” image; in the $100–$300 range, Roof designs are generally better at balancing size, weather resistance, and mechanical consistency.
Why Can “Same Price” Feel Like “One Tier Apart”?
Many users’ first reaction is: the magnification, objective size, and claimed field of view are all similar — so why does one binocular immediately look clearer and cleaner?
The answer is usually not in the spec sheet, but in the manufacturing constraints created by the optical structure.
This article breaks the differences into three verifiable dimensions:
- Clarity (resolution × contrast);
- Edge image quality (edge sharpness × distortion × chromatic aberration × vignetting)
- Handling (grip × center of gravity × focusing feel × eyebox tolerance)
We’ll then explain how Roof and Porro designs influence these dimensions — and how you should choose between them.

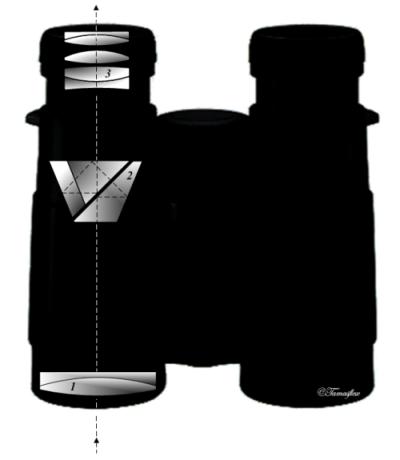
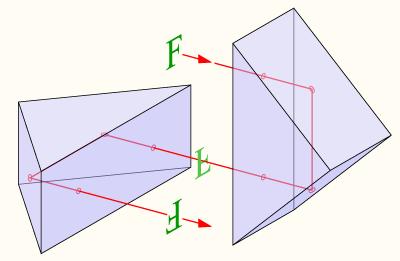
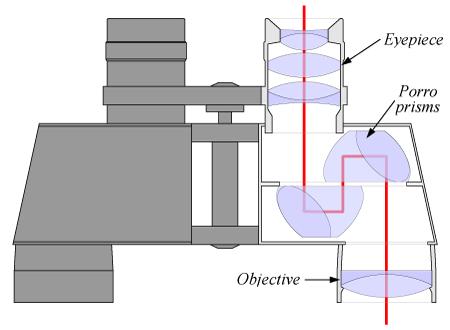
Roof vs Porro: The Optical Path Behind the Shape
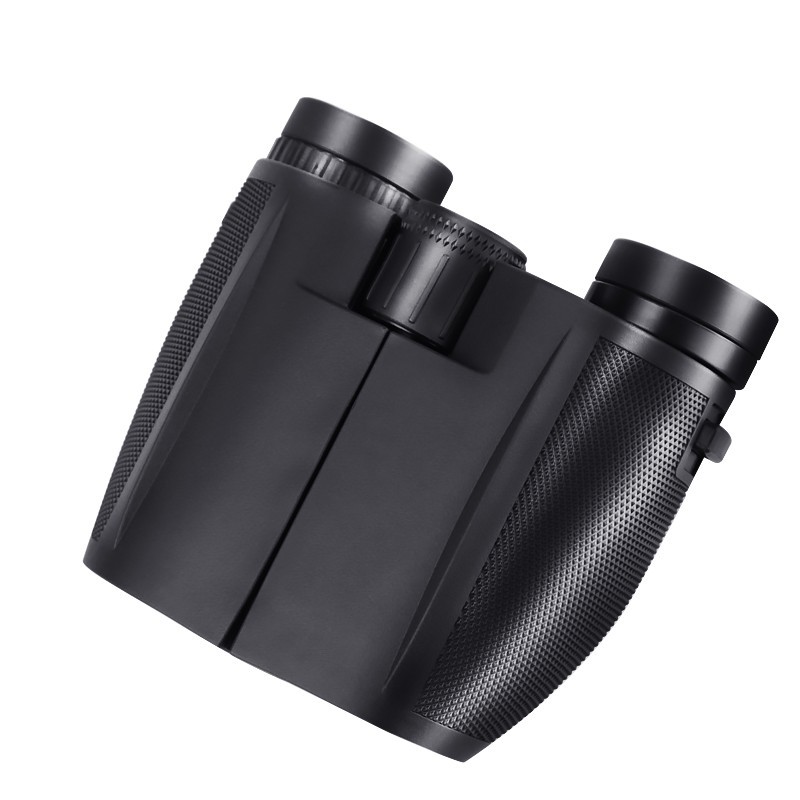
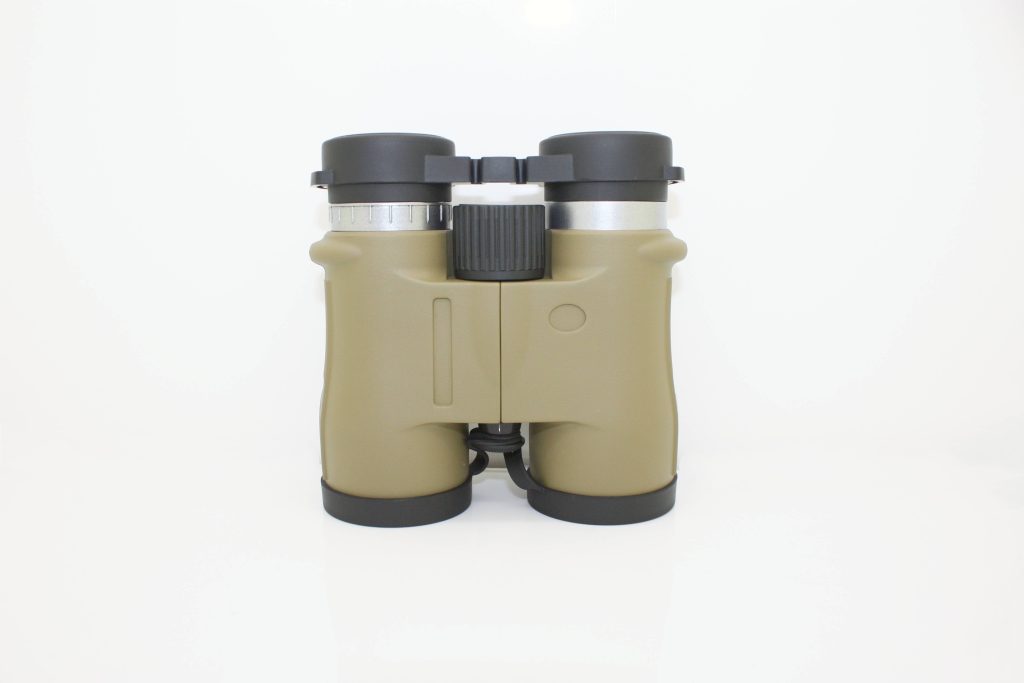
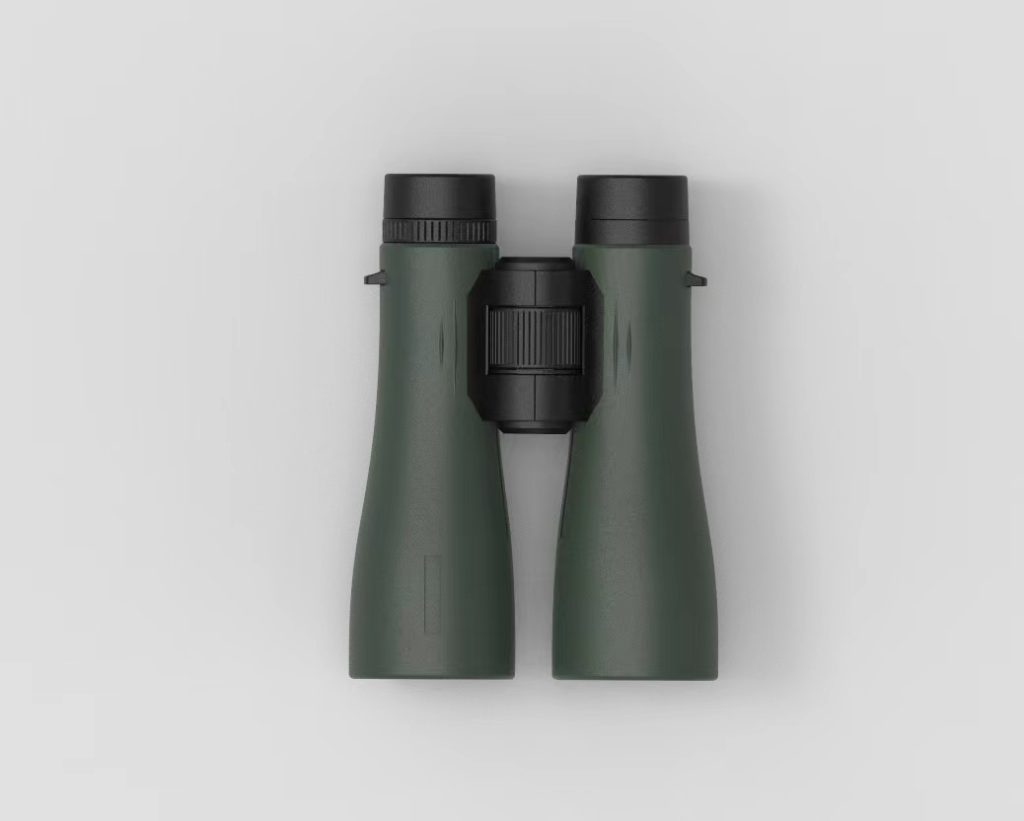
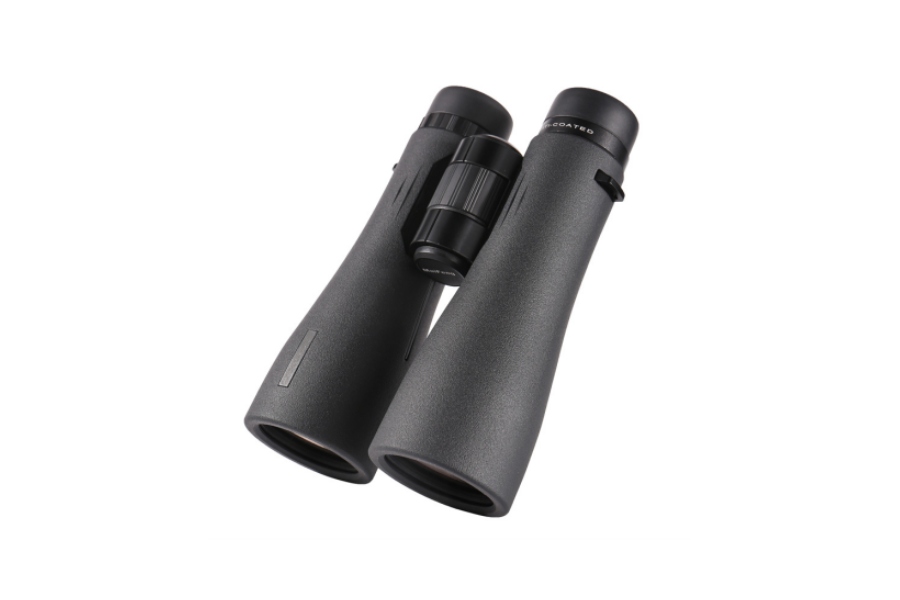
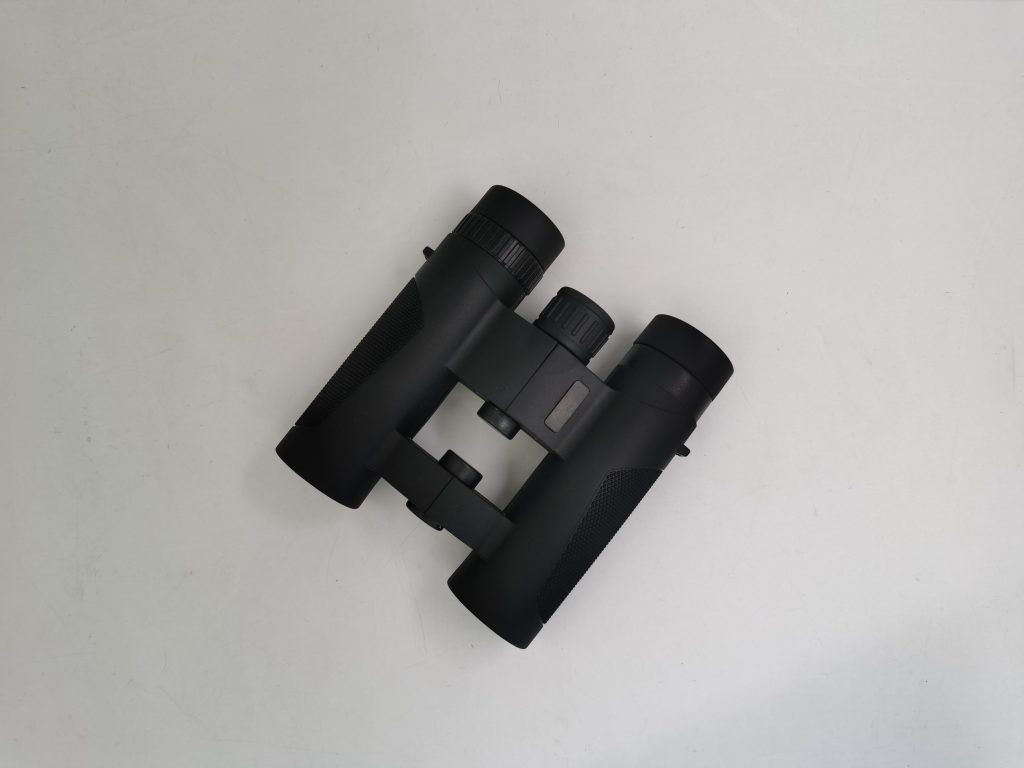
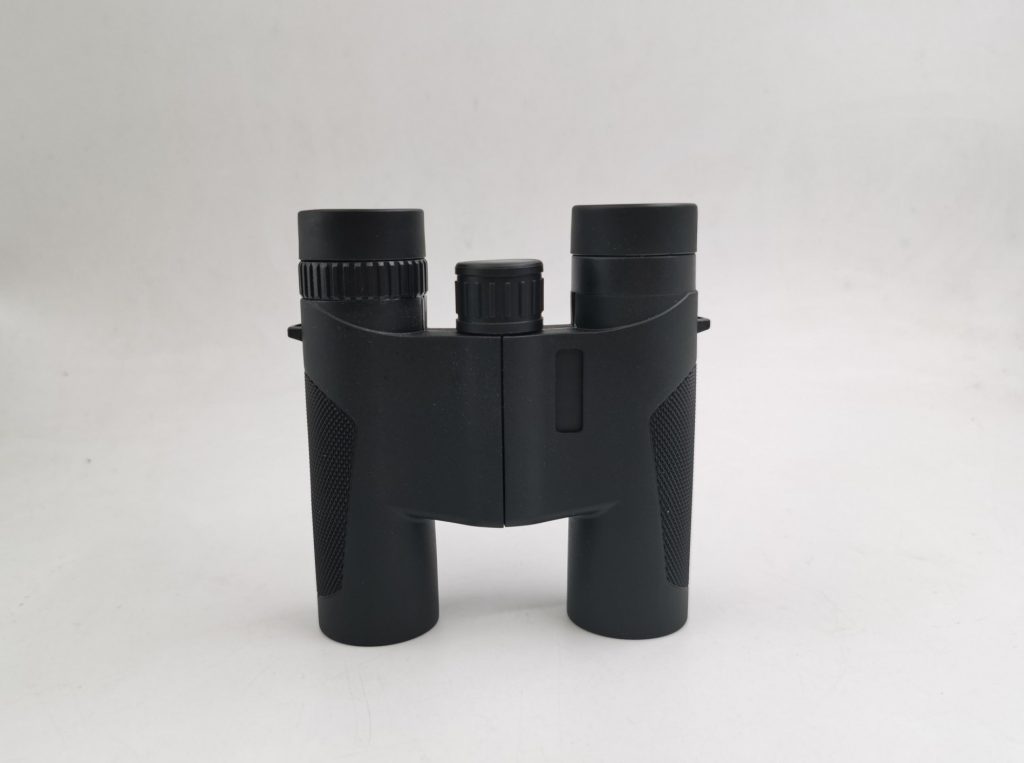
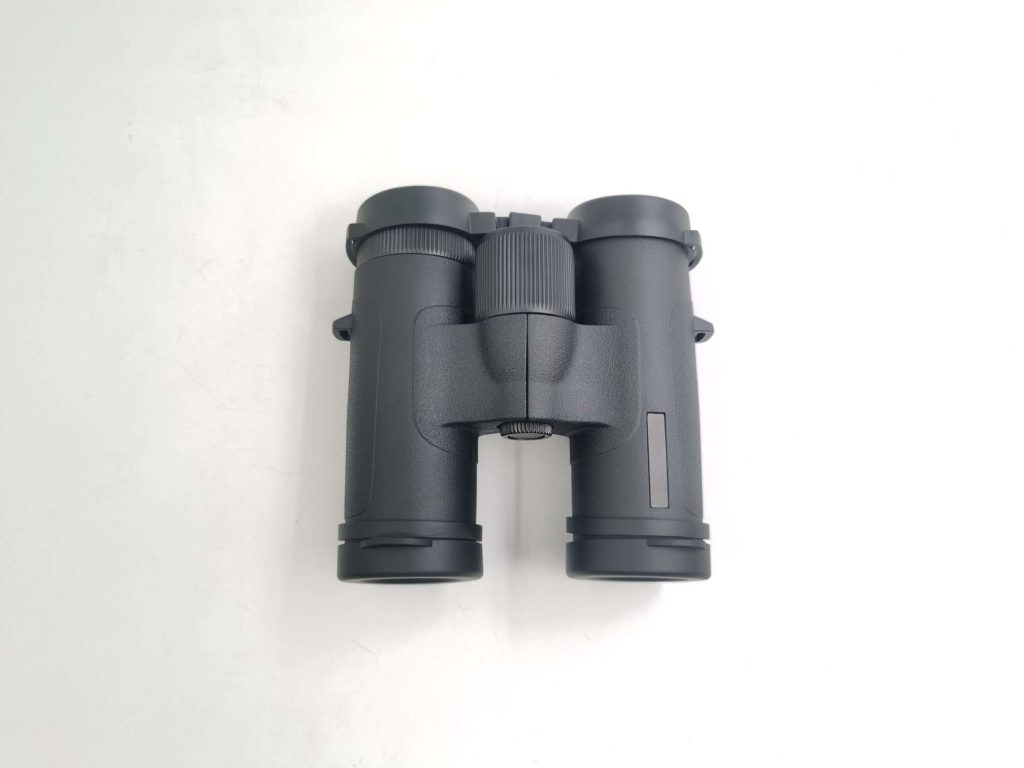
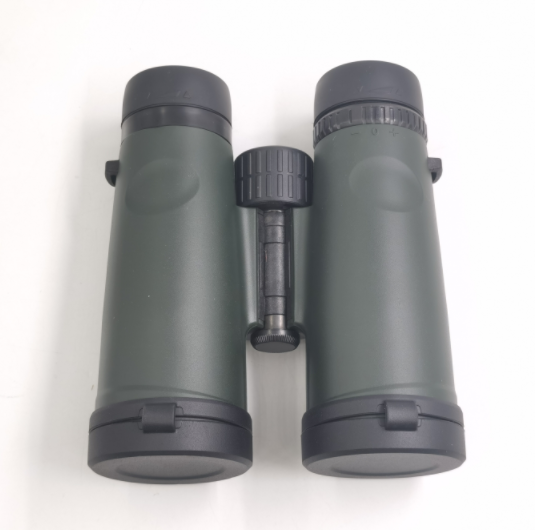
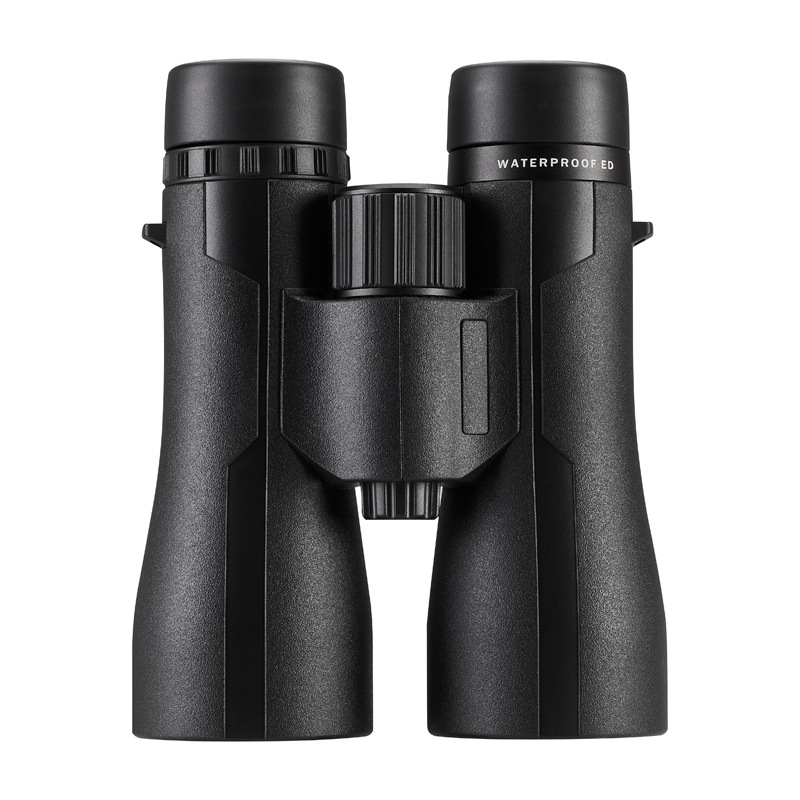
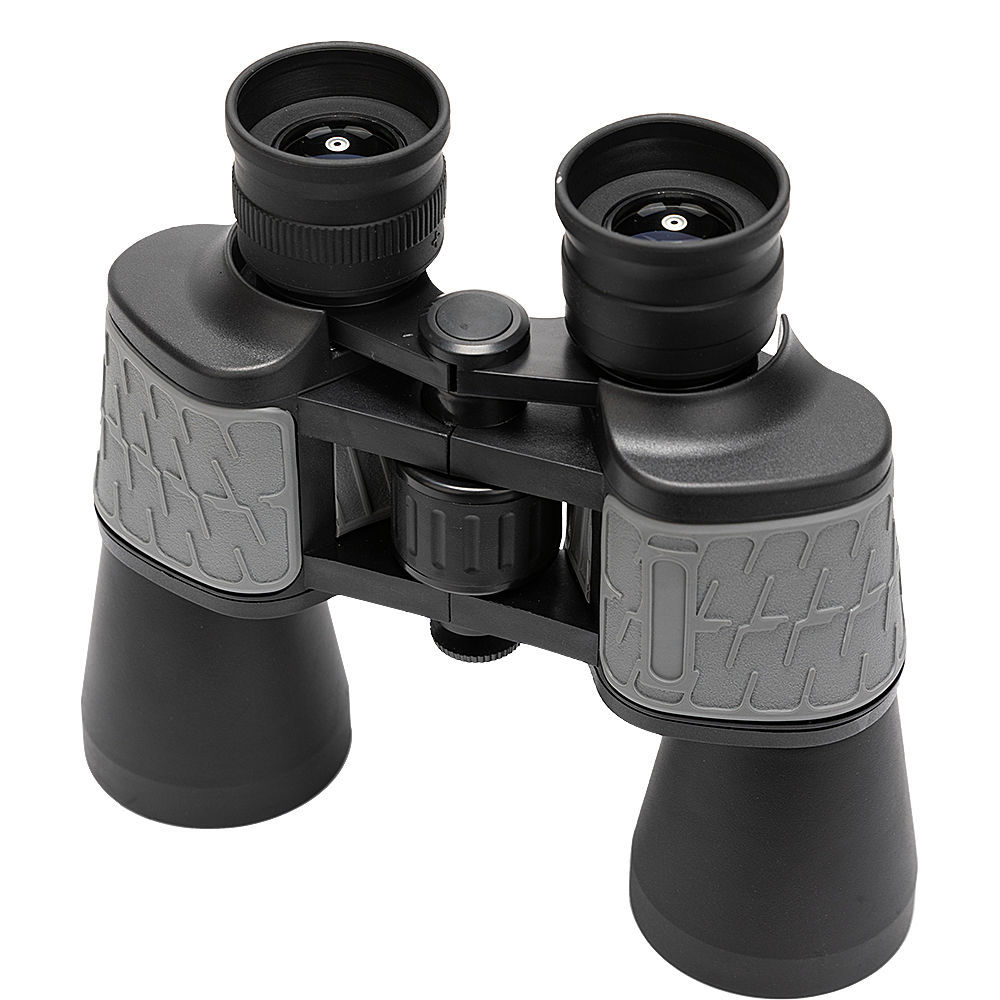
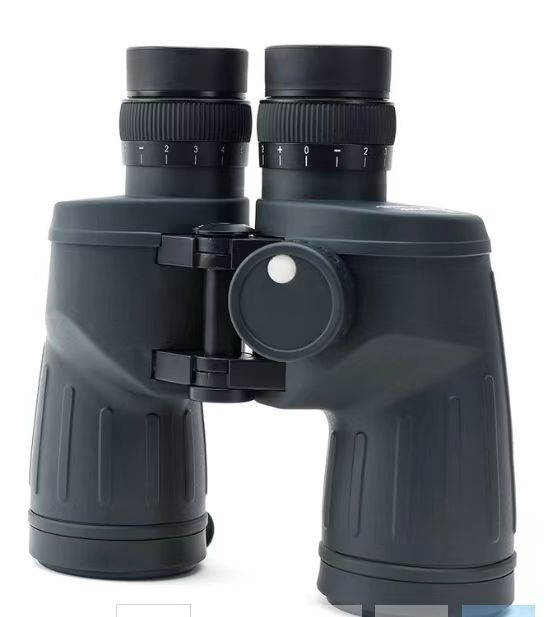
In a Roof design, the optical path is folded along a nearly straight line. This allows the binocular to be slimmer, with the bridge positioned closer to the center axis.
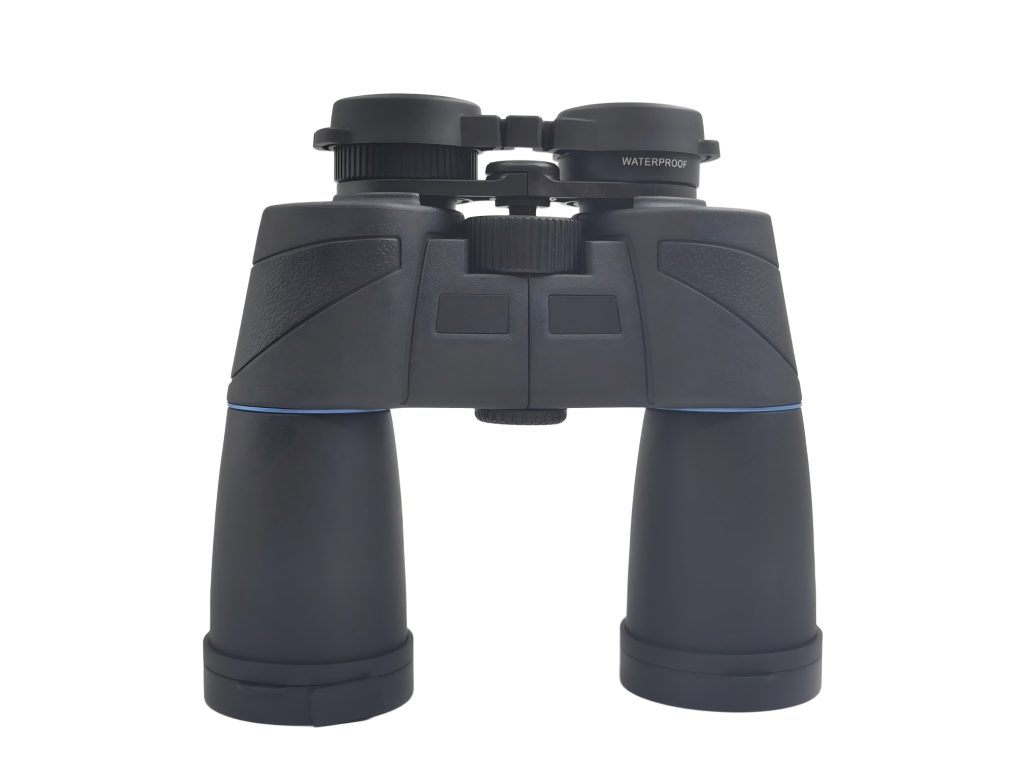
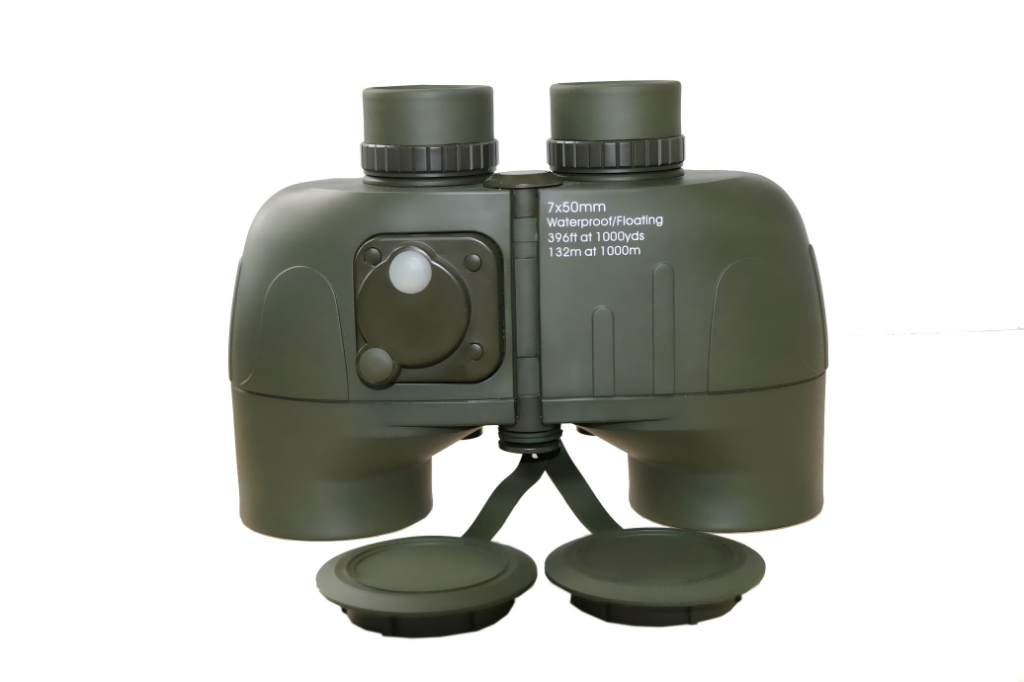
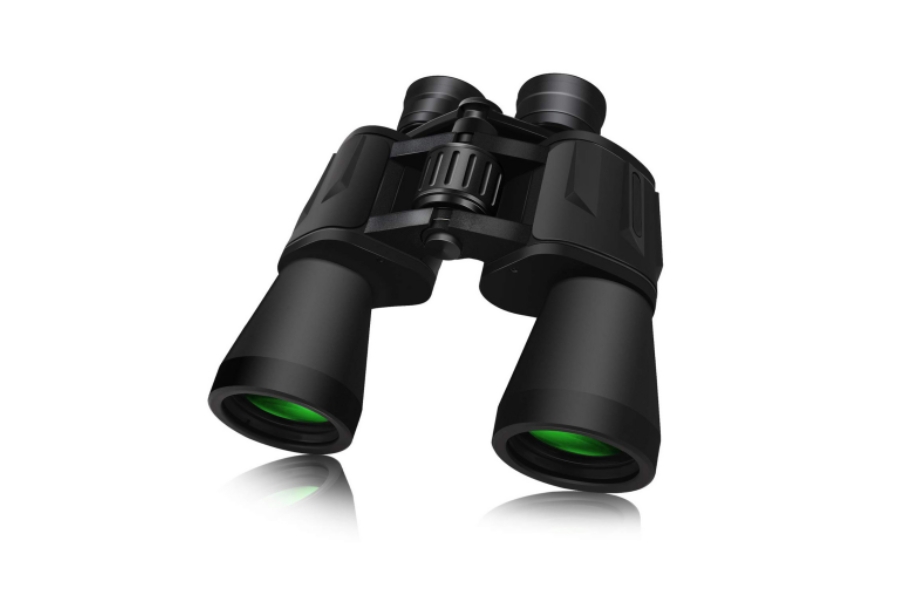
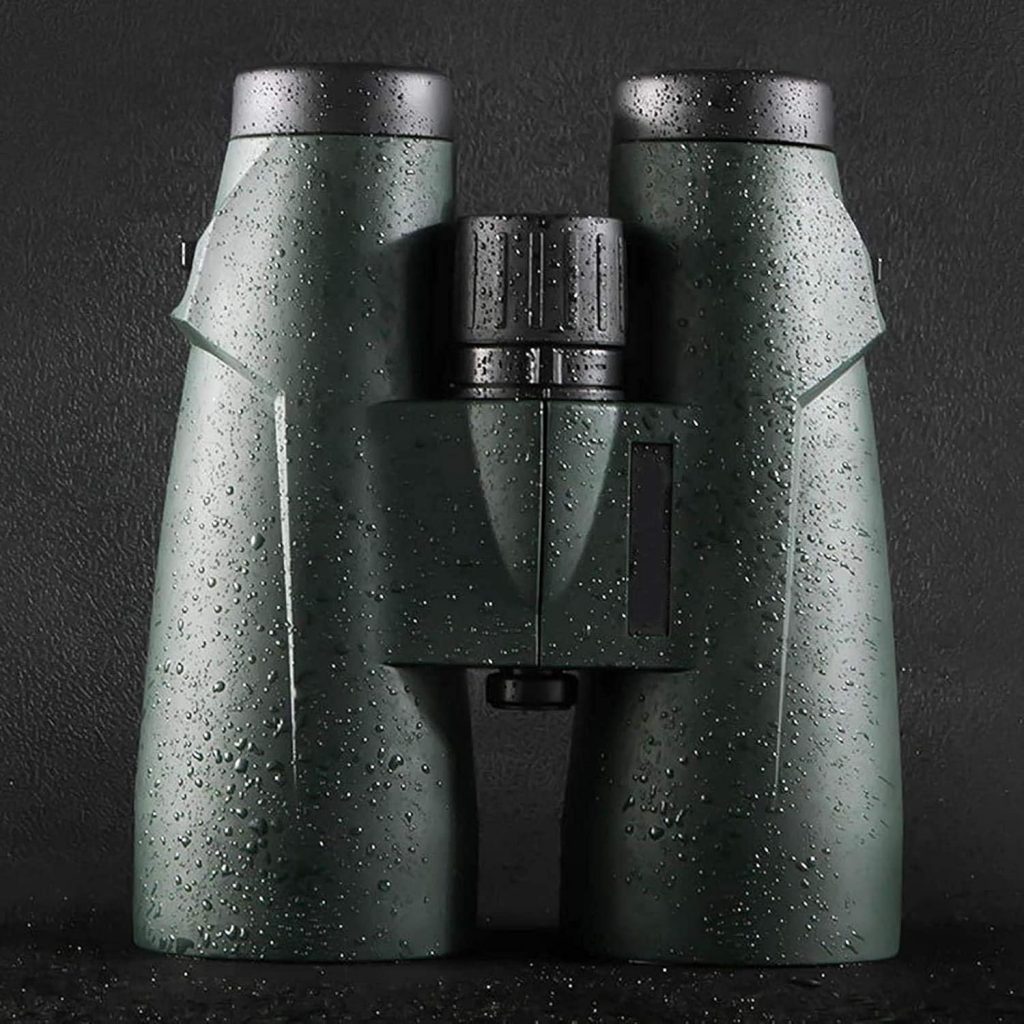
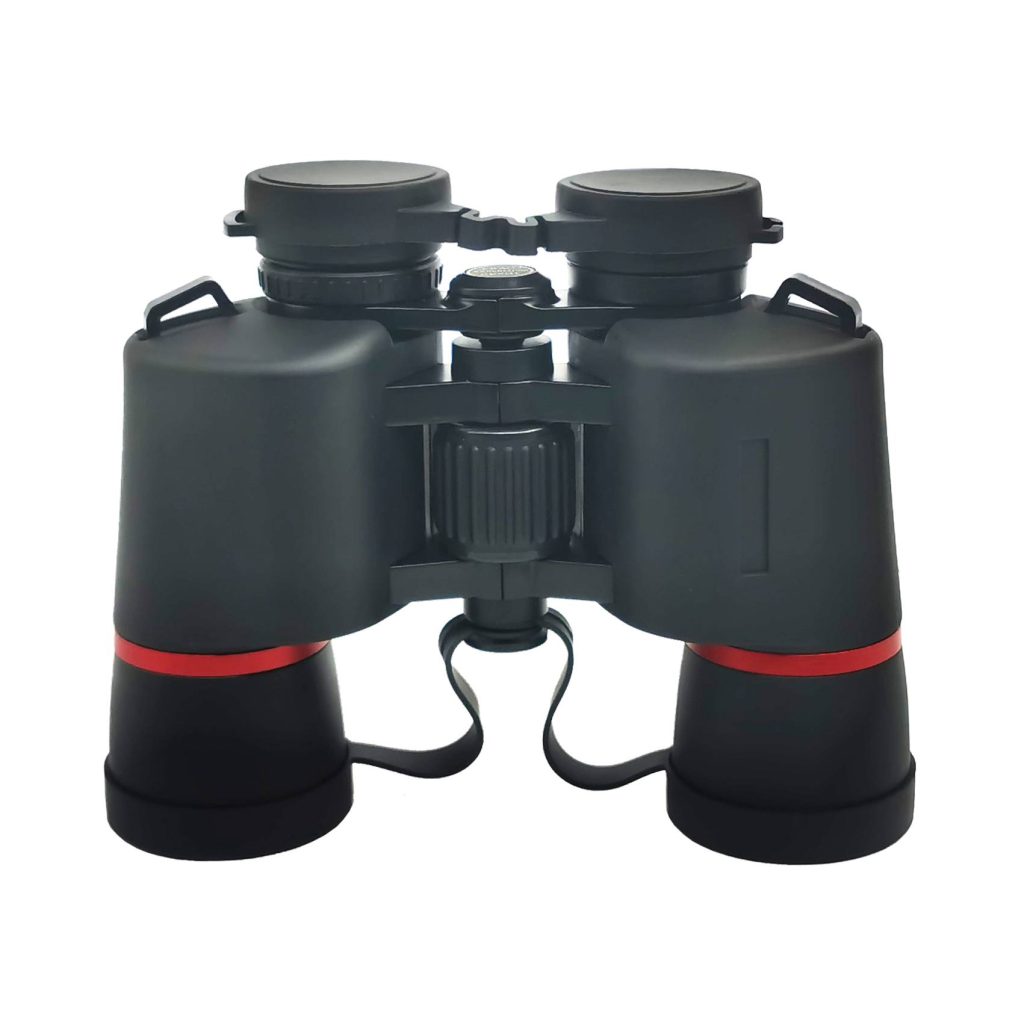
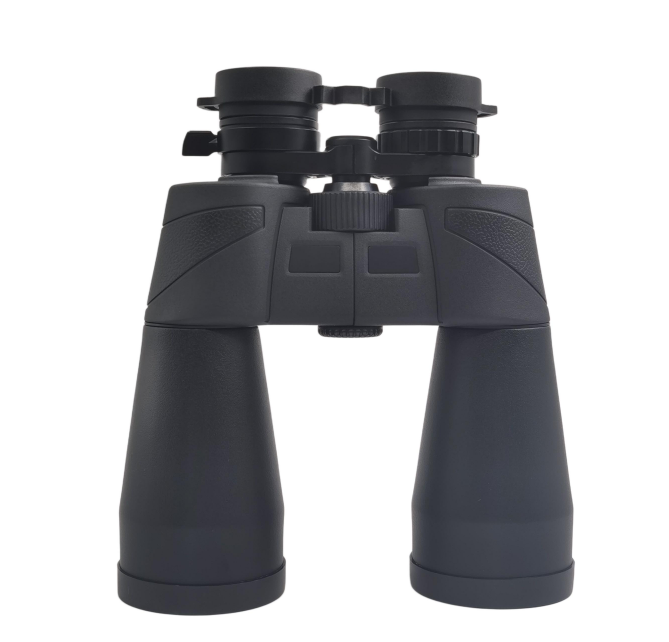
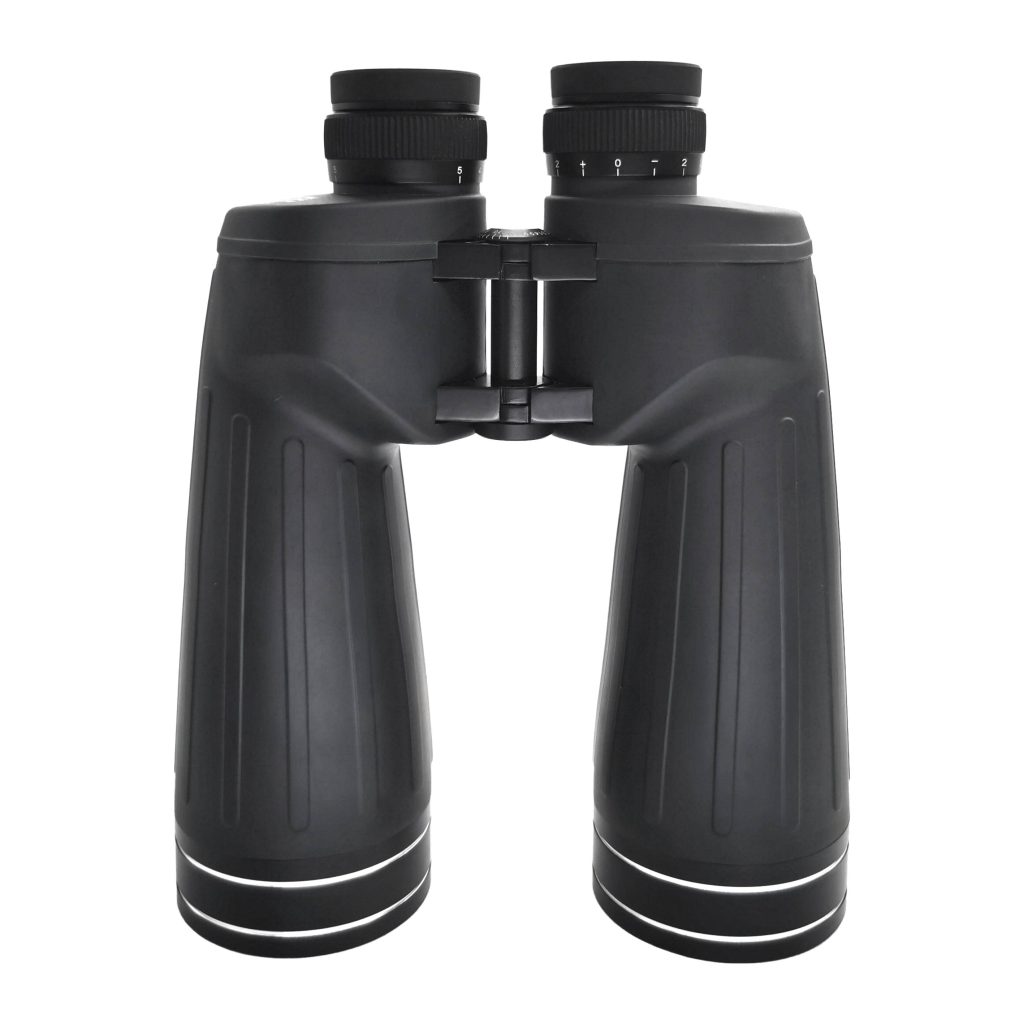
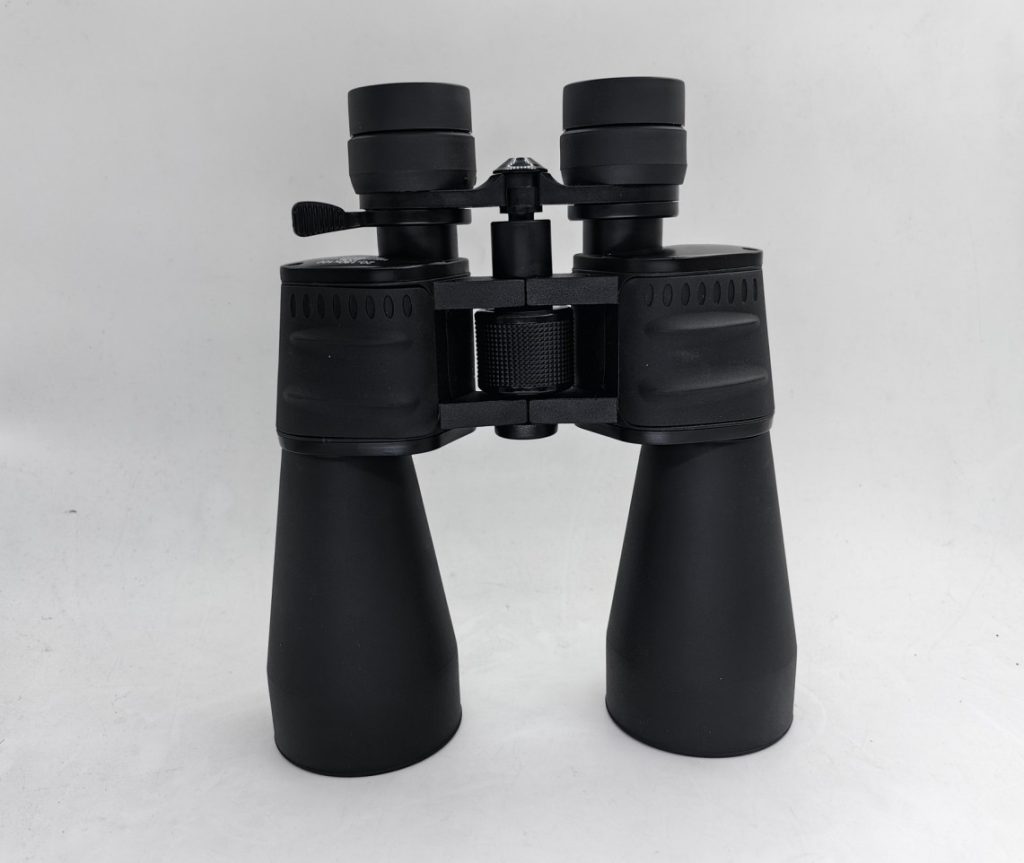
In a Porro design, the optical path expands laterally. The objective lenses are spaced farther apart, and the body appears wider and thicker.
1. Clarity: Not “Sharper,” but “More Stable Contrast”
Many impressions of “looking clearer” actually come from better contrast retention at medium-to-low spatial frequencies: blacker blacks, less haze, and cleaner edges around details.
In engineering terms, this is often described using MTF (Modulation Transfer Function), which measures how well contrast is preserved at different levels of detail.

1) How Roof vs Porro Affects Contrast
At the same price level, the biggest differences usually come from optical efficiency + phase/reflection-related errors + stray light. The prism structure determines the number of reflective surfaces and how light bounces, which in turn affects coating cost and performance sensitivity:
- Porro prisms mostly use total internal reflection, naturally providing high reflection efficiency and relying less on high-performance reflective coatings.
- Common Roof designs (e.g., Schmidt–Pechan) involve surfaces that require high-reflectivity coatings. Roof prisms also need phase correction coatings to prevent interference that can reduce contrast.
Therefore, at lower price ranges, if the Roof coatings and phase correction are not done well, the image can easily appear “gray” or less transparent. Conversely, well-made Roof binoculars gain advantages in compactness and weather resistance.
2) Coatings: The Most Common Cause of “One Tier” Differences at the Same Price
If you can only focus on one process variable that most affects perceived image quality at the same price, the typical priority is: External anti-reflection (AR) coating consistency > Roof phase correction & high-reflectivity coatings > others
A simple visual check: look at the objective and eyepiece lenses against a bright window or phone flashlight at an angle. If the reflections appear darker, uniform, and color-consistent, the AR coatings are likely well-applied. If you see strong white glare or localized colored patches, it can cause haze and reduce transparency, especially in backlit conditions.
3) Assembly Consistency: Why “the Same Model Can Feel Different”
Another hidden factor affecting clarity is collimation and optical axis alignment. Roof designs are compact and prism angles are highly sensitive. If assembly control is insufficient, individual units may exhibit:
- Eyestrain or mild headache from difficulty merging the images.
- A sharp-looking center that “shifts” when you move your gaze, making it hard to maintain focus.
- Slight ghosting or “softness” at high-contrast edges.
For brands or buyers, judging a single sample subjectively is not enough. Batch consistency—checked via sample collimation, focus backlash, drop tests, etc.—matters, and structural differences directly impact yield and repair rates.
2. Edge Image Quality: Edge Sharpness, Distortion, Chromatic Aberration — Who’s Responsible?
Edge image quality is usually a combined result of eyepiece design + aperture stop position + prism size + mechanical alignment. The structure itself is not the whole story, but it does influence how the budget is allocated at the same price level — between eyepieces, prisms, coatings, and assembly precision.
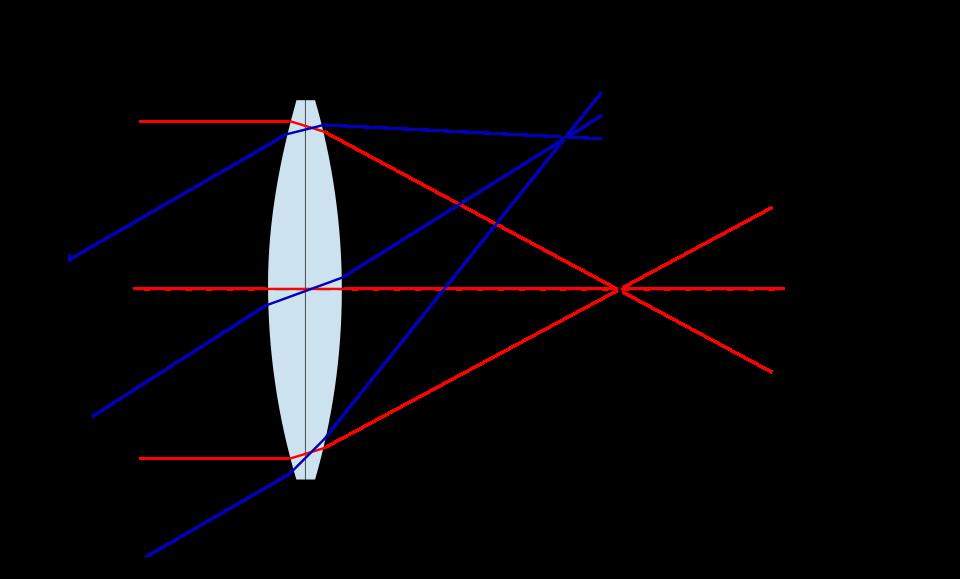
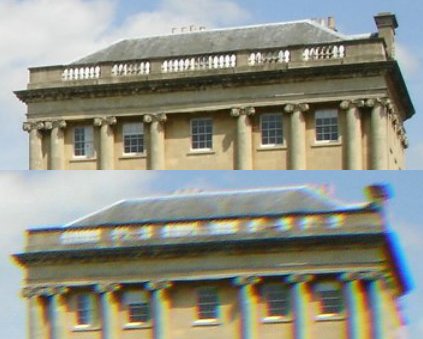
1) Field Curvature: Soft Edges Don’t Always Mean “Poor Quality”
Field curvature means the center and the edges cannot both reach optimal focus on the same focal plane at the same time. You may notice that when the center is perfectly focused, the edges look slightly soft. If you slightly adjust the focus ring to make the edges clearer, the center may become soft instead.
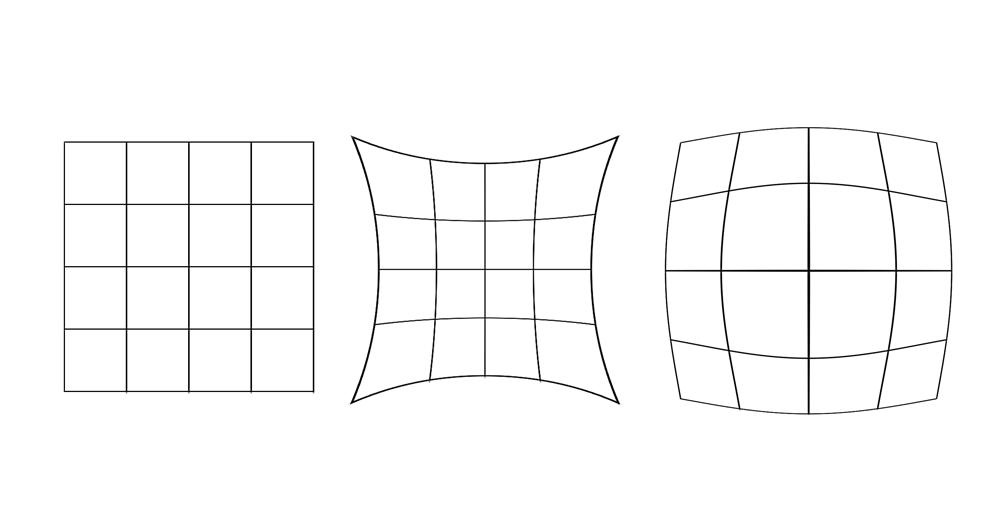
2) Distortion: Why Do Some Binoculars Feel More Comfortable When Panning?
Distortion does not mean poor image quality. In fact, a proper distribution of distortion can reduce the “rolling ball effect” (the dizziness sensation when panning).
At the same price level, a common difference is this: Some products minimize distortion as much as possible, but feel uncomfortable when sweeping across a scene. Others intentionally retain a small amount of pincushion distortion to create a more natural and comfortable panning experience.
3) Chromatic Aberration: Where Do the “Purple/Green Fringes” at the Edges Come From?
Chromatic aberration occurs because different wavelengths of light focus at slightly different positions.
The structure itself is not the direct source of chromatic aberration. However, when the prism aperture is relatively small, edge light rays are partially clipped, or assembly tolerances amplify misalignment, color fringing becomes more noticeable—especially along high-contrast edges near the field boundary.
4) Prism Aperture and Vignetting: Why Doesn’t the “Specified FOV” Equal the “Usable FOV”?
Edge vignetting and a “compressed” field feeling are often related to the prism’s effective clear aperture.
When the prism aperture is tight, edge light rays are more likely to be clipped. The specified field of view (FOV) may remain the same on paper, but the usable edge area—in terms of brightness and clarity—can shrink.
So when comparing products at the same price level, don’t just look at the FOV number. Pay attention to: Whether brightness drops suddenly near the edges, and whether the exit pupil becomes noticeably “cat-eye” shaped or shows dark shading near the boundary.
3. Handling: Why Roof Binoculars Often Feel “Light and Compact” While Porro Feels “Stable”
Handling” can be broken down into three aspects:
- Grip and center of gravity
- Focusing system
- Eyepoint tolerance (eyebox) and eyecup geometry
Structural differences affect where the weight can be distributed, the shape of the bridge, and the available space for the focusing mechanism.
1) Center of Gravity and Grip: Stability Depends on Leverage
Roof binoculars are slimmer, with the center of gravity closer to the hand’s midline, making them easier to carry around the neck or lift quickly with one hand.
Porro binoculars are wider and thicker, providing a larger support surface for both hands. Many users feel they are more stable and less prone to shake.
- For travel or concerts: lighter, shorter bodies are usually more convenient.
- For birdwatching or long tracking sessions: grip stability and focusing feel are more important.
- For small hands or when wearing gloves: bridge spacing, grip indents, and anti-slip textures matter more than just weight.
2) Focusing and Diopter: Differences at the Same Price Can Be Very Noticeable
Focusing feel at least includes:
- Travel: how much rotation is needed from near to far focus
- Damping consistency: whether it becomes sticky or loose after temperature changes
- Backlash: whether there is play when reversing the focus
- Diopter mechanism: whether it is easy to accidentally move
These are mostly determined by the mechanical design and assembly control. The structural design influences how costs are allocated:
- Roof binoculars often emphasize sealing and weather resistance
- Porro binoculars are usually easier to make mechanically robust and durable
3) Real-World Use: Handling Affects Whether You’ll Actually Carry It
No matter how good a product is, if you don’t want to take it out, it’s essentially useless.
A practical test: use the binoculars continuously for 10 minutes and evaluate: neck strain, grip fatigue, dizziness while sweeping across a scene, focusing efficiency.
4. How to Choose: Make a “Structural Decision” Based on Budget and Use
$50–$100: Prioritize “Transparency and Brightness”
- If brightness and transparency matter most, Porro designs usually provide a more consistently pleasing image.
- If you need a more compact form, choosing a Roof requires extra attention to coating quality and quality control (differences within the same series are more likely to be noticeable).
- Don’t overemphasize an “ultra-wide field” at this price: wide FOV combined with small prism apertures often reduces usable edge performance.
$100–$300: Decide Between “Portable Balance” or “Immersive Observation”
- For travel, city use, or concerts: Roof binoculars offer a size advantage and are easier to make waterproof and fog-proof, providing a more balanced overall experience.
- For birdwatching or nature observation: Both designs can perform very well. If you care deeply about hand stability and a sense of depth, focus on Porro binoculars’ grip and the spacing of the objective lenses, which enhance the “spatial feel.”
- If you often observe in backlight or near the sea: prioritize stray light control and sealed construction before considering magnification and objective size.
Roof vs. Porro — “User Experience & Manufacturing” Comparison
| Dimension | Roof (Common Strengths / Risks) | Porro (Common Strengths / Risks) |
| Perceived Clarity | Strength: More compact; easier to achieve good sealing. Risk: At lower price levels, insufficient phase correction or reflective coatings can make the image look “gray.” | Strength: Optical efficiency is easier to optimize; often appears more “transparent” at lower price levels. Risk: Larger body size; less portable. |
| Edge Image Quality | Strength: At higher price levels, edges can be made very clean through better eyepiece and prism aperture design. Risk: If prism aperture is tight, usable edge performance drops more noticeably. | Strength: Wider structural tolerances; edge performance less likely to be amplified by assembly errors. Risk: If the eyepiece design is conservative, edges may still appear soft. |
| Handling / Stability | Strength: More centralized center of gravity; easier to carry around the neck. Risk: Narrower grip surface; may feel more tiring during long tracking sessions. | Strength: More stable grip; larger two-hand support area. Risk: Wider and heavier; less convenient to carry. |
| Manufacturing & Consistency | Strength: Mature production lines can achieve very high consistency. Risk: More sensitive to assembly precision, coating quality, and sealing processes. | Strength: More forgiving optical efficiency path. Risk: Larger structure places higher demands on mechanical strength and drop consistency. |
5. Five-Minute Check After Purchase: Turn “Subjective Feel” into “Repeatable Results”
- Center Clarity: Focus on distant text or a high-contrast edge. Slightly fine-tune the focus to see whether the sharpest point is easy to lock in.
- Image Merging & Comfort: Look through both eyes for 30 seconds. Do you need to consciously “force” the images to merge? If you feel slight headache or dizziness, be cautious of possible collimation issues.
- Usable Edge Performance: Keep the center in focus and move your view toward the edge. Does sharpness or brightness drop suddenly? Then slightly adjust the focus ring to check whether it is caused by field curvature.
- Backlight Haze: Place the sun or a strong light source near the edge of the field of view. Observe whether the image washes out or if ghosting becomes obvious.
- Mechanical Feel: Quickly focus from near to far. Check whether the damping feels consistent and whether there is backlash when reversing direction. Also check if the diopter is easy to move accidentally.
Structure Sets the Ceiling — and Determines Where the Money Goes
Th difference between Roof and Porro is essentially about how the same budget is allocated across four accounts: optics, coatings, mechanics, and assembly. Once you understand this allocation logic, you can better explain why products at the same price may look “one tier apart,” and more quickly choose the structural path that fits your actual use scenario.